Create A Wizarding World Inspired Artwork with Pixlr
Fellow muggles, have you ever wondered what it’d feel like to be born into the wizarding world, how it’d feel to wield a wand and cast spells?
Unfortunately in the muggle world, the only magic we can do is Pixlr!
With Pixlr, you can transport yourself into the wizarding world with ease. But instead of incantations, you have an AI-powered background remover. Instead of charms and hexes, you have elements and overlays.
In this article, we will show you how to create a Harry-Potter-inspired artwork in just a few simple steps. Potterhead or not, this tutorial is bound to charm and disarm you!
1. Choose your castle
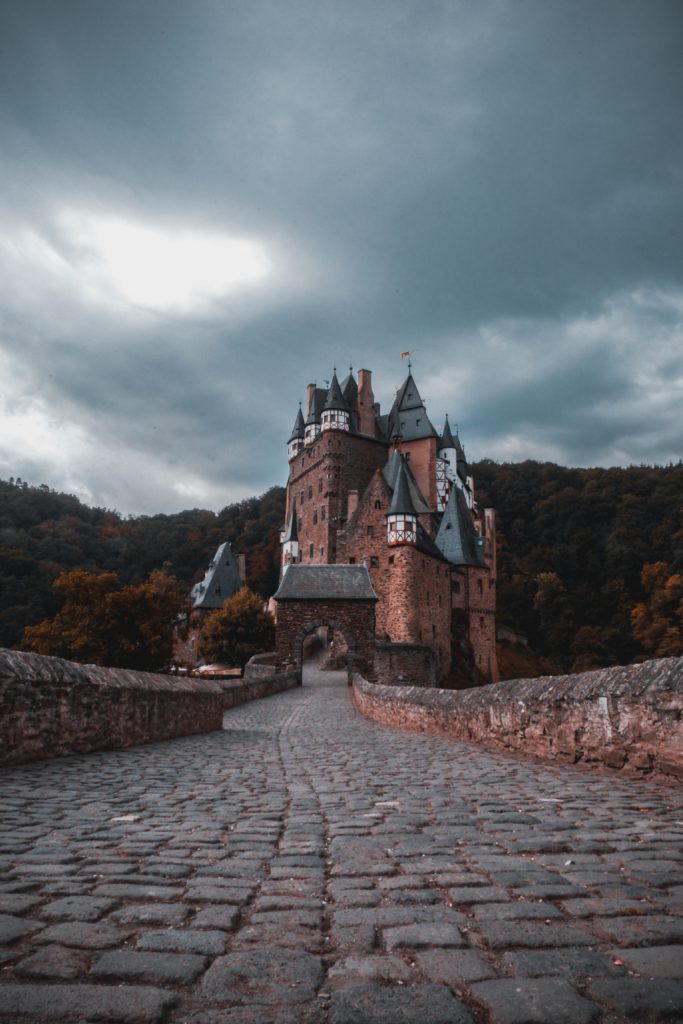
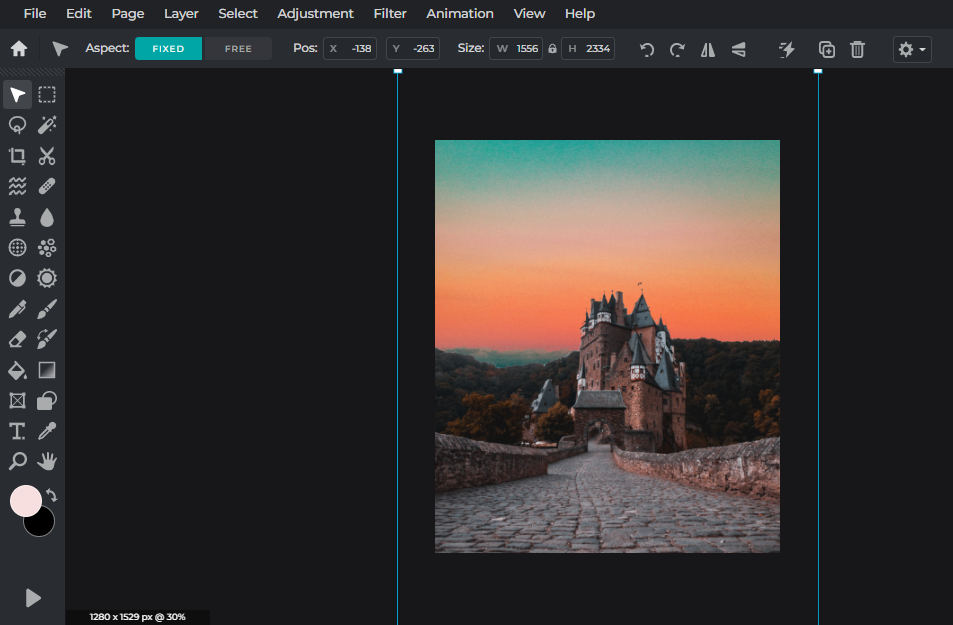
It is no wizarding world without a Hogwarts-looking castle. So, for this artwork, we’re going to pretend that the Eltz Castle in Wierschem, Germany is a magical fortress.
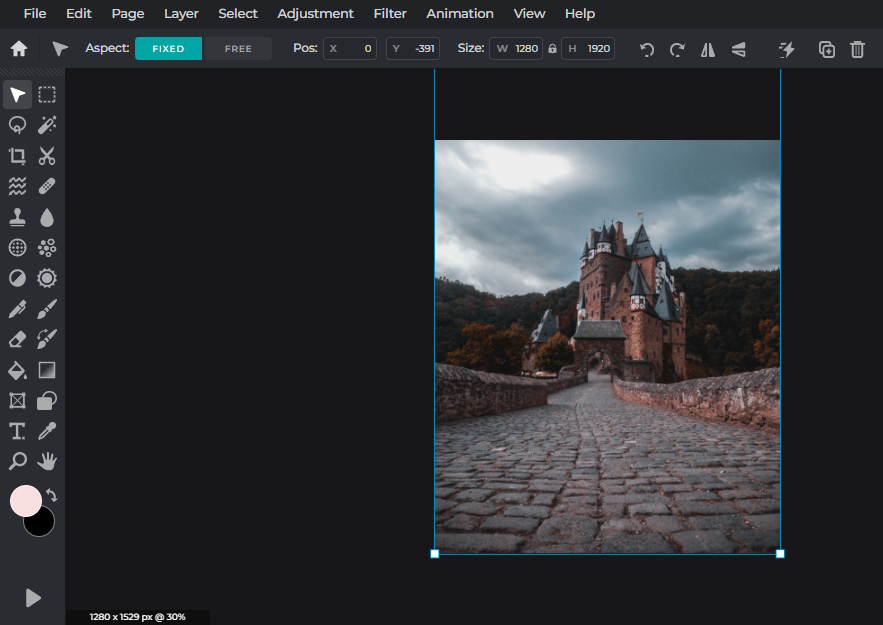
Now, we’re going to adjust the size of the image and position it in the center of our artboard.
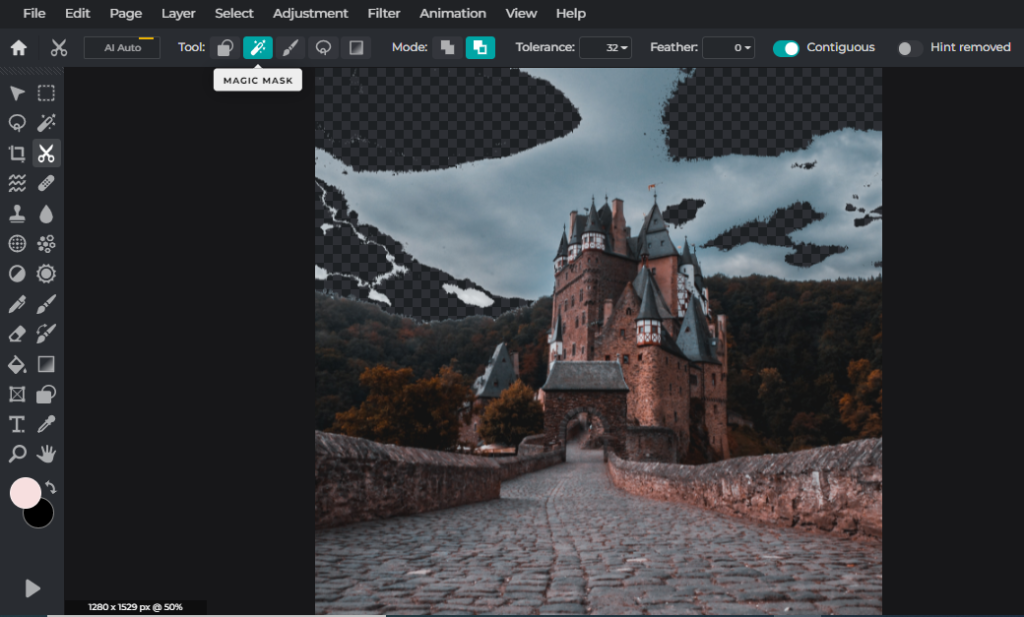
Next, we’re removing the gloomy sky background from the castle image by using Magic Mask with a tolerance of 32. All you have to do is select the areas you want to remove and they will disappear, just like magic.
But you might have to play around with the tolerance a little when tapping on different areas; some areas might require a lower tolerance, whereas others allow you to go up to 60 without accidentally removing your foreground.
2. Set your background
Here, we’re opting for a beautiful sunset sky as the new backdrop for our castle.
3. Set your foreground
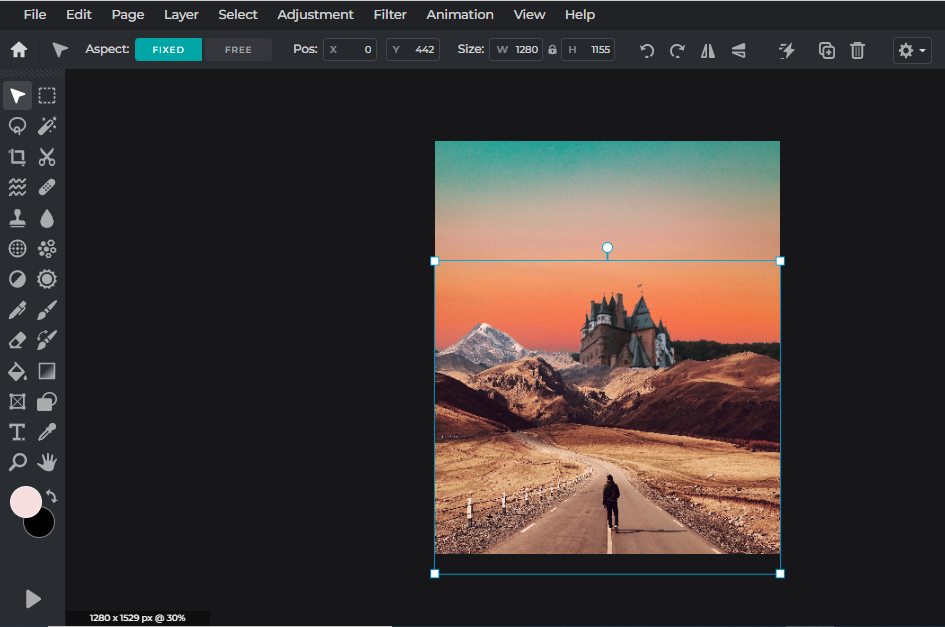
Now that we’ve set our castle and background, it’d only make sense to have a subject in the foreground walking towards our castle.
Here, we’ve added a photo of a person walking on a mountainous road.
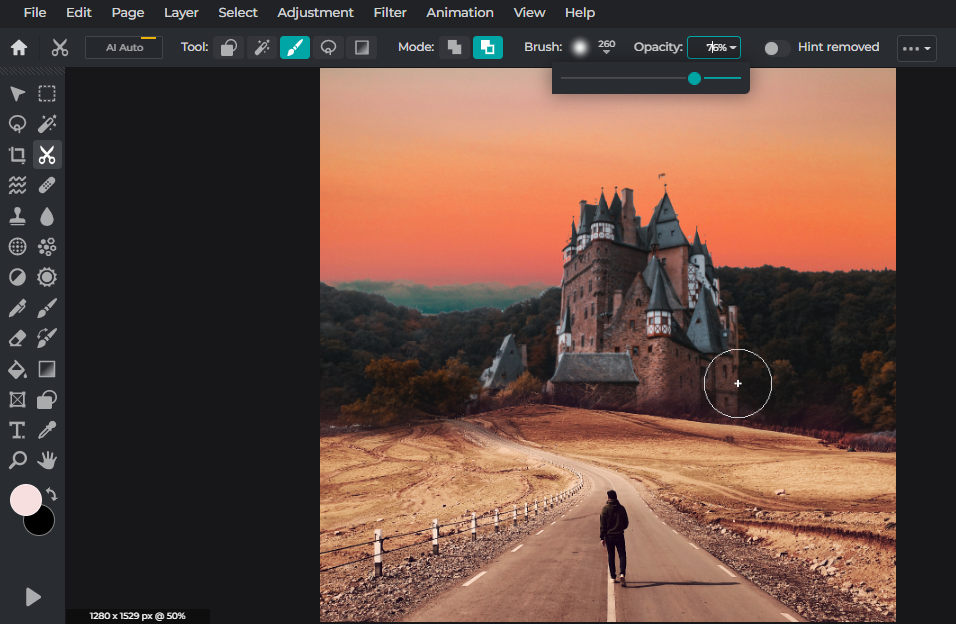
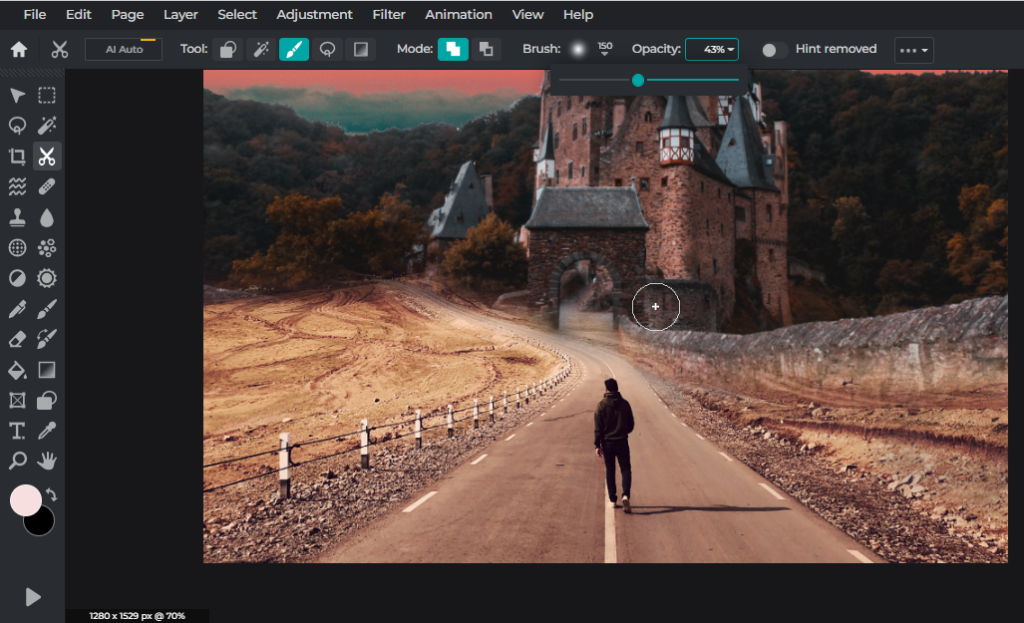
Since the main focus is the castle, we’re removing some parts of the mountain blocking the castle by using a soft, large brush mask.
Now, by using a smaller soft brush, we’re blending parts of the castle with the mountainous road to form a cohesion between the two images.
4. Add a magical creature
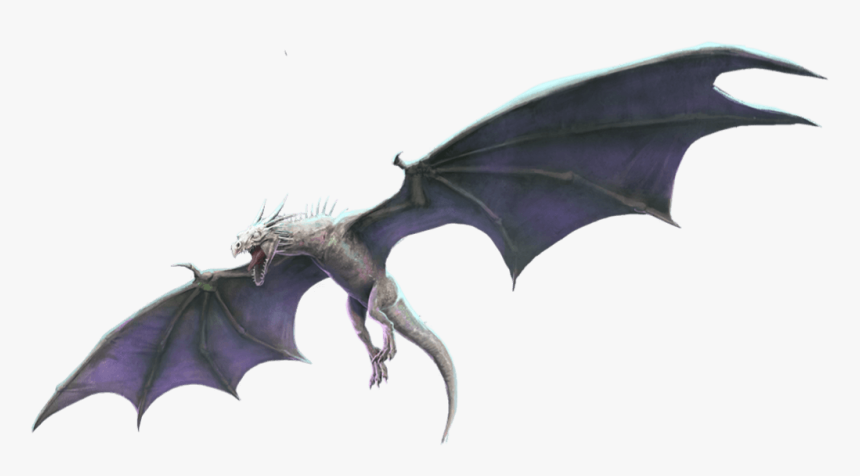
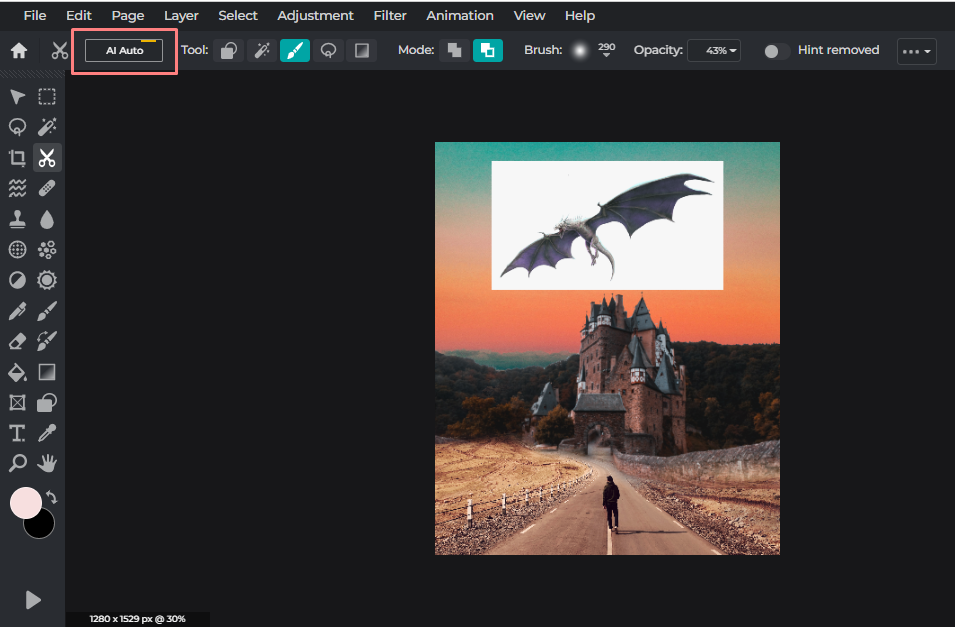
Now, in the world of Harry Potter, there are many magical beings and fantastic beasts to choose from. But we’re going with a classic here – a fire-breathing dragon.
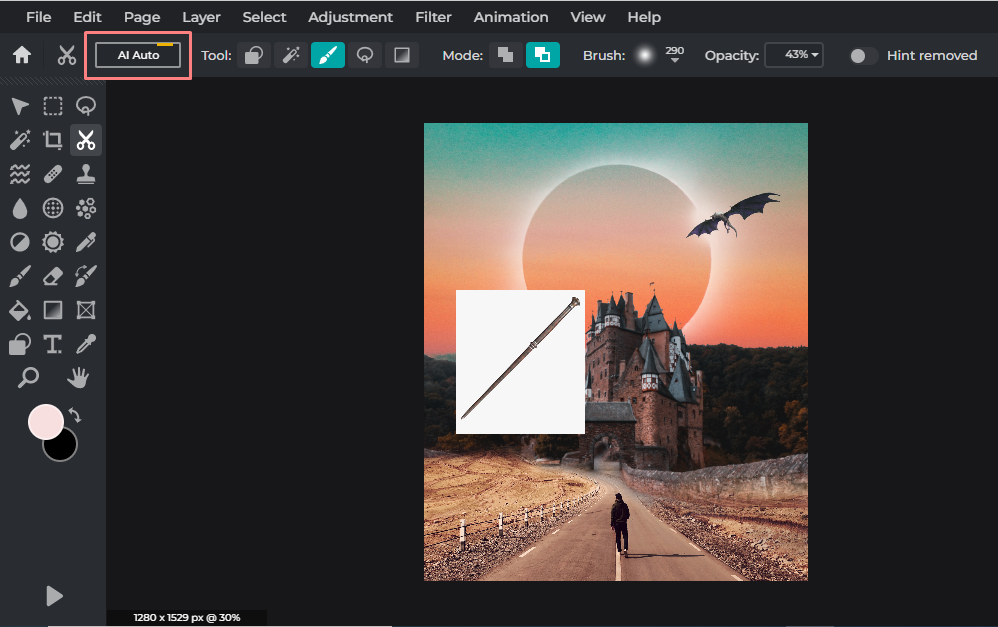
For this step, we’re using the powerful AI Auto cutout feature. In just one click, the background can be magically removed without a trace!
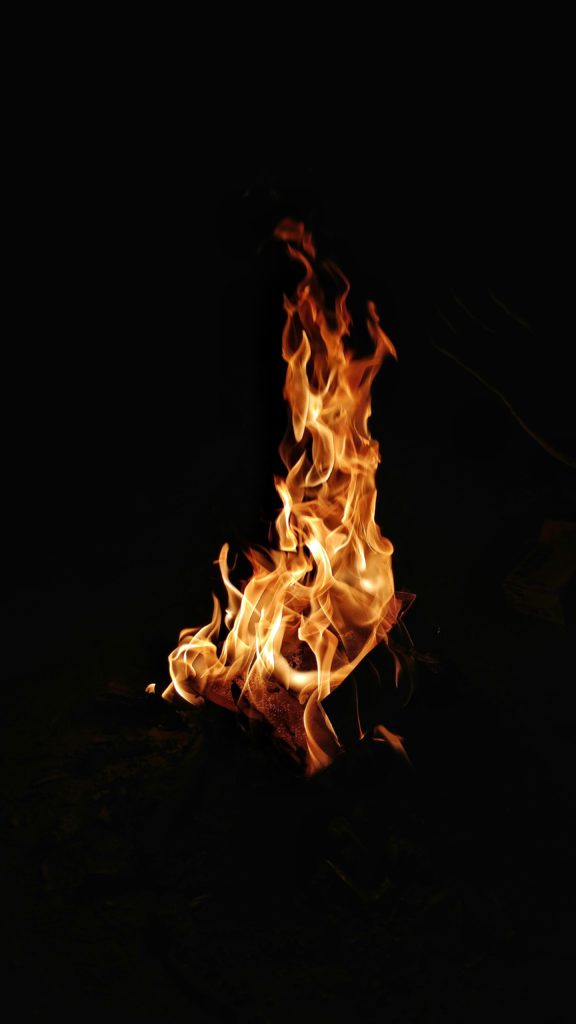
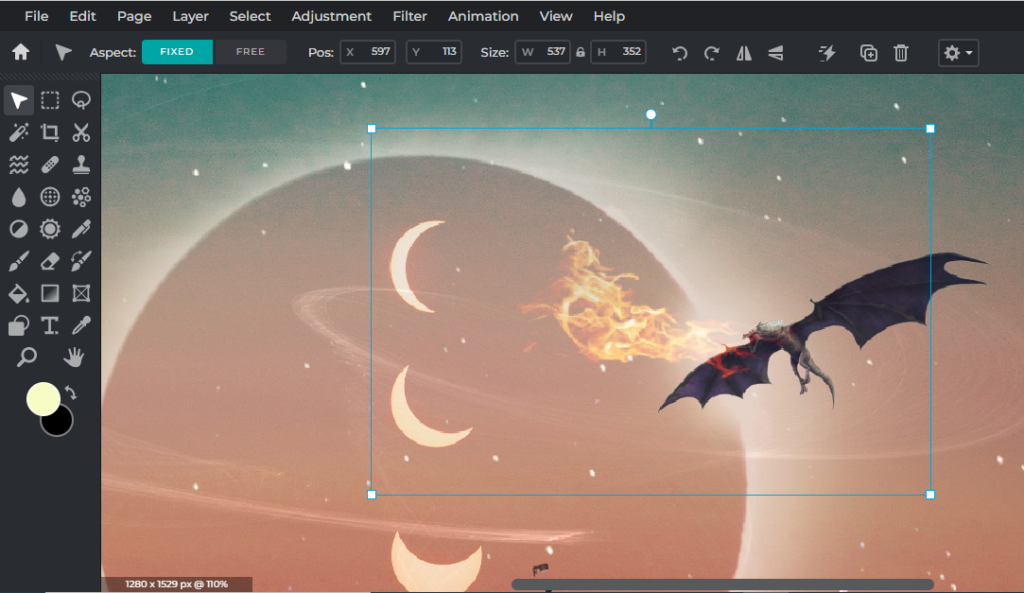
Now that we have our dragon, all we need to do is give it fire-breathing powers by adding in an image of flames.
After adding the fire image, we’re going to use the Screen blend more to make the black background vanish. Then, we’re going to adjust the size of the fire image and position it right next to the dragon to create the illusion of flames coming out of its mouth.
5. Give your hero a wand
This should go without saying – every protagonist in a Harry Potter film has to be given a wand. Now that we’ve found an image of a wand, it’s time to remove its white background by using our favorite AI Auto.
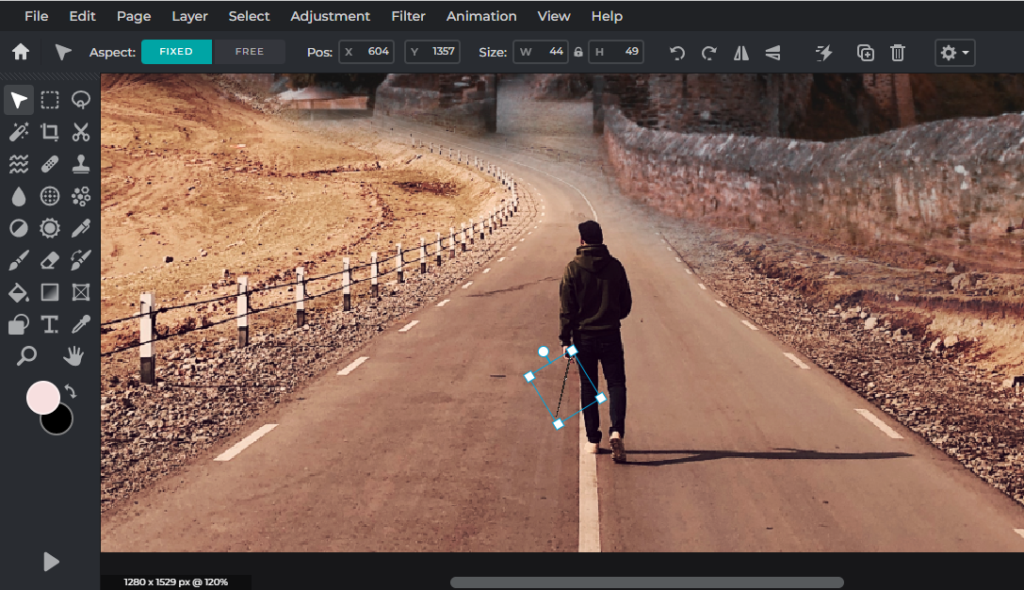
After removing the background, we’re adjusting the size of the wand and placing it around the subject’s hand to make it seem like he’s holding it.
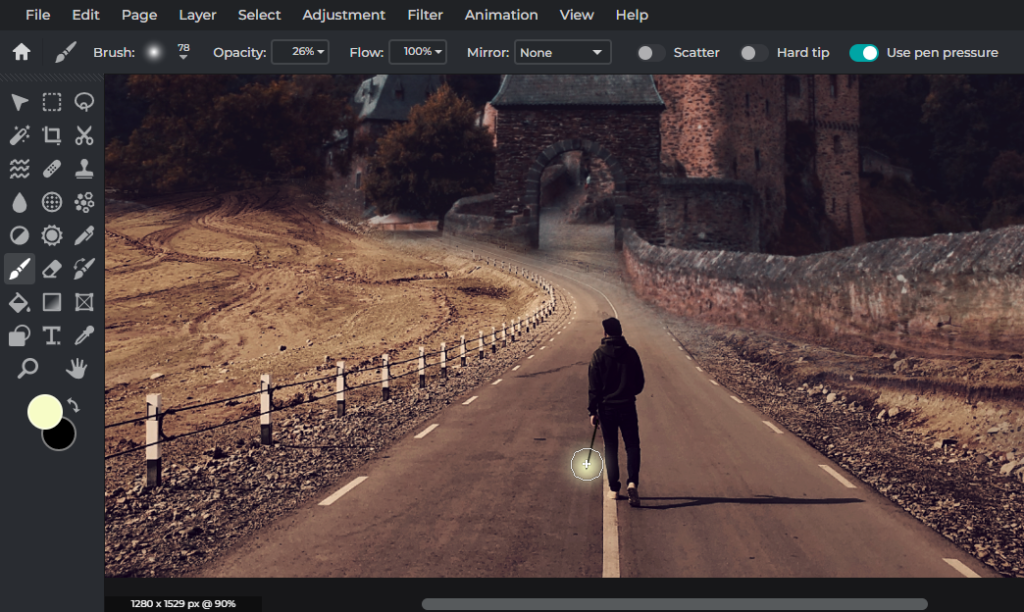
Now, it’s time to cast the famous Lumos spell – simply by using a soft, medium brush to create a ball of white light around the wand.
6. Make necessary adjustments
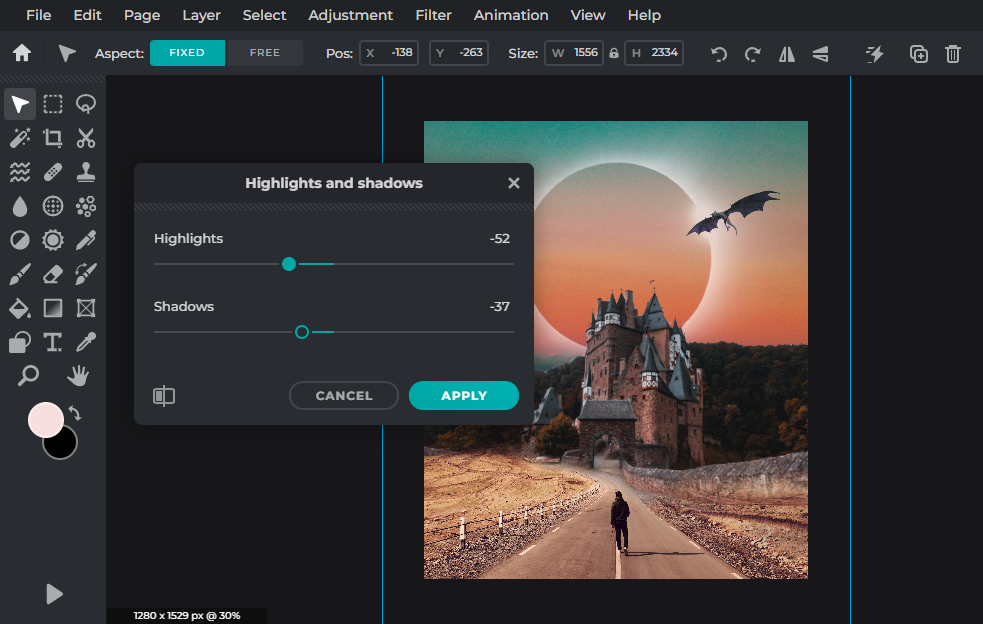
This step is essential as we’d need to make sure all the images used have a consistent look i.e. highlights, shadows, exposure, temperature, etc.
7. Add finishing elements
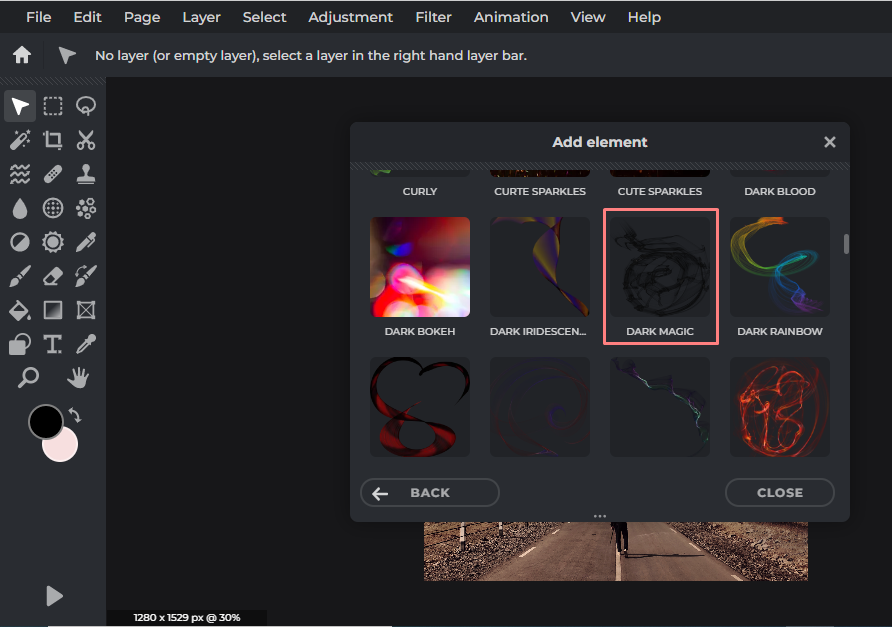
Ranging from pixie dust to bokeh overlays, Pixlr has an extensive library of elements that you can choose from to add to your artwork. Here, we’re choosing the Dark Magic element as it fits our wizarding world theme perfectly.
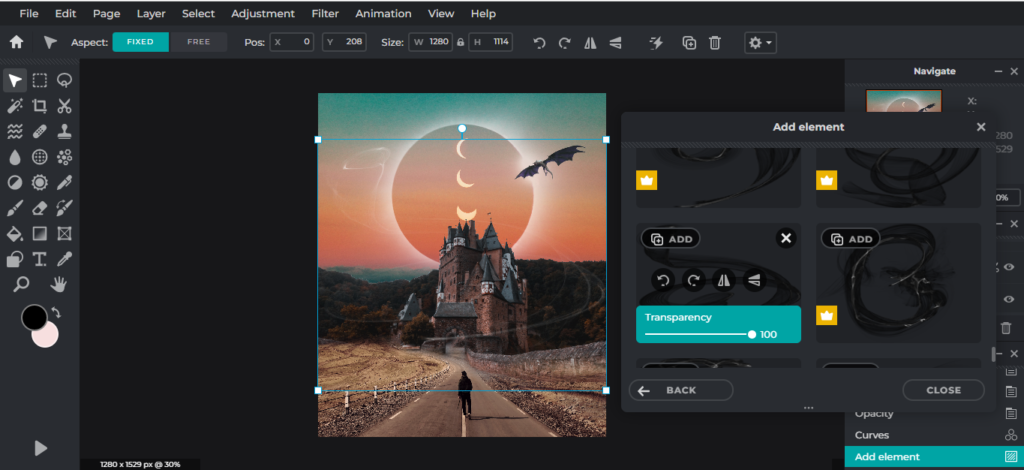
Here, we’re choosing the Dark Magic element as it fits our wizarding world theme perfectly. We’re using 2 different variations of the element, keeping the transparency at 100 for both as we want them to be visible.
Revelio!
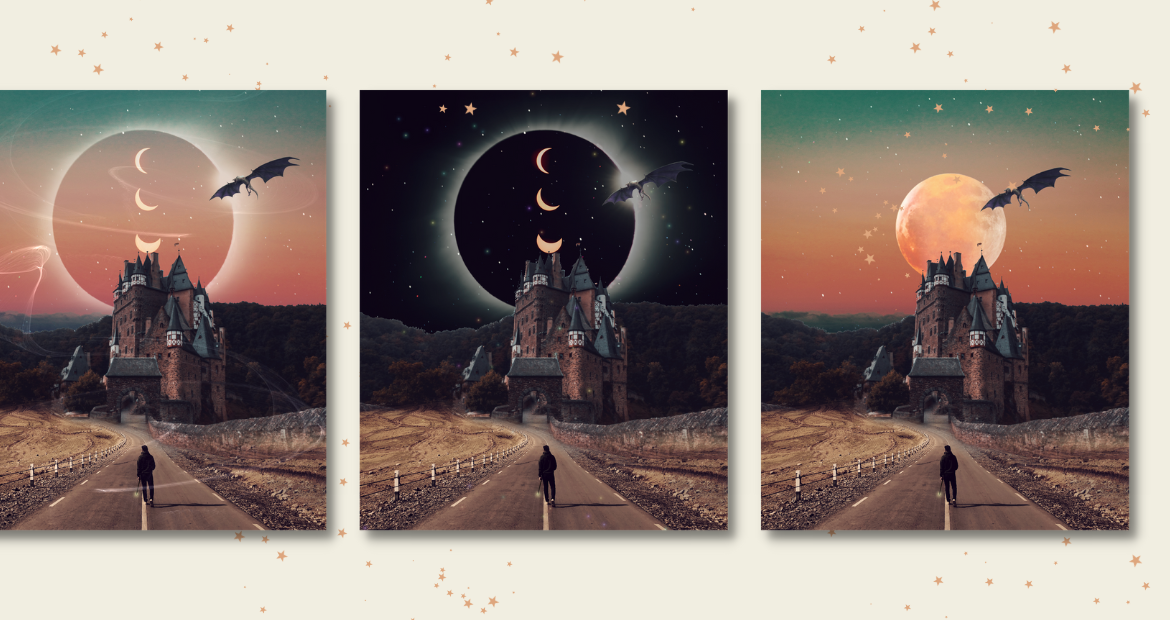
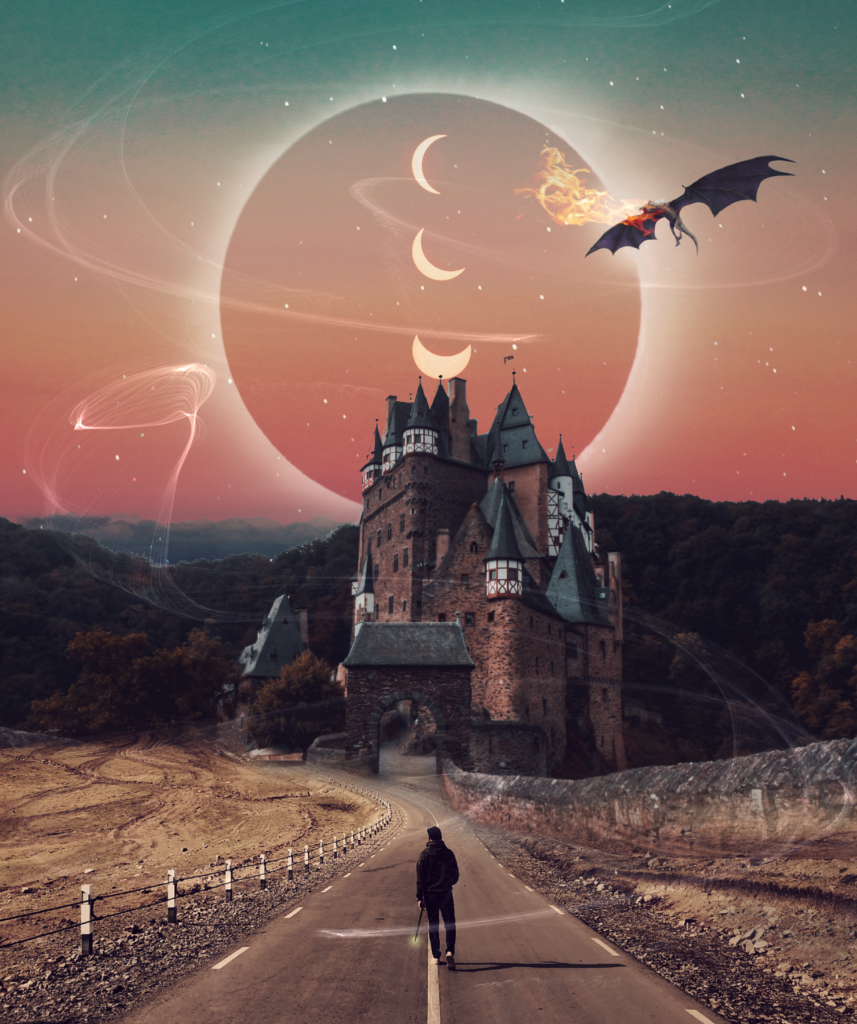
Here is our final artwork, inspired by Harry Potter and the wizarding world. But, remember, you don’t have to follow our design! Let your imagination flow, get creative and create your own magic today with Pixlr!
