How To Cartoonize Your Artwork with Pixlr
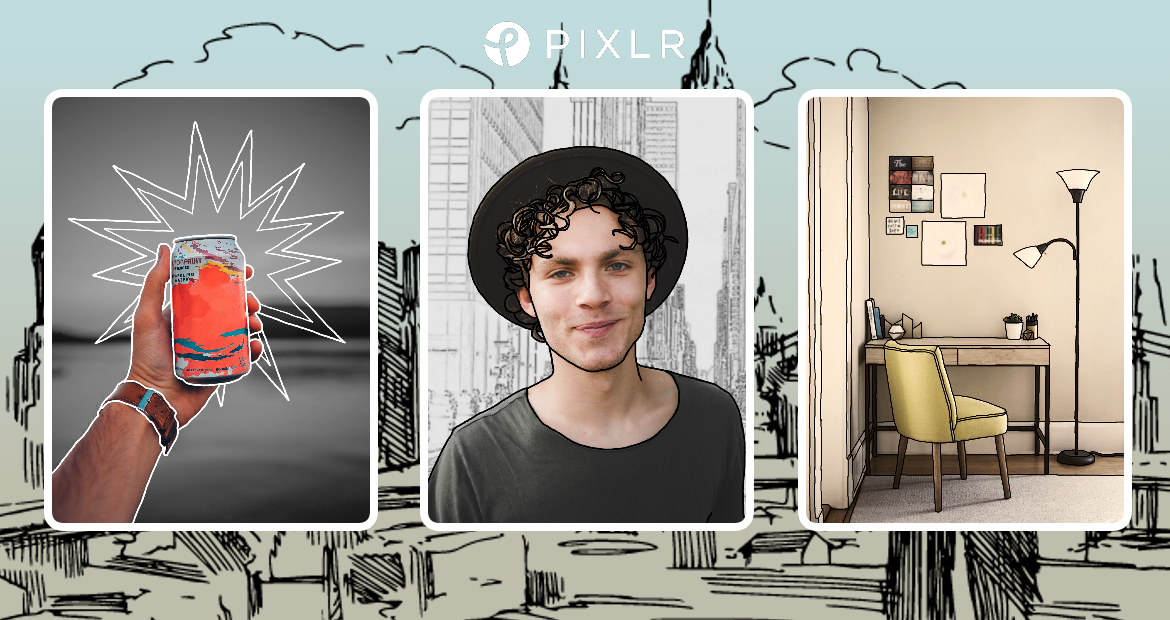
A trend that has emerged across social media is cartoon-style portrait edits, with many users creating and sharing images that have a cartoon-like appearance.
These edits can be achieved through the use of editing software or special filters. Cartoon-style edits allow users to add a unique and playful touch to their images, making them stand out. In addition, the popularity of cartoons and animated content has also contributed to this trend, as many people enjoy incorporating elements of their favorite shows and movies into their own images.
If you’re looking to turn your photos into cartoon-style images, you can consider using Pixlr, a free online image editing tool. Here’s a step-by-step guide on how to edit your images with a cartoon effect using Pixlr:
1. Remove the background
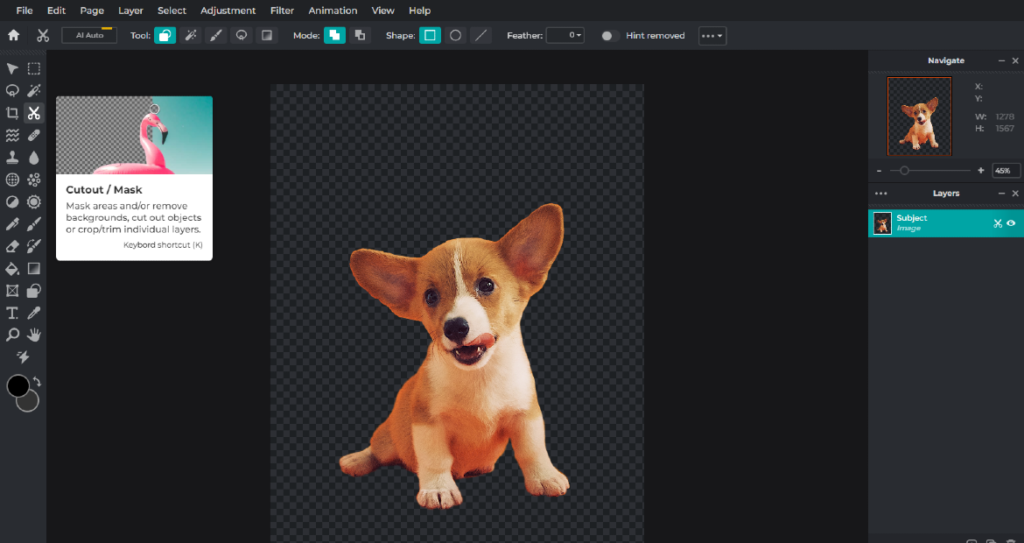
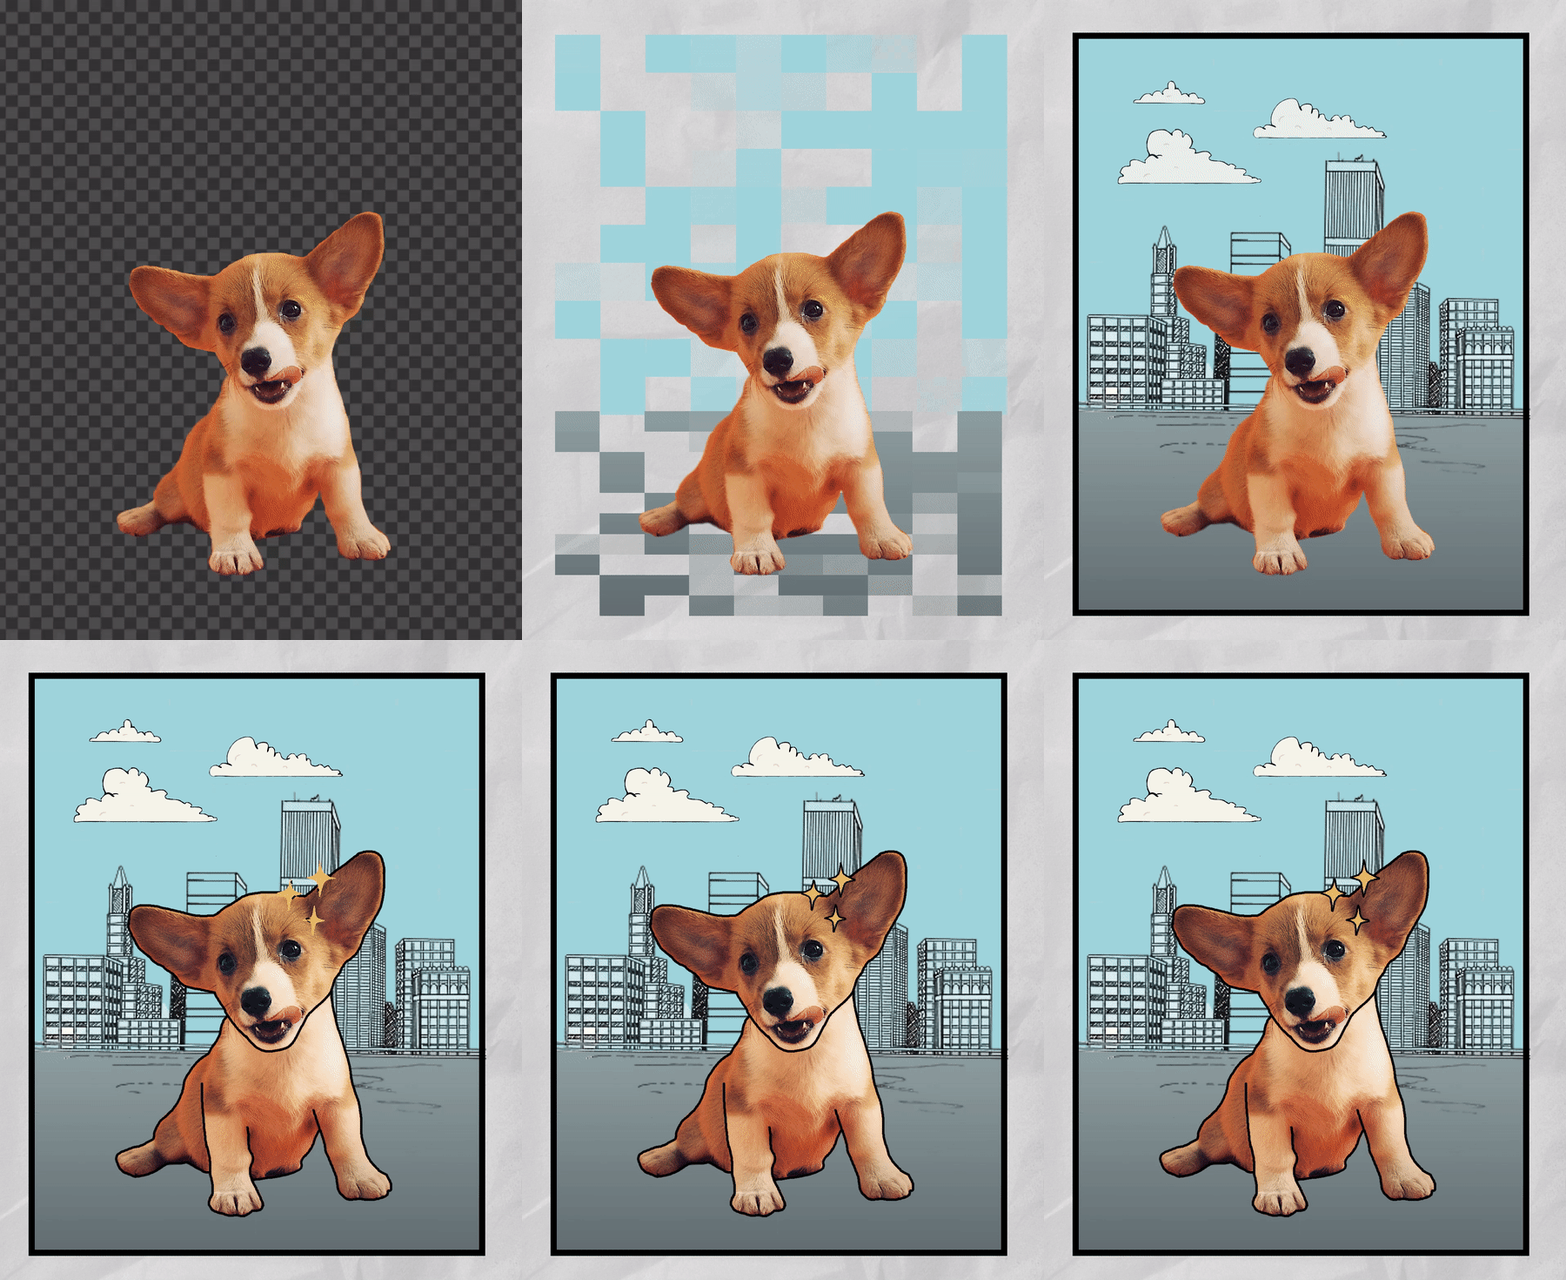
Select an image that you want to turn into a cartoon. Make sure the image is of good quality and resolution. Use Pixlr’s AI Auto Remover or the Cutout/Mask tool to remove the background from the subject. Using an image of a subject with a solid background is highly recommended to achieve the best results.
2. Shape a comic-style background
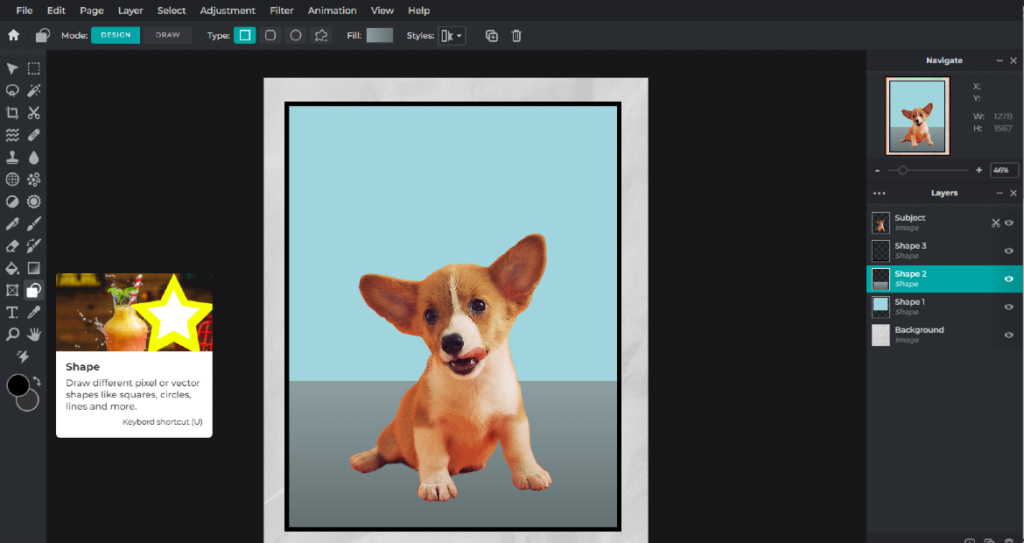
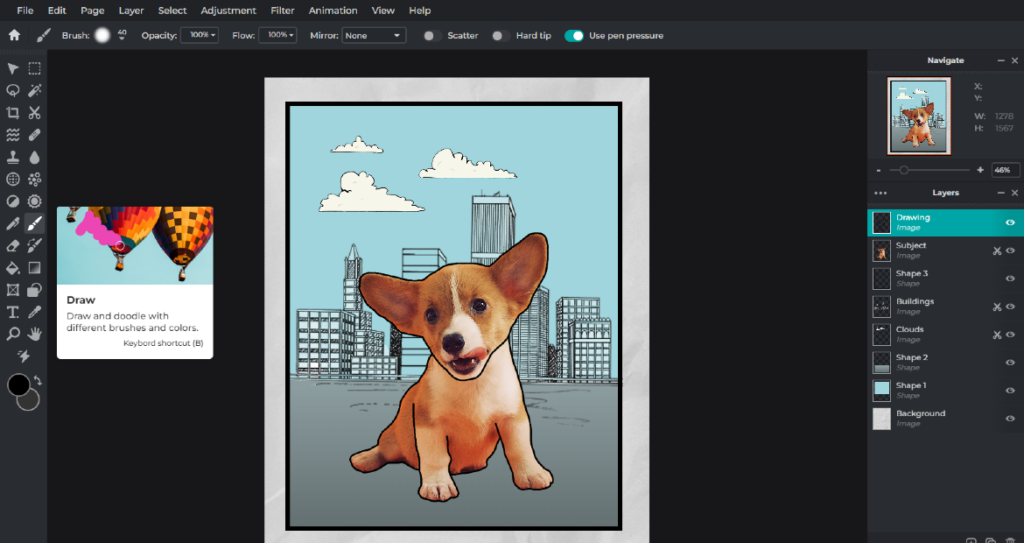
Using the Shapes tool, fill in the background that you previously removed. It is recommended to use minimalistic colors, which contrast highly with the subject. This provides a standout effect for your subject when implementing the cartoon style edit.
3. Add some layers
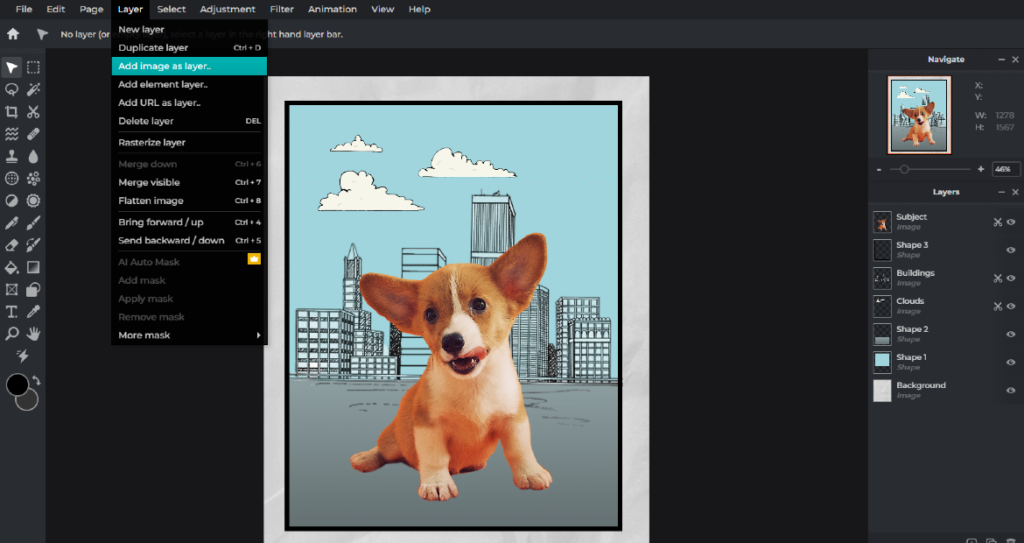
In order to give some detail to the background, try adding some images as a new layer. Even better if you can find images that are already cartoonized in the first place.
4. Outline the subject
Using the Draw tool, draw an outline following the subject’s features to give it a cartoon-style aesthetic.
 5. Adjustments to make it pop!
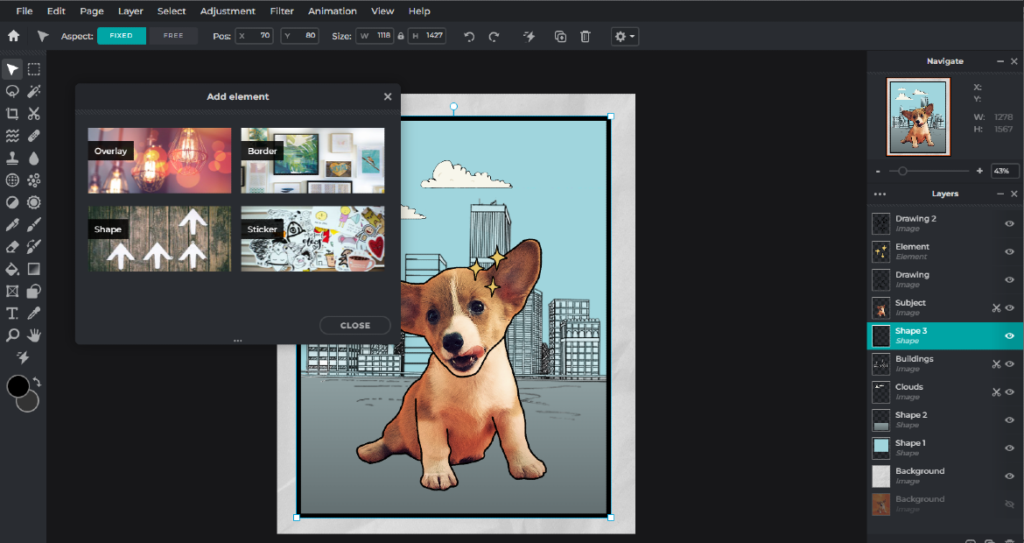
Lastly, browse Pixlr’s various elements and find some which suit the aesthetic of your artwork. Make some final adjustments by adding some filters with Pixlr’s presets.
And that’s it! With Pixlr, you can easily turn your images into cartoons with just a few clicks.
