")
Ever wondered how photographers create those dreamy, softly blurred backgrounds that make subjects stand out? That signature bokeh lens filter effect instantly gives photos warmth, depth, and a professional touch.
Traditionally, this look required expensive lenses, advanced camera settings, and hours of photo editing in Photoshop. But today, you can achieve the same effect online — no costly gear or software needed.With Pixlr’s AI-powered photo editor, you can apply a stunning bokeh filter to any image in under a minute. Whether you are a content creator, small business owner, or hobbyist, you can easily transform an ordinary photo into something cinematic and professional.
What Is a Bokeh Lens Filter and Why It Matters
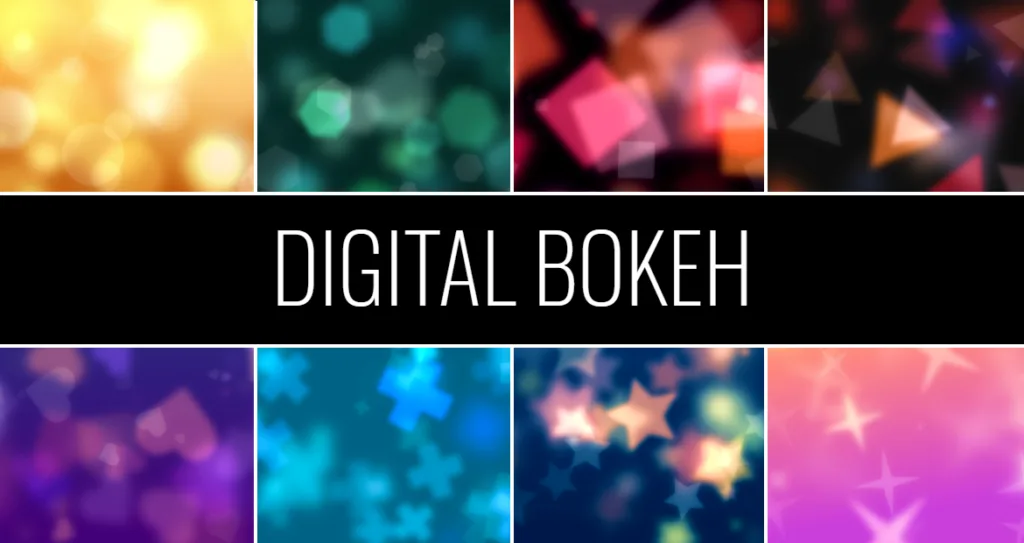
A bokeh lens filter recreates the soft, blurred background effect that comes from shooting with a shallow depth of field. The word bokeh comes from the Japanese term ボケ, meaning “blur” or “haze.”
A well-executed bokeh effect helps your photos feel polished and emotional. It can:
- Guide focus by blurring distractions behind your subject
- Add mood and atmosphere, from romantic to cinematic
- Enhance storytelling by emphasizing key details or emotions
From portraits to product shots, bokeh creates visual separation and depth that elevate even simple images.
Why Create Bokeh Digitally
Capturing bokeh naturally requires expensive equipment, ideal lighting, and perfect positioning — not always possible. By using Pixlr’s digital bokeh filter, you can get the same professional look instantly.
With Pixlr, you can:
- Adjust blur intensity, color, and bokeh shape in seconds
- Apply effects directly in your browser or mobile device
- Save money by avoiding high-end lenses or Photoshop subscriptions
Digital bokeh editing also gives you more creative freedom. You can experiment with heart, star, or circle shapes, change their tone, and fine-tune the overall depth of field without technical hassle.
How to Add a Bokeh Lens Filter in Pixlr
1. Choose Your Image
Pick a photo with a clear subject and some background depth. Pro-tip: Portraits or close-ups work best.
2. Open Pixlr Express
Go to Pixlr Express and upload your photo. Its user-friendly interface makes editing fast and intuitive.
3. Apply the Bokeh Filter
Navigate to the Filter panel and select Bokeh. You’ll see customization options for shape, size, blur, and intensity.
4. Adjust and Apply
Try different shapes and lighting tones until you achieve the perfect look. Once satisfied, click Apply and download your photo.
Creative Ways to Use the Bokeh Lens Filter
The bokeh effect isn’t just for portraits — it can add artistic flair to almost any image. Here are some inspiring ways to use it:

Portrait Photography
Soften backgrounds to make your subject stand out and evoke emotion.

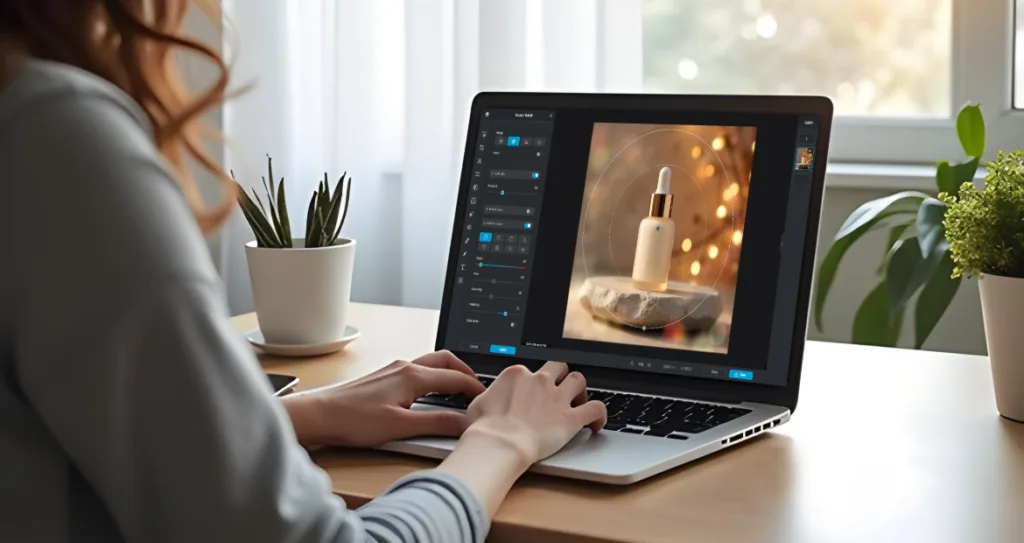
Product Photography
Add subtle blur behind objects for a clean, professional catalog look.
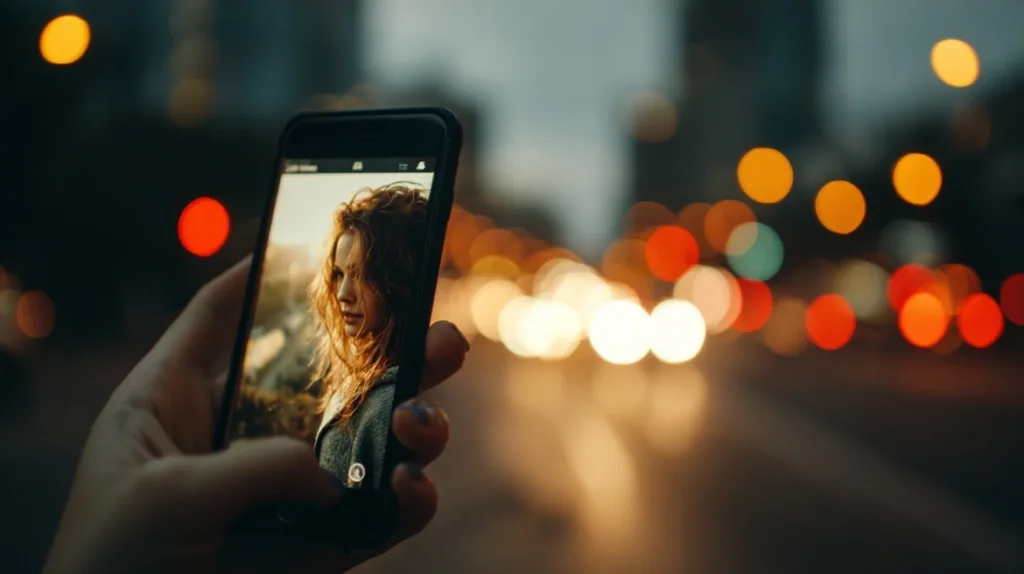
Social Media Content
Give lifestyle photos a polished, dreamy touch for higher engagement.
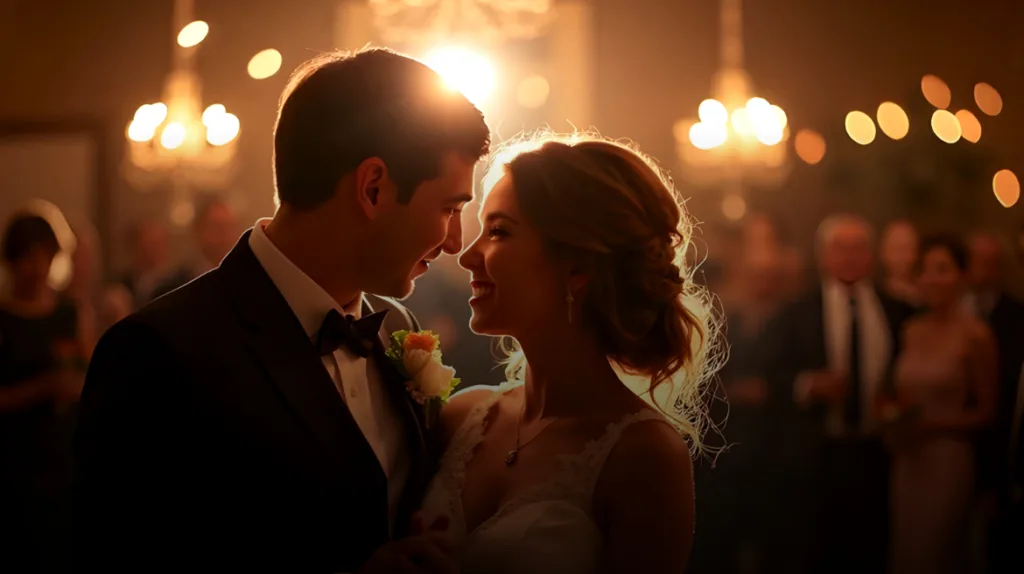
Event and Wedding Photos
Highlight faces, lights, and decor for a romantic atmosphere.
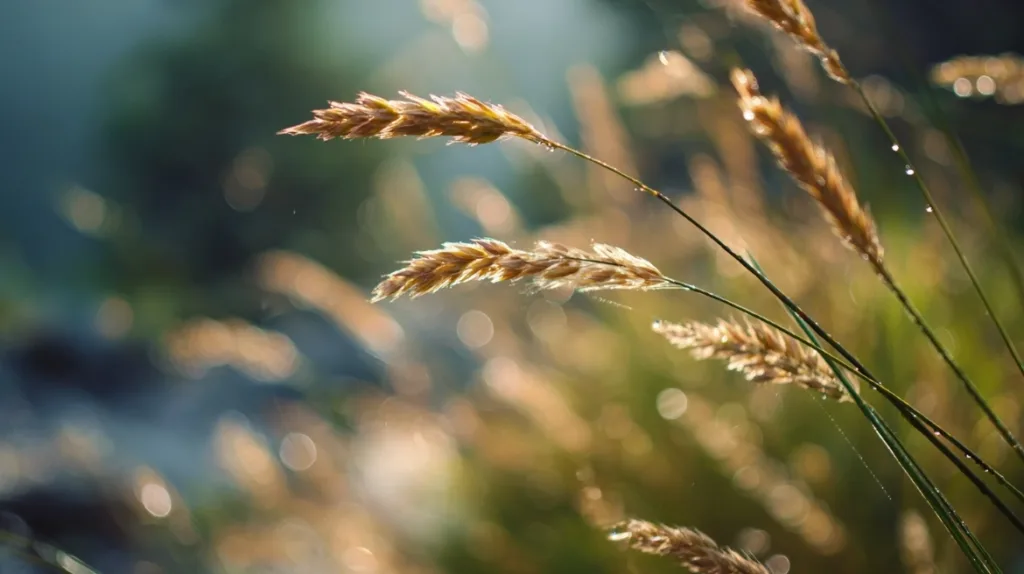
Nature Shots
Create stunning focus on flowers, leaves, or wildlife with a shallow depth of field effect.
With Pixlr’s bokeh lens filter, every image can tell a story, whether it’s emotional, artistic, or commercial.
Pixlr vs. Photoshop. The Smarter Way to Create Bokeh
When it comes to adding a professional bokeh lens filter or creating a realistic blur effect, both Pixlr and Photoshop offer powerful tools — but they differ in accessibility, speed, and cost. Photoshop provides deep manual control for advanced users, while Pixlr simplifies the process with AI-powered features that make beautiful bokeh filters achievable for everyone, right in your browser.
| Feature | Photoshop | Pixlr |
| Steps to add shaped bokeh | 5+ (layers, brushes, blur filters, masking) | 1 (select shape in Bokeh tool) |
| Learning curve | Steep | Beginner-friendly |
| Time Required | Manual creation only | Built-in shapes (circle, heart, star, etc.) |
| Cost | Paid (subscription) | Freemium |
Pixlr makes bokeh editing faster, easier, and accessible to everyone — even without advanced design skills.
Pro Tips for Realistic and Beautiful Bokeh
Achieving a realistic bokeh effect is about more than simply adding blur. It requires balance, depth, and thoughtful use of light. The secret to beautiful bokeh lies in how you separate your subject from the background and how naturally the depth of field appears. Start by selecting an image with a clear subject and background separation. A well-defined subject helps the bokeh filter guide the viewer’s eye to the right focal point while keeping the background soft and elegant.
Keep your background simple to avoid distractions. A clean and uncluttered background allows the bokeh lens filter to stand out, creating a smoother and more cinematic result. Pay attention to lighting as well. Natural light, especially during golden hour or in soft daylight, produces smoother transitions and a warmer, more organic bokeh effect.
When editing in Pixlr, use its AI enhancement tools to simplify your workflow. Pixlr automatically detects the subject, applies realistic blur gradients, and simulates a natural depth of field for a professional result. Always start with a high-resolution image, since higher quality ensures sharper edges and a more convincing blur. By carefully adjusting lighting, color, and bokeh shape, you can create bokeh filters that look authentic and artistic. With Pixlr’s AI-powered tools, achieving professional, photo-realistic background blur is simple and accessible to everyone.
Create Dreamy Bokeh in Seconds
You no longer need expensive lenses or complex editing tools to achieve beautiful, professional-quality blur.
With Pixlr’s bokeh filter, you can instantly add depth of field, glow, and soft background blur, all from your browser or mobile device.
Try it now in Pixlr Express or Pixlr Editor, and turn your everyday photos into cinematic masterpieces with the perfect bokeh lens filter.
")
")