Surreal Composites: How to Blend Images Together in Pixlr E
If you’re a photographer or digital artist, then you’re definitely no stranger to image blending and photo manipulation. But even if you’re not a professional, you can still explore the world of compositing and visual storytelling.
Most photographers and artists would normally use Photoshop to blend photos and create composites. But why spend so much money and time on Photoshop when you can achieve equally stunning results in a less amount of time with Pixlr?
In this step-by-step guide, we’ll show you exactly how to create an eye-catching surreal composite by blending 2 images in Pixlr E!
What is surrealism?
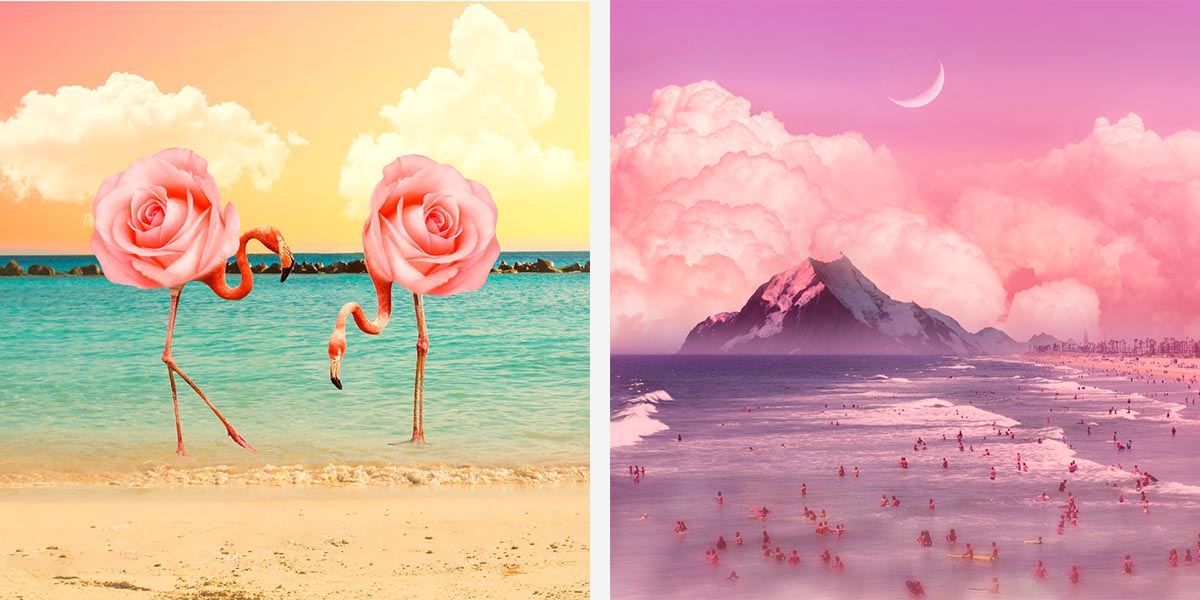
Essentially, surrealism is the act of melding reality with dreams to create imaginative juxtapositions of imagery. It focuses on normal subjects, things we see or encounter in our everyday lives, and presents them in a dreamlike way. Surreal art, at its core, provides temporary refuge for those seeking relief from the harsh realities of life, for those who want to escape the real world.
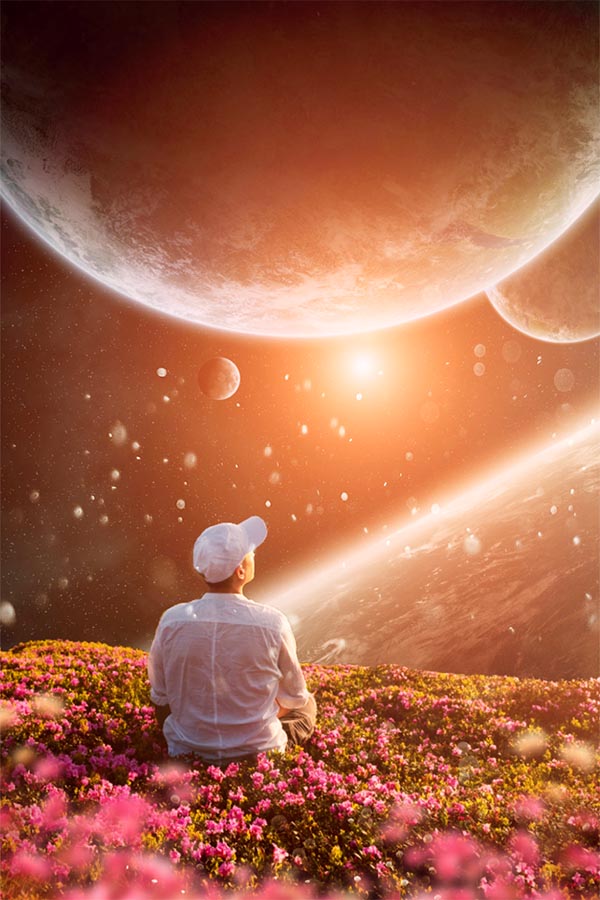
By blending the right photos together, you can turn the most mundane objects or unexpected locations into a seamless surreal scene, a dreamscape of your own. It can be a conceptual piece that tells a story or evokes a certain emotion, or it can simply be a fun, whimsical visual feast that offers your audience a glimpse into your imagination
Now, without further ado, let’s get started on your surreal composite:
Step 1: Choose the right images
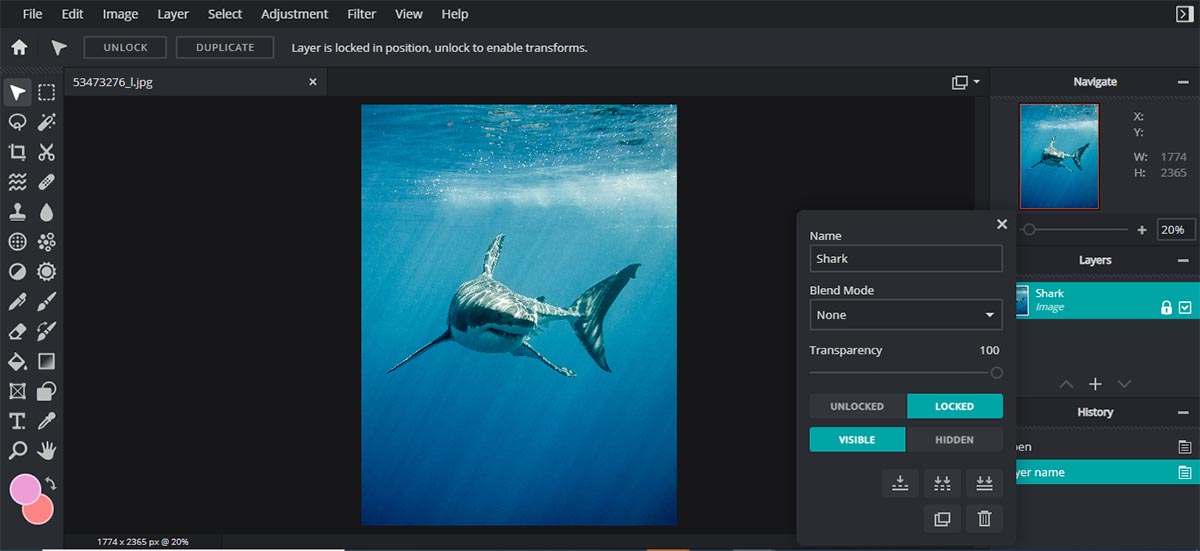
When creating composites, it is advisable to choose an image with a simple background. Go to Pixlr E and open the image of your choice.
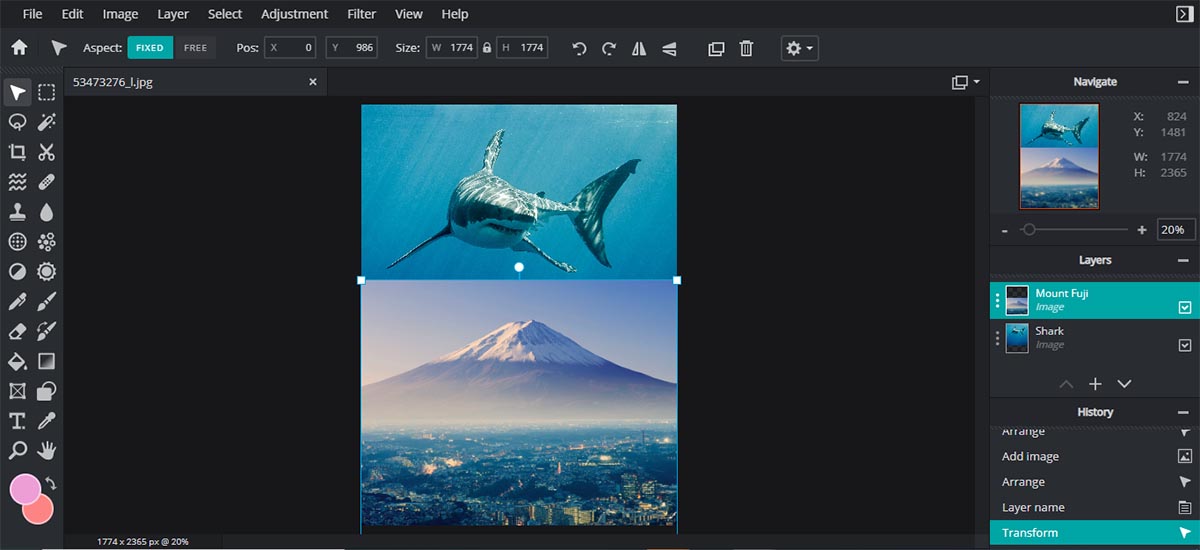
Here, we have an image of a great white shark swimming in the ocean. The shark is the only subject in the photo (foreground), and there’s nothing else in the blue ocean waters (background).
Now, choose your second image and layer it on top of your first image. You can click on the “+” button in the Layers panel on the right to add another image.
We’ve chosen a photo of the iconic Mount Fuji, with the mountain being the primary focus of the image.
Step 2: Adjust Hue & Saturation
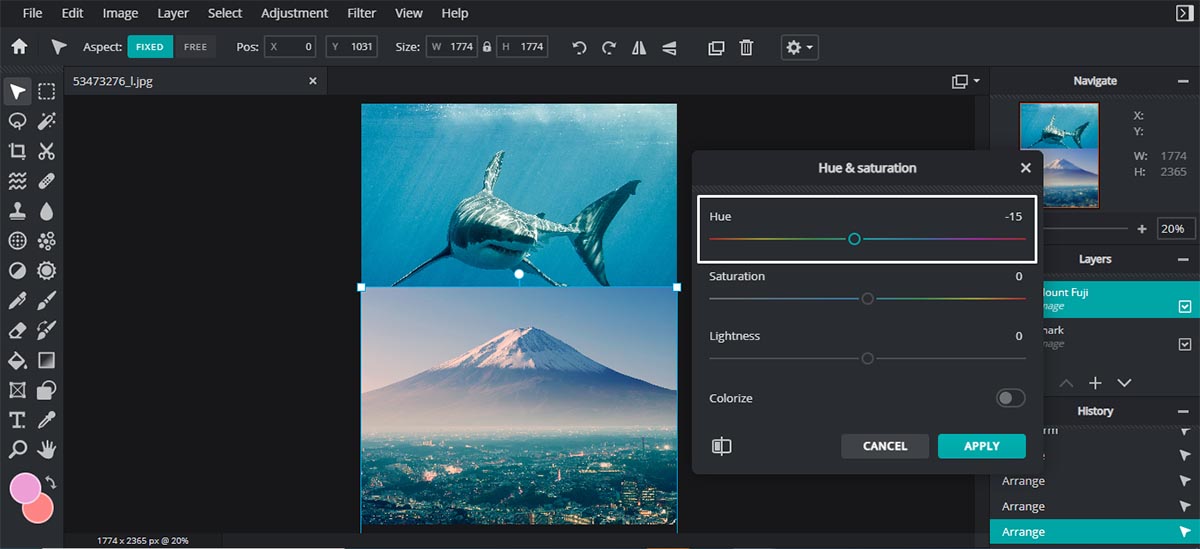
Color correction is a very important step, especially when you’re trying to merge different photos together.
In order to create a cohesive look, you need to match the background colors of both images by using Hue (Adjustment > Hue & Saturation). You can easily change the colors of the images simply by dragging the slider.
If you think the colors of the images are too muted or dull, you can increase the Saturation. But remember not to overdo it – moderation is key.
Step 3: Use Cutout/Mask
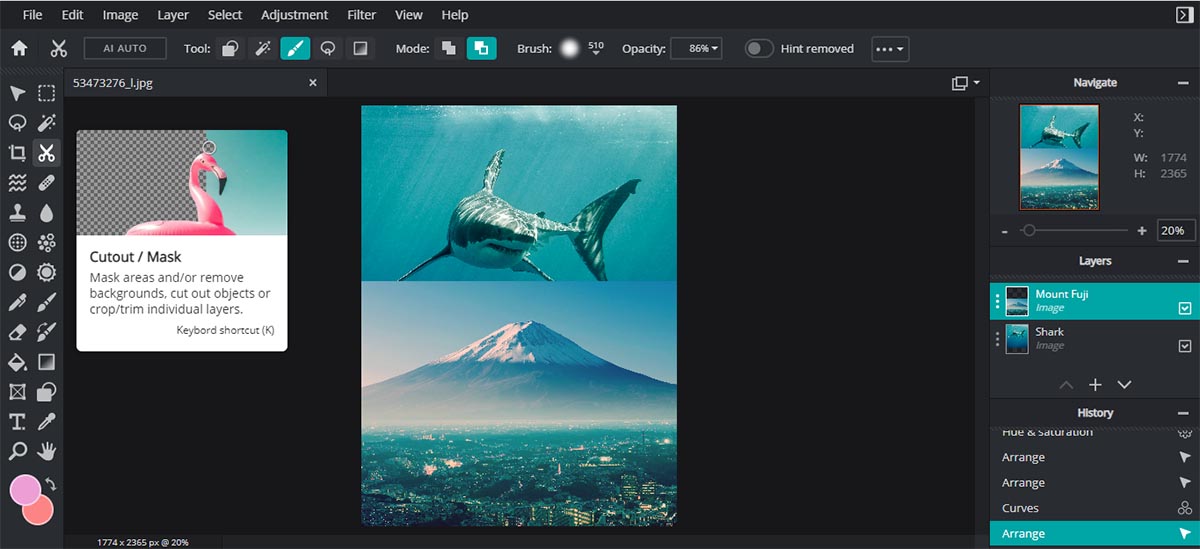
A lot of our Pixlr users would gravitate towards the AI Auto background removal tool. But for this edit, we’re going to use the Draw Mask to “blend” the images instead.
After you’ve selected the Draw Mask, go to Mode and choose Remove from Mask. Now, you’re free to adjust your Brush size, softness and opacity.
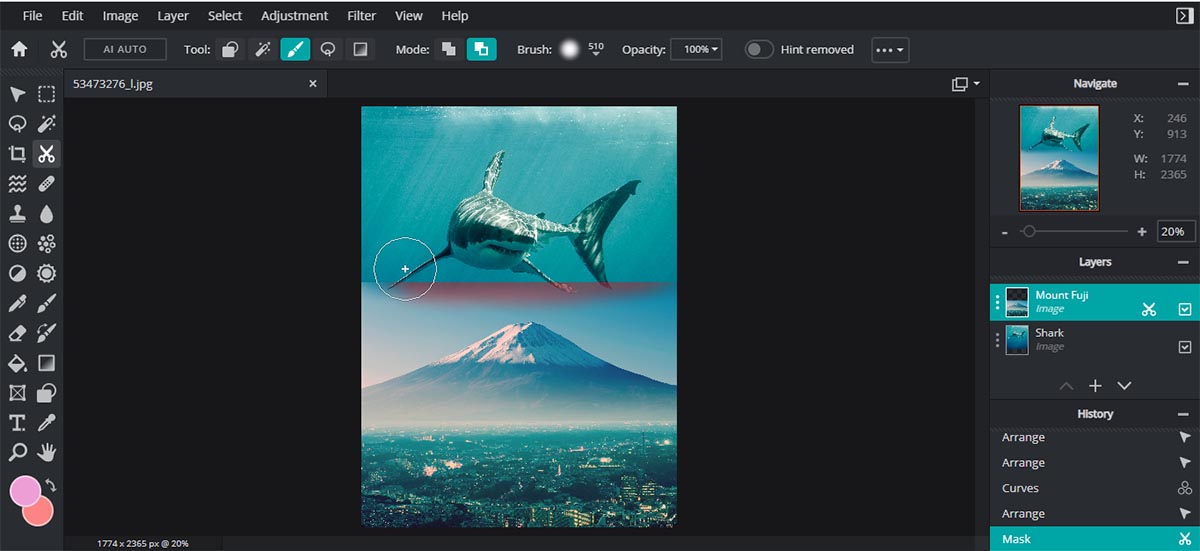
We recommend a large and soft brush with a high opacity to efficiently remove the edge/border of your image.
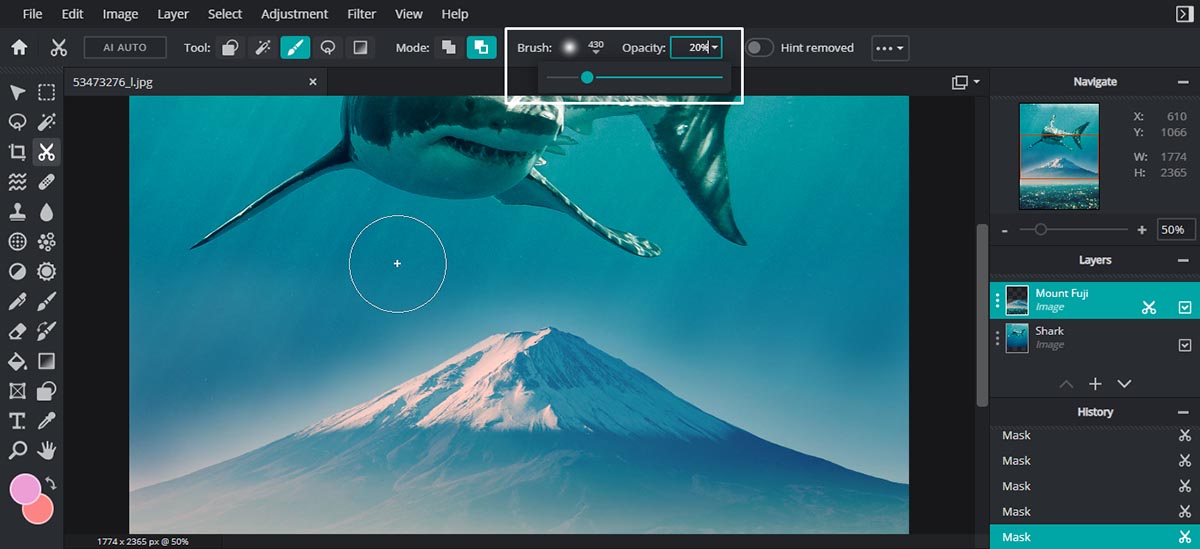
As you’re erasing unwanted parts of the sky in the image, you should reduce your brush size and opacity so that you don’t end up removing the tip of the mountain.
You can continue to “brush” to your heart’s content by alternating between different brush sizes, levels of softness and opacity.
Step 4: Add your favorite Overlay
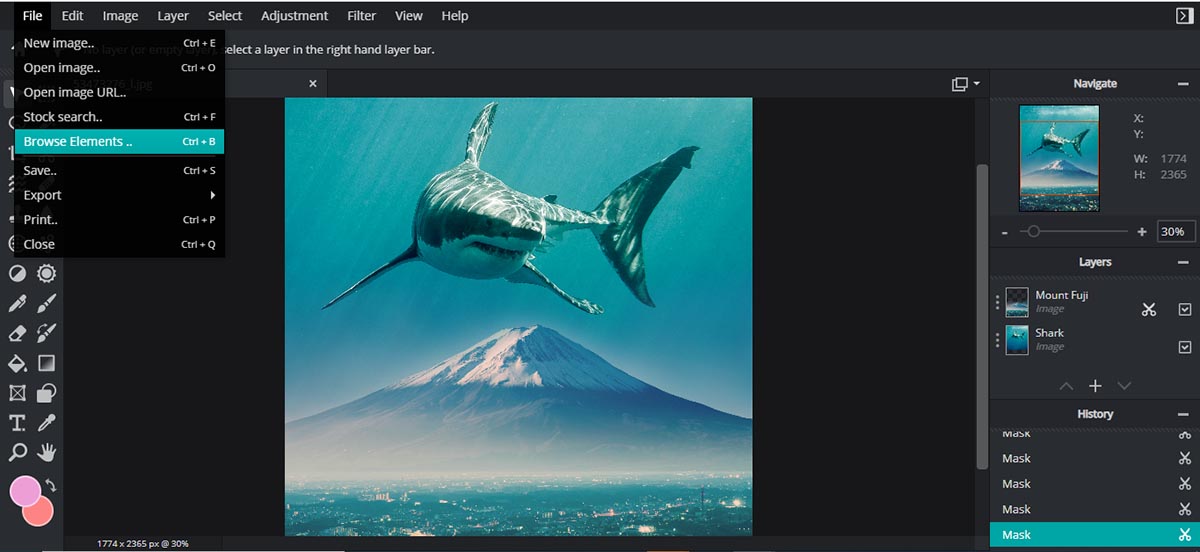
Now, go to File and click on Browse Elements.
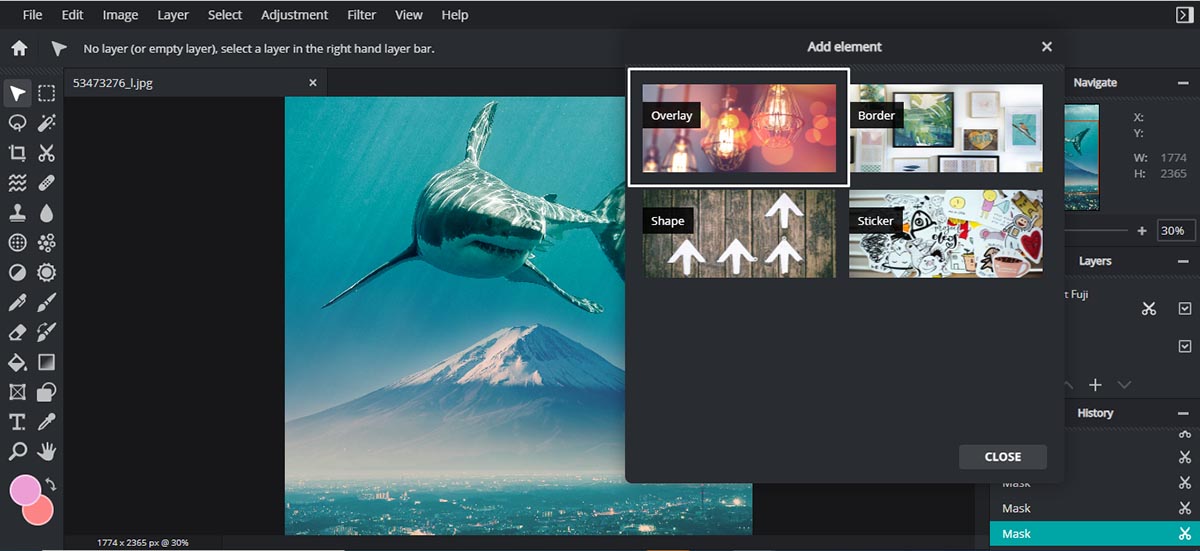
Click on Overlay and choose your favorite. Be it Bokeh or Colorful Stars – whatever works for your composite.
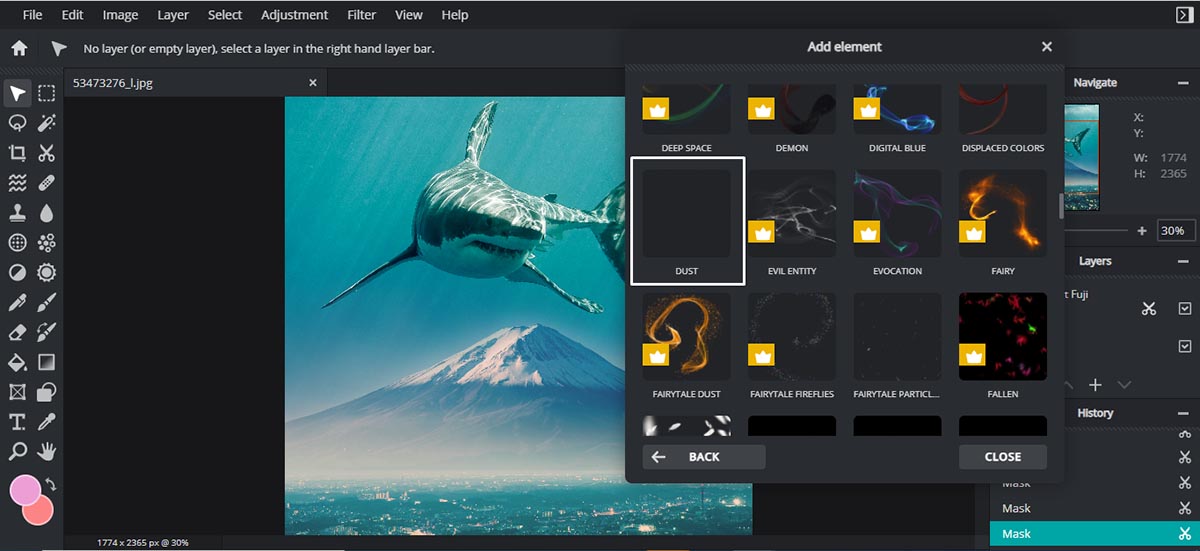
For our Shark/Mount Fuji composite, we’re going for a Dust overlay to further accentuate the sun rays penetrating the ocean surface and create a more realistic underwater view.
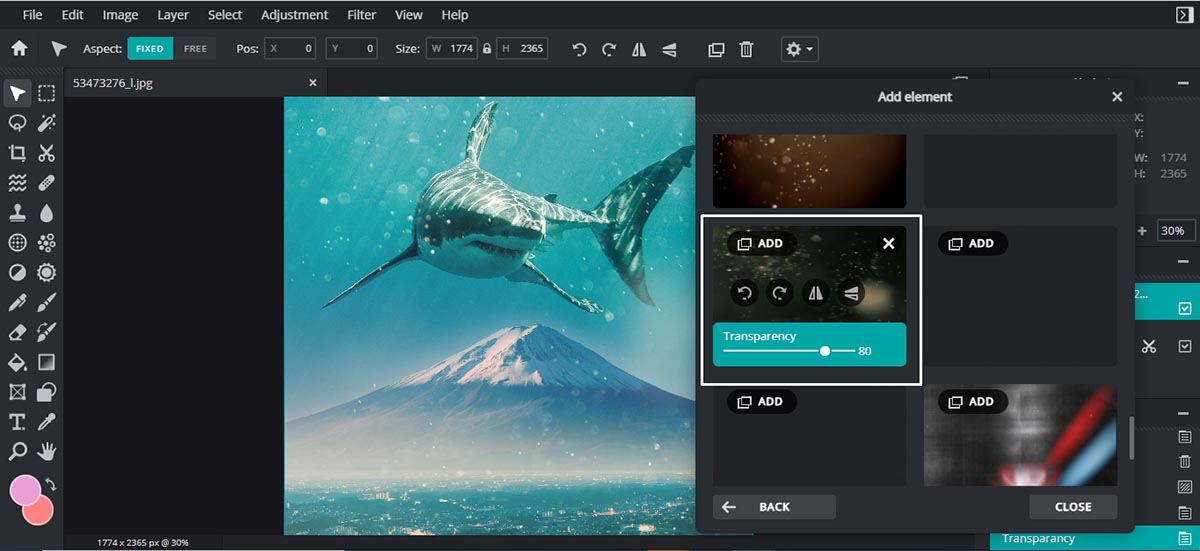
Feel free to adjust the transparency of your chosen overlay. You can also rotate or flip it however you like.
And voilà, there you have it – the final product!
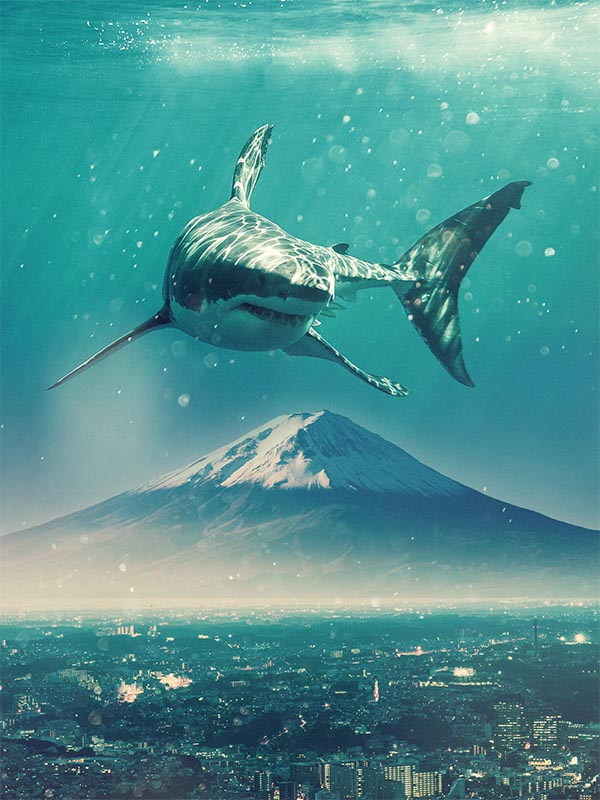
A simple surreal composite that can be done in merely 4 steps!
Once you’ve grasped the concept of color correction and mastered the art of masking, you can easily create dreamy composites and surreal artwork in a matter of minutes without the hassle of paying for or learning Photoshop.
With Pixlr, you can quite literally bring your imagination to life, create your own world where anything and everything is possible!

Article written by Jingxi Lau


