Using the History Brush to Create Layered Effects
If you’re a regular user of the web version of Pixlr Express, you may have used the history brush before. If you’re not, give it a look and see if it’s a tool you might want to use. The history brush can sometimes be misunderstood, so I wanted to offer a few pointers for those folks who may have seen it show up but who don’t know how it works.
I think of the history brush as an undo brush. You always have an undo button to fully undo the last effect or border or overlay you’ve added, but what if you wanted to just remove part of an effect and not the whole thing? That’s where the history brush comes in. I’ll show you what I’m talking about from the web interface, and then I’ll show you what it looks like on an iPhone; they’re both essentially the same tool.
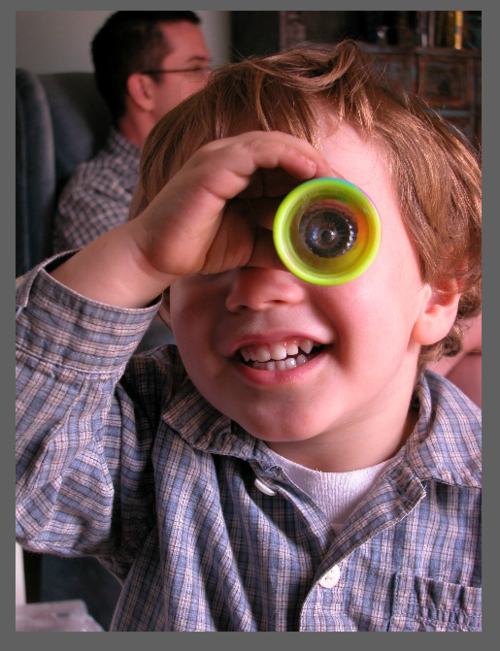
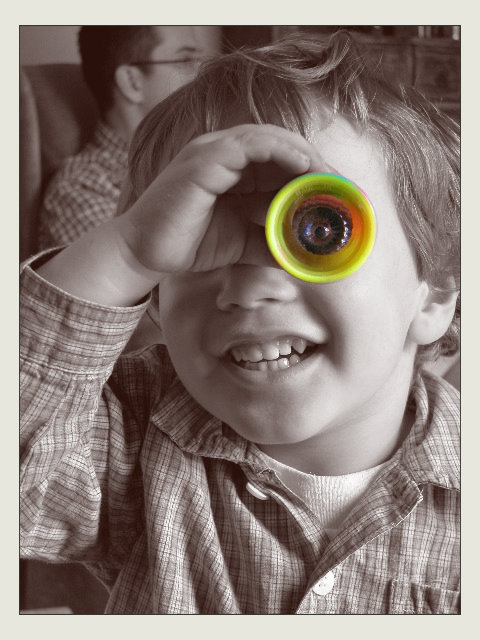
I have this very colorful photo of a boy looking through a kaleidoscope directly at the camera (look closely and you can see his eye through the kaleidoscope lens). I’m going to turn the entire photo into a sepia-toned image by applying one of the “too old” effects — the one called “Henry” — to the photo.
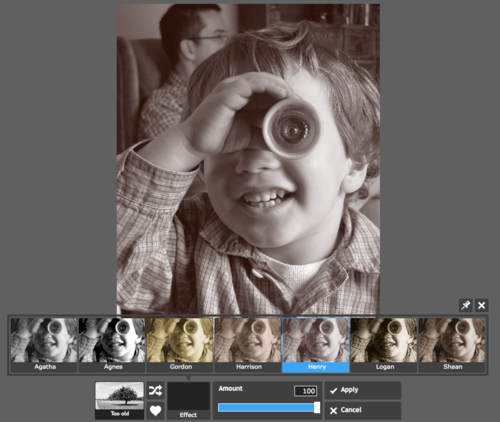
Then, I decided I wanted to undo part of the effect so the circle that represents the kaleidoscope will be in color — the look of the original photo.
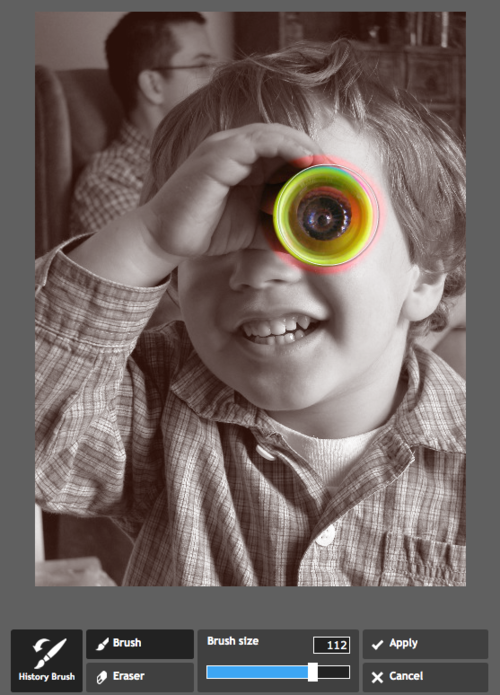
I basically painted away part of the “Henry” effect using the history brush. I got a little sloppy while using it, so I used the eraser option of the history brush to bring back some of the color. I adjusted the size of the brush to get the finer points of erasing just right.
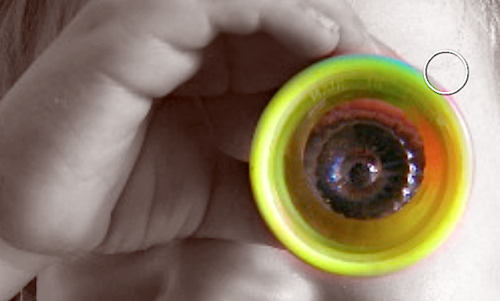
In this way, I was able to partially undo an effect I added. The end result looks great and achieves what I was going for — a photo with a flourish that hints that what the boy is seeing through the kaleidoscope is way different than what we see when we look at him. Let’s call him “The Boy with Kaleidoscope Eyes.”
There are lots of other uses for this like removing part of a border you’ve added, a detail from a sticker that you don’t like, or some of the stars from an outer space effect.
It works essentially the same way on your phone or tablet. I’ll show you.
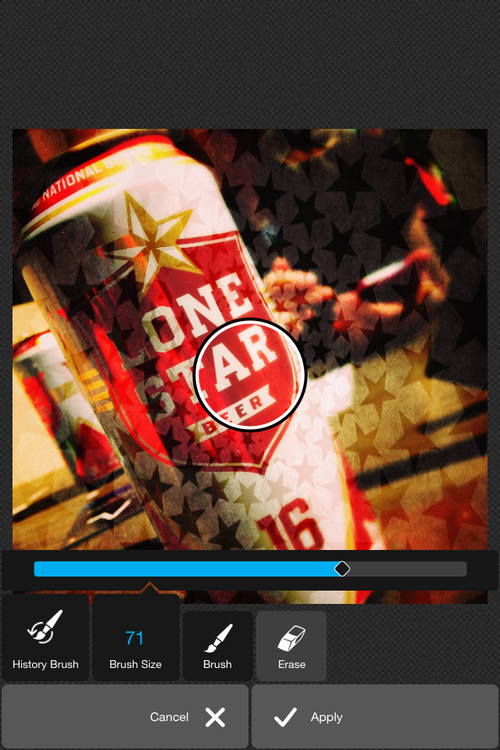
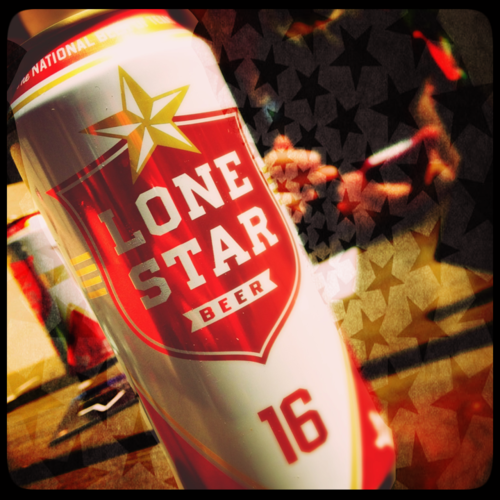
Here I laid down a star pattern and then removed the stars from the area of the beer can itself with the history brush. Adding adding this mask of a sort makes the beer can stand out while giving a nice appropriate texture to the background.
Those are the essential things to know about the history brush. Try it out the next time you’re doing detailed editing on a photo with your phone or tablet. It can help you add just that little extra detail to your photos to make them a little more special.