
Ever taken a great photo, only to realize the background doesn’t quite work? Maybe there are too many people in the background, your room is a little messy, or the setting simply doesn’t match the design you have in mind.
Before you delete the photo or spend time manually cutting around your subject, try giving it a fresh start with a background remover.
With Pixlr’s Background Remover, you can separate the main subject from its original surroundings and turn it into a flexible visual that can be reused in all kinds of creative projects.
And removing the background doesn’t have to be the final step. Once you have a clean cutout, you can move it, resize it, layer it, redesign it, or place it somewhere completely new.
So, what can you actually do with a background-free image? Let’s explore six simple ways to put your cutouts to work in Pixlr.
First, Start With a Clean Cutout
Before getting creative, you’ll need a good starting point. Upload your image to Pixlr’s Background Remover and let it separate the main subject from its original background.
The best part? You don’t need to spend ages tracing around every edge. Once the background is removed, you’ll have a standalone subject ready to bring into your next design.
A Quick Tip for Better Cutouts
For a cleaner result, start with a clear, good-quality image where the subject is easy to distinguish from the background. It’s also worth taking a quick look at small details such as hair, fur, clothing edges, or thin objects before using the cutout in your design.
Once you’re happy with your subject, that’s when the fun begins.
1. Turn Your Photos Into Design Elements (Image)
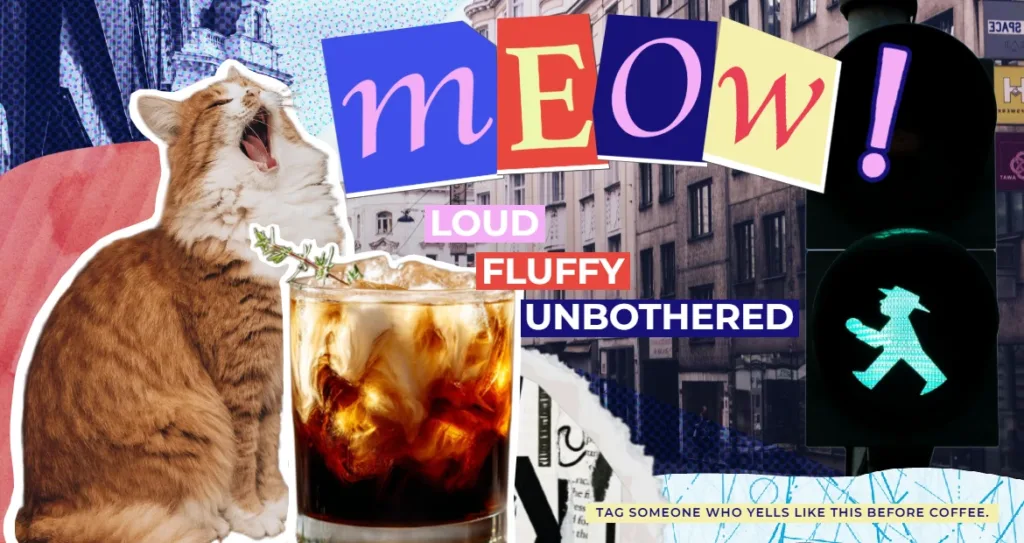
A photo doesn’t always have to stay a photo. Remove the background and your subject can become another design element that you can place wherever you want.
Try adding a person to a poster, placing your pet into a greeting card, or combining a favorite object with text and graphics. You can also use Pixlr’s Elements, shapes, and text tools to build around your cutout and create a complete composition.
Instead of letting the original background decide how your photo looks, you get to decide what comes next.
2. Make Your Own Custom Stickers (Image)
Want to turn your photos into something a little more playful? Background-free images make a great starting point for custom stickers.
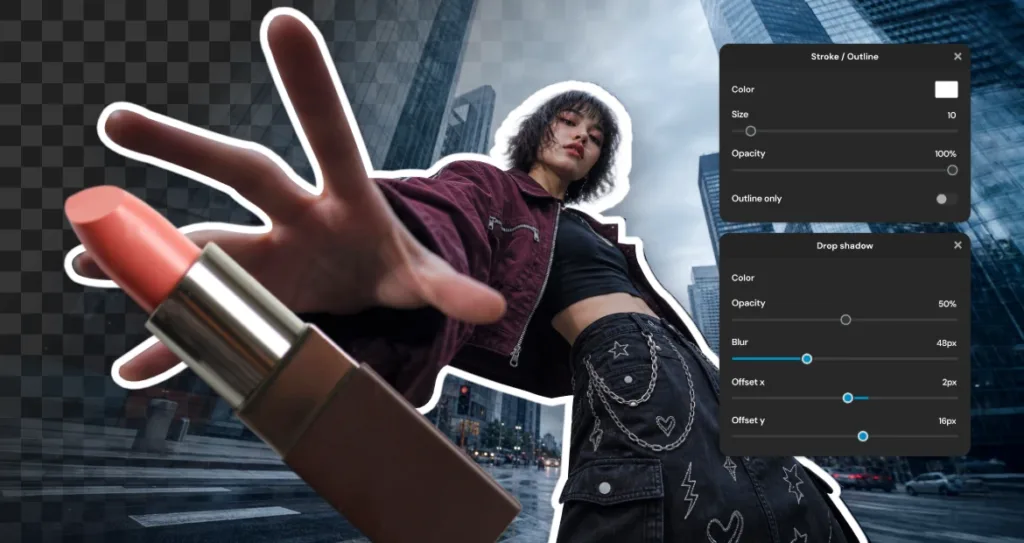
Take a photo of yourself, your pet, your favorite food, or even an everyday object. Remove the background, then give the cutout a sticker-style treatment before adding it to your next creative project.
Add an Outline or Shadow
A simple outline can help your subject stand out and give it that familiar sticker look. You can also add a shadow to create more depth and help the cutout pop against the background.
From there, add text, decorative Elements, or other stickers to give your creation more personality.
Make It Personal
The best part about making your own stickers is that almost anything can become one. Turn your pet into a cute sticker, create a sticker from your latest outfit, or make a fun graphic from your favorite object.
It’s an easy way to turn everyday photos into something you can use in your designs again and again.
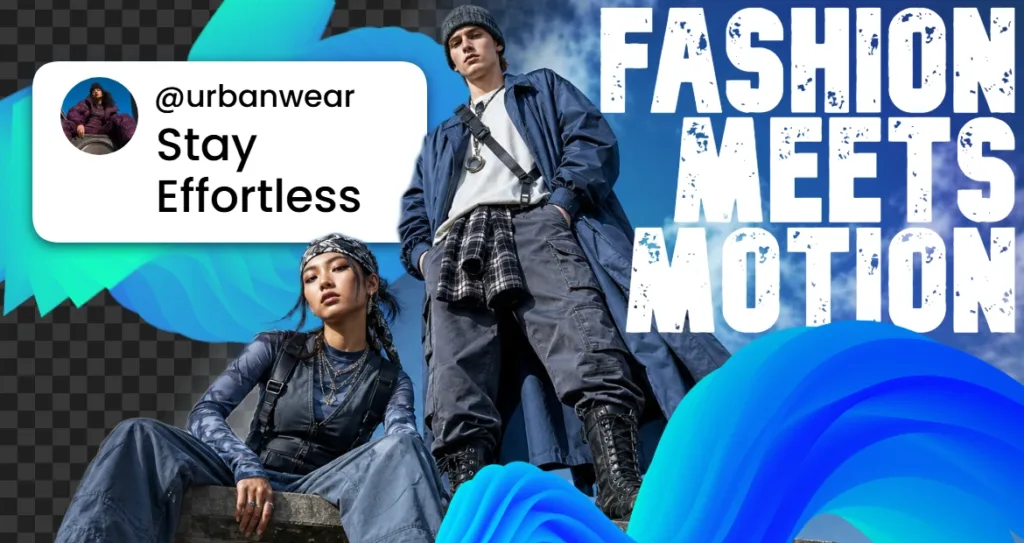
3. Create Thumbnails and Covers That Stand Out (Image)
When you’re creating a thumbnail or cover, you want people to notice the main subject quickly. A busy original background can make that harder.
Removing the background gives you more control over the composition. Place your subject against a bold color, a new image, a gradient, or another visual, then add your headline and supporting graphics.
This works especially well for YouTube thumbnails, video covers, blog graphics, podcast artwork, and social content.
Make the Subject the Star
Try keeping the main subject clear and easy to see, while using the new background to support it rather than compete with it.
For example, a portrait can sit on one side of a thumbnail while a large headline fills the other. A product can be enlarged and placed in the center of a promotional graphic. With the background out of the way, you have much more freedom to experiment with the layout.
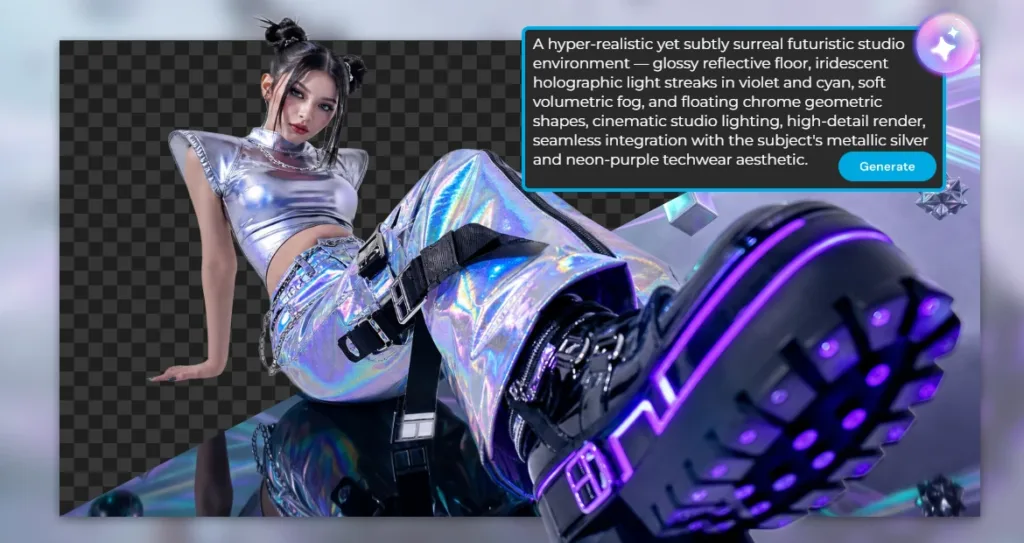
4. Put Your Subject Somewhere Completely New (Image)
Here’s where background removal can take your image beyond a simple edit.
Your subject doesn’t have to stay where you originally photographed it. Remove the old background and give the image a completely different setting.
A portrait taken indoors could become part of a dreamy outdoor scene. A product photographed on a table could be placed into a polished lifestyle setting. Even a simple photo of your pet can become part of a fun fantasy composition.
Mix Real Photos With AI Creativity
You can also combine your real cutouts with Pixlr’s AI tools to create something that wasn’t possible in the original photo.
Start with a real person, product, or object. Remove its background, then experiment with a new AI-generated setting around it.
For example, turn an everyday portrait into an autumn scene, place a product in a futuristic environment, or create a completely imaginary setting for your pet.
The result starts with something real, but the final image can be as imaginative as you want.
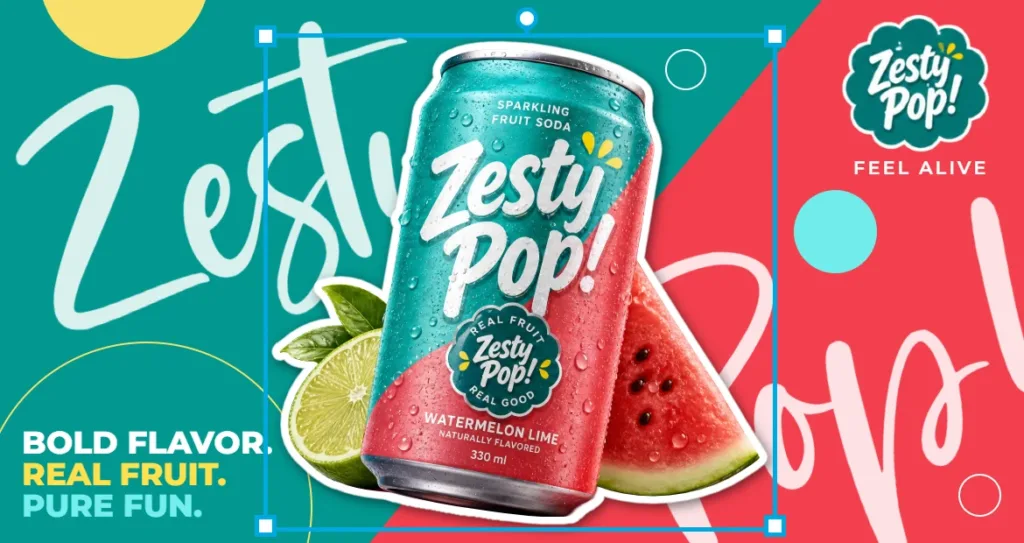
5. Give Product Photos a Creative Makeover (Image)
Background removal can also be useful when you’re creating promotional content for a product.
Instead of using the same product photo exactly as it was taken, separate the product from its original setting and use it as the main element in a new design.
Create a product launch graphic, build a seasonal promotion, design a sale announcement, or create a social ad around the same product cutout.
The real advantage is flexibility. Once your product is separated from its original background, you can experiment with different layouts and creative directions without having to photograph the product again for every idea.
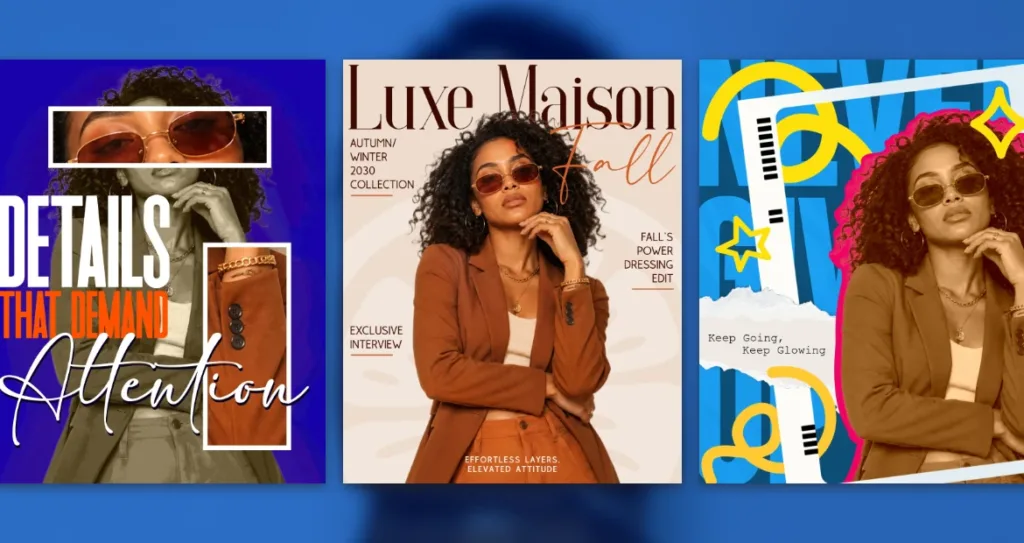
6. Turn Your Cutouts Into Reusable Assets (Image: To try 3 different designs but same cutout stickers used)
Sometimes the most useful thing you can do with a background-free image is simply keep it.
Think of your cutouts as a small library of visual assets you can return to whenever you need them. Instead of starting from the original photo each time, you already have the subject prepared and ready to use.
Build Your Own Visual Library
You could save background-free versions of your favorite portraits, pets, products, food, fashion pieces, or everyday objects.
Then reuse them across posters, invitations, thumbnails, social posts, presentations, and other creative projects.
Over time, a few simple cutouts can become a handy collection of assets that helps you create new designs faster.
A Few More Ideas to Try
Once you start looking at your photos as cutouts instead of finished images, there are plenty of other possibilities to explore.
Create a digital collage: Combine people, objects, photos, and graphics from different sources into one composition.
Design an invitation: Use a portrait or object as the centerpiece of a birthday, wedding, or seasonal invitation.
Make a fashion mood board: Remove the backgrounds from clothing pieces and arrange them together to create a clean outfit or inspiration board.
Create playful pet content: Turn your pet into a sticker, poster, or themed social graphic.
Try seasonal designs: Give an existing photo a new look by placing your subject into an autumn, Halloween, Christmas, or summer-inspired scene.
Sometimes, the simplest cutout can be the starting point for a much bigger idea.
From One Simple Cutout to Something New
Background Remover may be where your edit starts, but it doesn’t have to be where it ends. Once you have your cutout, you can continue working in Pixlr to add text, Elements, effects, shapes, new backgrounds, and other creative details. You can even combine your cutout with Pixlr’s AI tools to create something more imaginative.
Think of it as a simple creative workflow: remove, redesign, and make it your own. One ordinary photo can become a design element, a custom sticker, a thumbnail, a new scene, a promotional visual, or a reusable asset. So the next time a photo doesn’t quite fit the look you’re going for, don’t delete it just yet. Remove the background, bring your subject into Pixlr, and see where you can take it next.
Try Pixlr Background Remover and give your photos a fresh start.