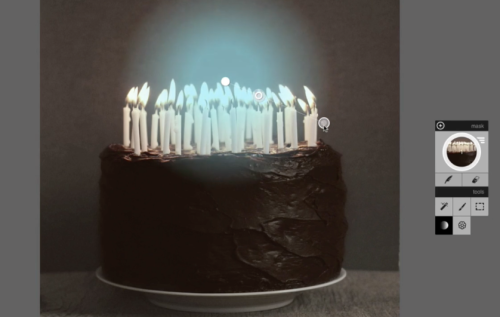
We’re big fans of Susan Tuttle, a photographer who teaches others how to use all manner of apps and tools. She’s made videos for us in the past that share her own special recipes for creating unique looks using effects and filters, and she’s made a new video that shows you something you may not thought of before: using Pixlr Desktop’s masking tools to create sources of artificial light.
If you’re a Pixlr Pro member, this is a great way to add a light source to a photo where one simply didn’t exist before. It utilizes the Gradient Selection Tools to layer on effects across a gradient. Basically, you lay down a mask and apply effects that blend strongly or softly across a spectrum. Those effects can be crazy overlays or they can be as simple as adjusting the “lightness” across the mask.
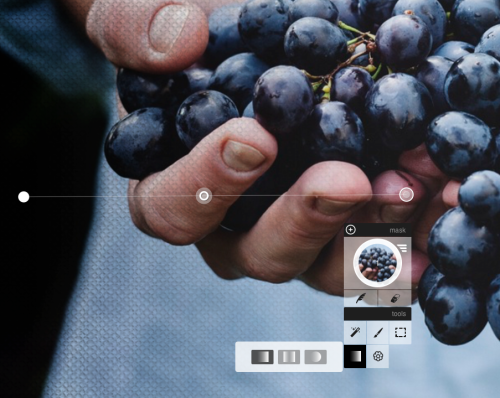
Notice that you can do this not just with lightness but with any effect. For example, here we’ve applied a canvas overlay to this grape photo. The effect starts at the endpoint of the linear gradient mask and lessens across the spectrum:

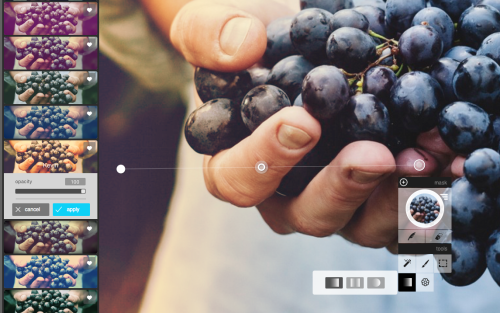
We did something similar here with one of the vintage Effects. We like the golden-but-faded hues from the Kevin vintage effect, and we can actually use that as something of a light source if we want:

If you’ve never thought of masks in this way, give this technique a try. It will open up a whole new way for you to control effects in your photo to make something subtly better — or radically more interesting.
https://vimeo.com/122147905
Last Update:
April 2, 2015