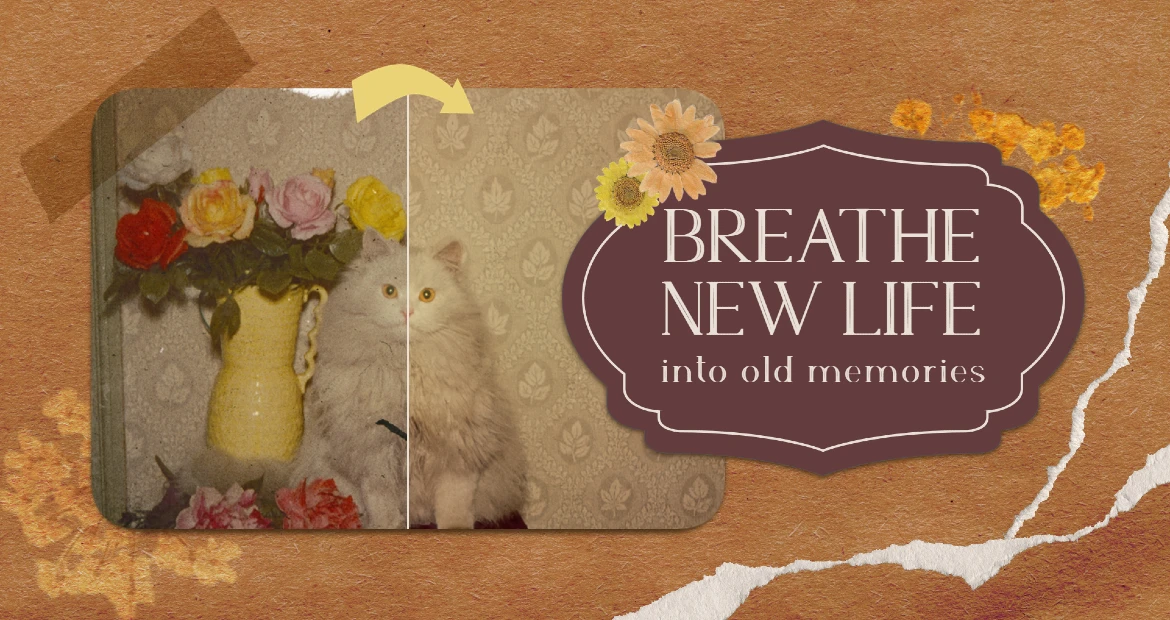
Vintage Photo Restoration Made Easy

Although antique photos are priceless mementos that contain priceless memories of our family’s past, time can harm these sensitive pictures. Thankfully, you can bring fresh life to your old images with the aid of Pixlr, an effective online photo editor. We’ll take you step-by-step through the process of utilizing Pixlr‘s user-friendly tools to restore your old photos in this tutorial.
How to Get Your Old Photo Ready for Restoration

Make sure you scan your old photo correctly before starting the restoration procedure. For best results, make sure your scanner is set to a high resolution (at least 300 dpi). After scanning, view the picture in Pixlr Express and remove any extraneous borders using the Crop tool. Use the Rotate tool to correct the image if it seems skewed.
Eliminating Blemishes, Dust, and Scratches
Antique photographs may develop flaws, scratches, and other signs of wear and tear over time. Pixlr provides several tools to help eliminate these flaws. The Spot Heal Tool automatically mixes the selected region with the surrounding pixels to cover tiny defects. For bigger areas, the Clone Stamp Tool is ideal since it lets you paint over imperfections by sampling a portion of the picture. Just draw around the thing you want to remove using the AI Remove Object tool is an excellent feature that can magically remove any object.
Enhancing Colors and Contrast
Vintage photographs may exhibit low contrast and fading colors. Access Pixlr Express, and navigate to ‘Modify’ on the side toolbar to adjust the brightness and contrast. After that, adjust saturation and color balance to bring out the photo’s actual colors. To get a balanced look, adjust the image’s white level and shadows.
Repairing Torn or Missing Parts
Some vintage photos may have torn or missing parts, but Pixlr‘s tools can help you reconstruct these areas. For small missing sections, use the Clone Stamp Tool to sample adjacent areas and paint over the gaps. The Patch Tool is ideal for larger missing parts, as it allows you to select and blend a nearby area seamlessly. Be sure to blend the repaired areas with the surrounding image for a natural look.
Sharpening and Final Touches
To bring out the details in your restored photo, apply sharpening techniques sparingly. Pixlr’s AI Super Sharp feature can help enhance the image’s clarity. Additionally, the ‘Remove Noise‘ feature can significantly reduce graininess and background noise from images with the help of AI.
Using Pixlr to restore old photographs is a fulfilling procedure that lets you save your family’s priceless memories for future generations. You may obtain amazing results by simply following these five steps: prepare the image, remove defects, enhance colors and contrast, replace missing areas, and add final touches. Put those old picture albums away and give Pixlr a go! Remember to include Pixlr in your exquisitely restored old images on social media to encourage others to start their own photo restoration projects. It’s now easier than ever to preserve the past and bring back fond memories using Pixlr.

