Lights Camera Action: Tips for Powerful Self-Portraits
Unlike selfies, the concept of self-portraits tends to bring more professionalism and deep meaning into the picture. Having already been practiced for centuries (first to record the royals and nobility, where it was slowly normalized for commoners down the line), self-portraits can be used not only for the documentation but to also assert your personal branding.
However, taking self-portraits (be it professionally using a studio or self-taken) can be painfully awkward. You may not know the tips and tricks to make it look flawless and convincing – this goes not only during the shoot itself but for post-production editing too.
If you have this exact concern, you have come to the right place! Read below for practical and cool tips on powerful self-portraits!
Tips and Inspiration for Self-Portraits
1. Get your POSE on!
Being the main subject in self-portrait, the pose that you choose matters a lot. As the sole focus of the audience, you’ll have to think of poses that not only garner their attention, but also keep them captivated.
As cliche as it sounds, learn from Vogue shoots for cool poses and be unabashedly confident. Don’t be afraid to go extra miles and forego the usual “smiling for the camera” trick.
Utilize your entire body, from your hands, facial expressions, leg placement, and even interesting angles (such as birdeye’s view, or fisheye) can make all the difference.
2. Prop It Like It’s HOT!
What type of props are suitable? How can props help elevate the end product? Easy props at home?
Another helpful photography tip when it comes to self-portrait is to rely on props too. Think of anything that can help you convey your message to the audience – what props can help you achieve that?
Something as simple as using small trinkets or natural elements (such as the sky, sea, leaves) can do wonders. Think of anything that goes with your aesthetic, personal brand, or the shoot’s color scheme. You can use them as background objects, arrange them on your face or body, or even hold them too.
3. Experiment with the Depth of Field
How to master depth of field? Types of camera used, any easy alternative? How-to for beginners?
By mastering the depth of field, you can essentially shoot macro shots of your face. This comes with a blurry background, helping details of yourself to be captured and presented to the audience beautifully.
This tip is especially useful if you would like to showcase visual elements on your face – be it elaborate make-up, shadows, or props. For beginners, you can utilize the portrait mode of your smartphone cameras in getting this look.
For DSLR owners, try using a wide aperture and play around with the setting to familiarize yourself with using the depth of field.
4. Light It Up
Lighting plays a vital role in photography, this of course, applies to self-portraits too. It can determine the end-product, and though you can also rely on your photo editing skills to a certain level, it is important to pay attention to the lighting during shooting day itself.
Though using sunlight or the golden hour can be great, consider the many types of artificial lighting you can use to fulfil your dream look. From LED fairy lights, the viral sunset lamp, black and white, or even neon lamps, you can mix and combine them to your liking.
As different lighting creates different color schemes, there would be many unique outcomes that you can gain if you choose to experiment with it.
5. Get Creative
Ultimately, you can get creative post-shooting too. Browse for creative editing ideas and really immerse yourself with the field of photo editing. There are many different styles that you can apply to your self-portrait.
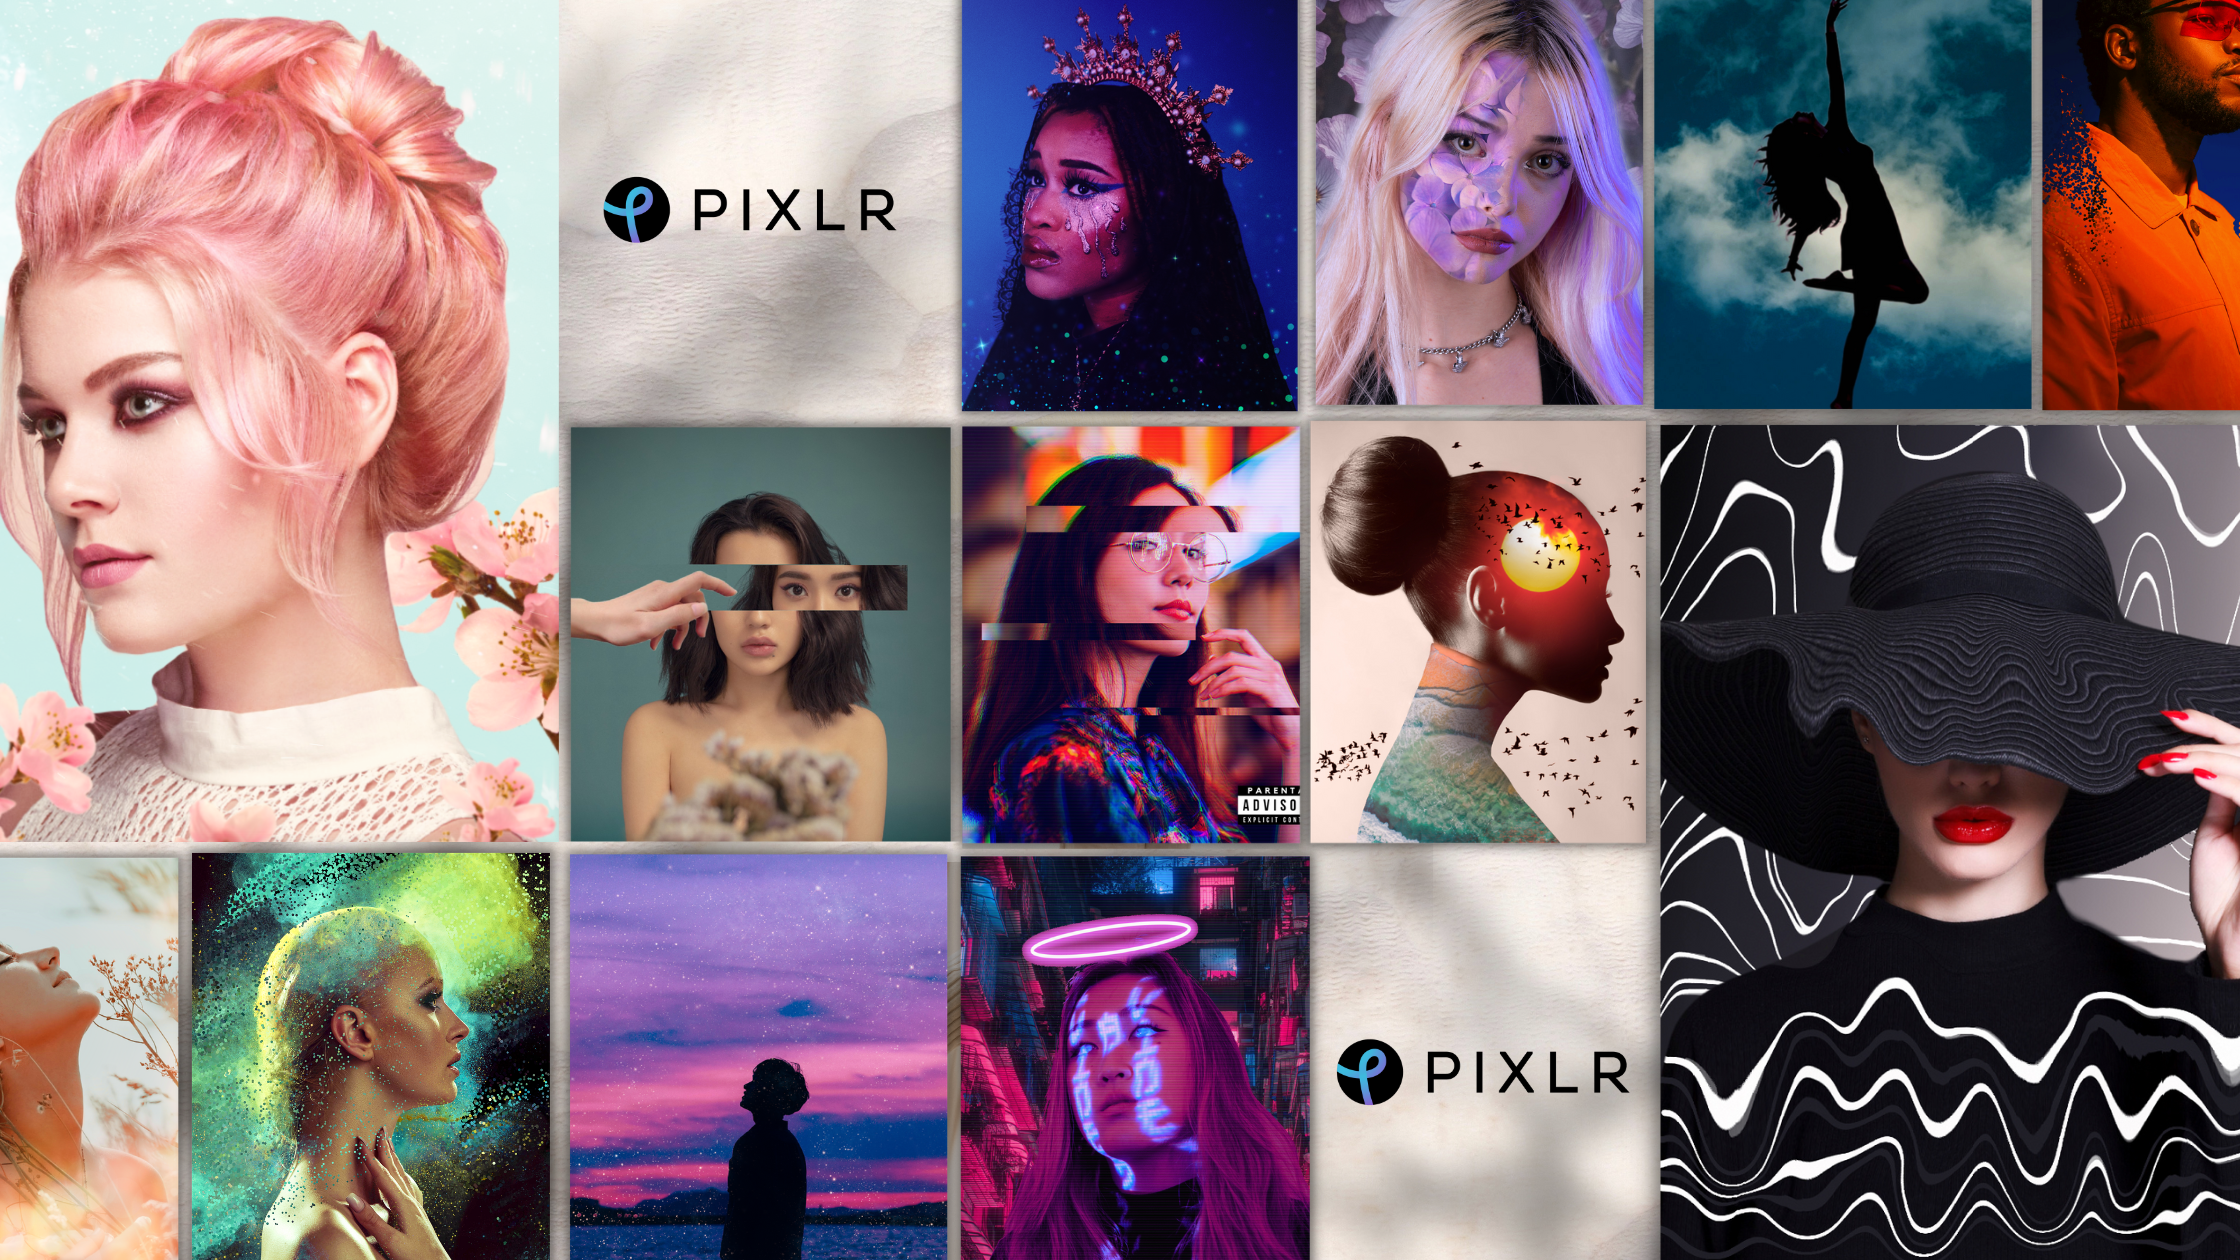
For instance, you can try surrealism, where you combine many “unusual” elements and incorporate them into your self portrait (see above). You can try collages and graphics too and transform your self-portrait to become more illustrative.
Applying some cool effects, such as glitch (for nostalgia), or bokeh (for the soft focus), is not a bad idea too.
How to Edit Portrait Photography Using Pixlr
Get Surreal with Pixlr E

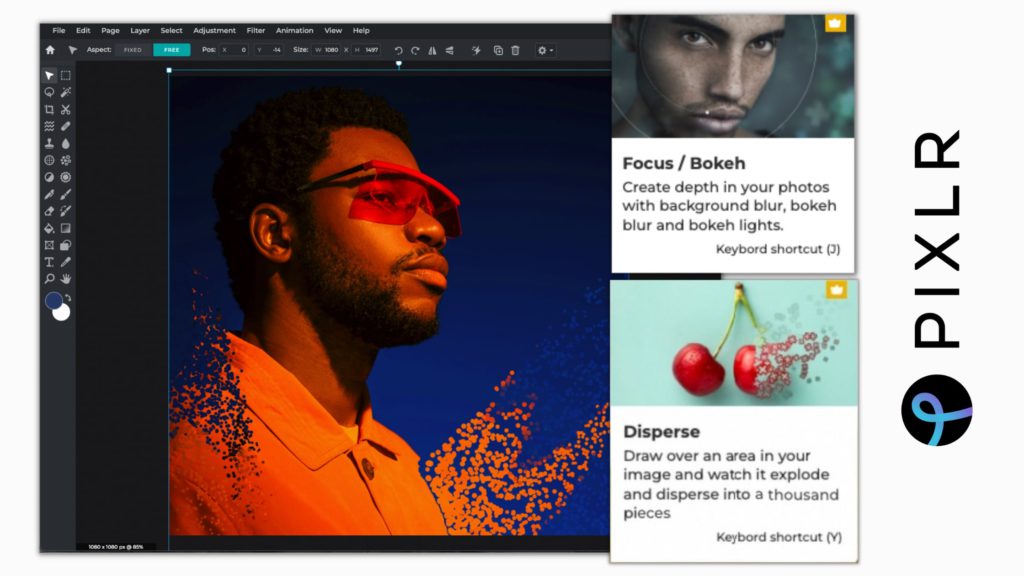
Fortunately, you can apply unlimited amount of cool effects onto your self-portraits in just one click with Pixlr E. Among these cool effects that can step up your editing game are:
- Bokeh
This smart editing tool helps you achieve that soft blurry focus on your picture. It comes with many features and modes that you can alter, allowing you to add in bokeh lights too when editing your self-portrait.
- Disperse
Dramatize your self-portrait with the Disperse effect. This effect allows dynamic movement to be present into your self-portraits and give a sense of direction too. Not only can it spice up the image, it can also add into your narrative too.
Auto-edit with Pixlr X

With Pixlr X’s AI-powered tool, you can alter your self-portraits like a complete professional. What’s more, there’s no editing experience required from you! The intuitive interface makes it extremely convenient for you to edit your self-portraits.
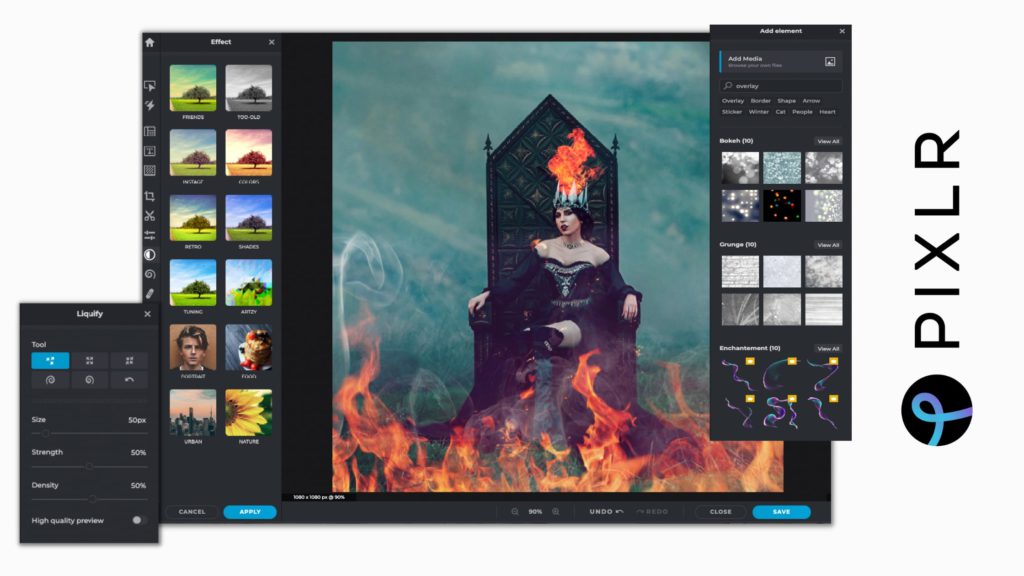
Try out our endless choice of creative filters to get that stunning look. You can also experiment with the Liquify Tool to alter some elements in your image, making it fluid and flexible. Apply graphic elements to further enhance your beauty with Pixlr’s Elements too.
To know more about Pixlr’s subscription plan, check out our pricing page here.


