Pixlr’s Overlay: A Game-Changer for Your Graphic Design Projects
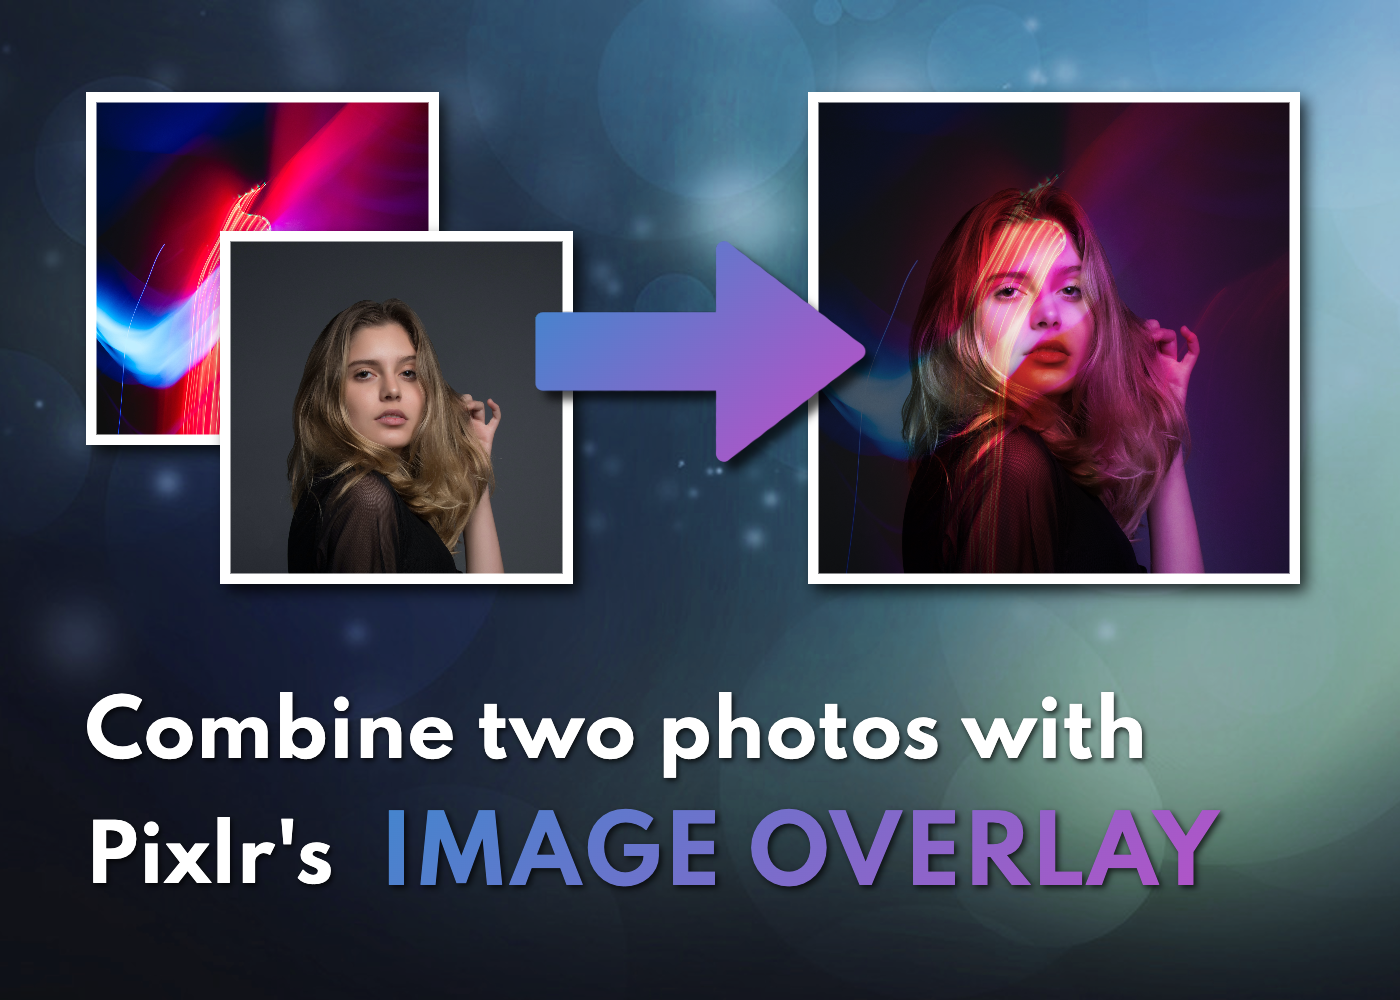
Picture this: you’re on a quest to create the perfect design for your latest project, and you have two striking images that perfectly complement each other.
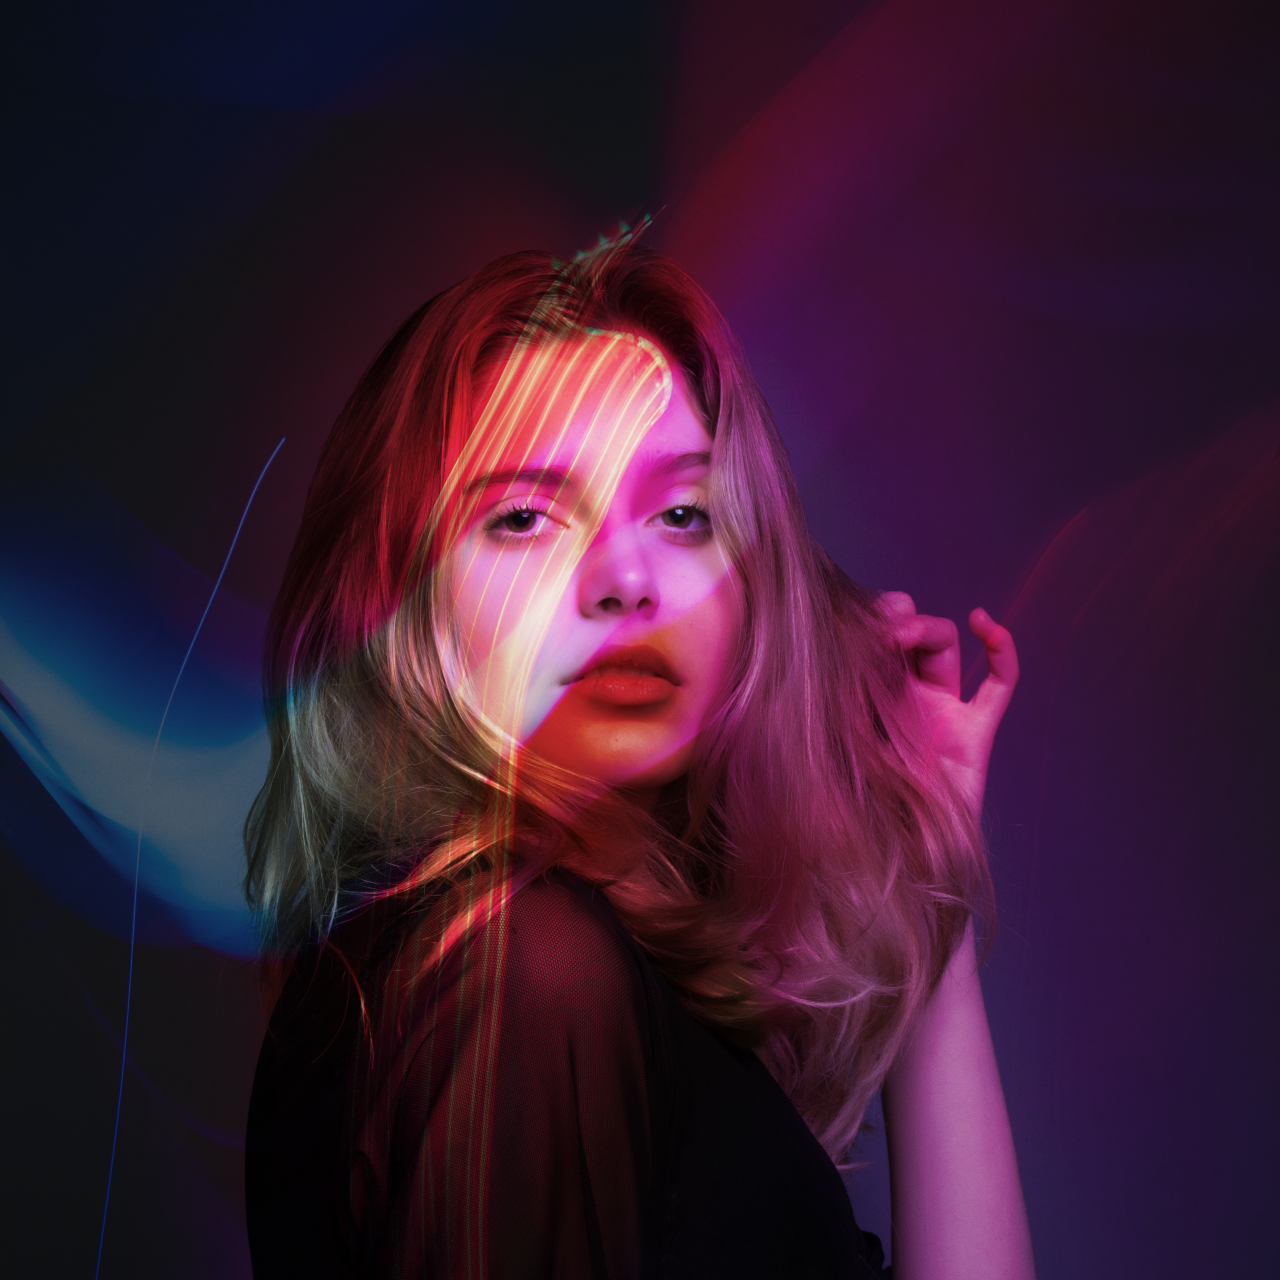
Now, you have the chance to fuse them into one beautiful piece with Pixlr’s online photo overlay tool, an innovation that can significantly enhance your graphic design journey.
If you’re already an adept Pixlr user or even just a newbie trying to navigate through the realm of graphic design, let’s explore the transformative potential of Pixlr’s image overlay feature together.
The Magic of Pixlr’s Image Overlay
Pixlr’s image overlay is not just about putting two photos together; it’s a tool that lets your creativity run wild, enabling you to craft unique and compelling designs quickly and efficiently. What makes this even better is its user-friendly interface – you can effortlessly drag, drop, and adjust multiple photos to create the perfect design.
For those who are still exploring their creativity or need a quick design, Pixlr also provides a variety of professionally curated image templates. All you need to do is select a template that resonates with your idea, and you’re halfway to completing your masterpiece!
Moreover, Pixlr’s overlay tool is designed for accessibility. Whether you’re on your smartphone, tablet, or desktop, Pixlr ensures a seamless experience across multiple devices, giving you the freedom to create anywhere and anytime.
Overlay an Image with Pixlr: Step-by-Step
It’s time to overlay! But how exactly? Follow these straightforward steps and you’ll be a pro in no time:
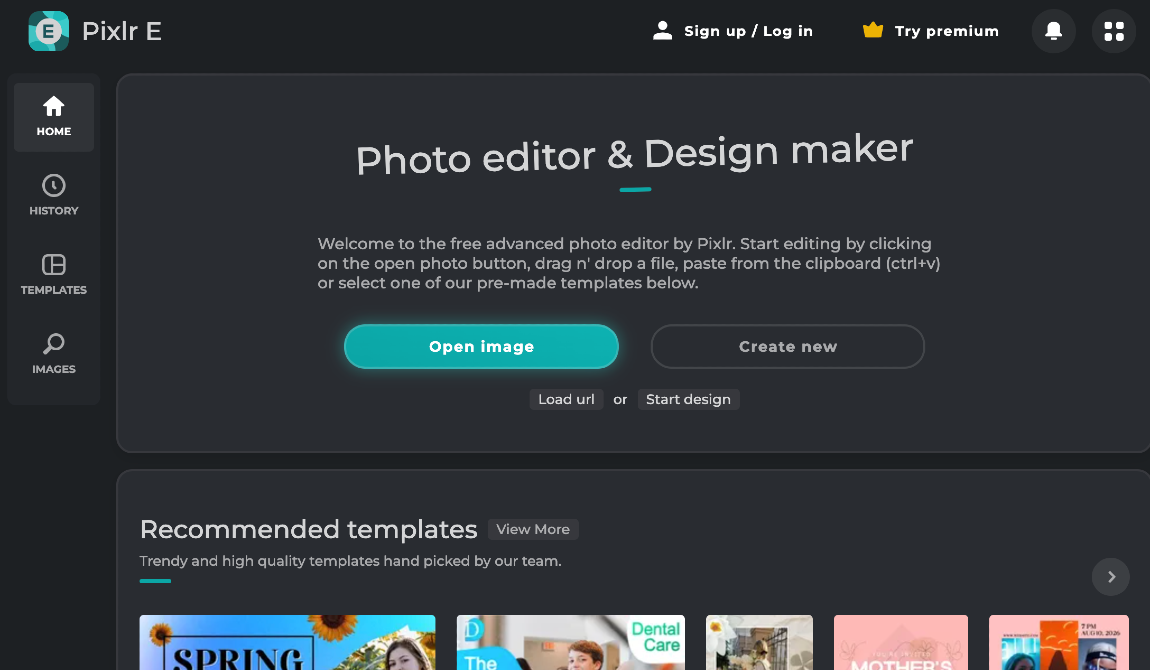
Step 1: Access the Pixlr Editor
Head over to the Pixlr website and choose the Pixlr Editor that suits your needs. Whether it’s Pixlr E for more advanced edits or Pixlr X for quick and easy modifications, Pixlr’s got you covered.
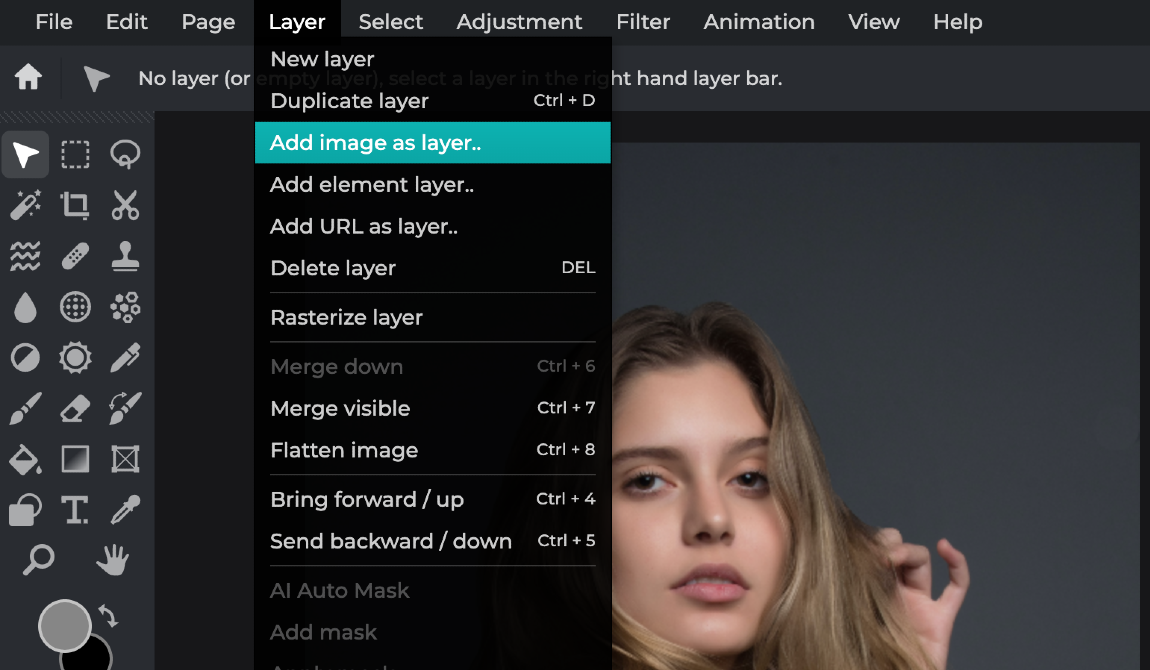
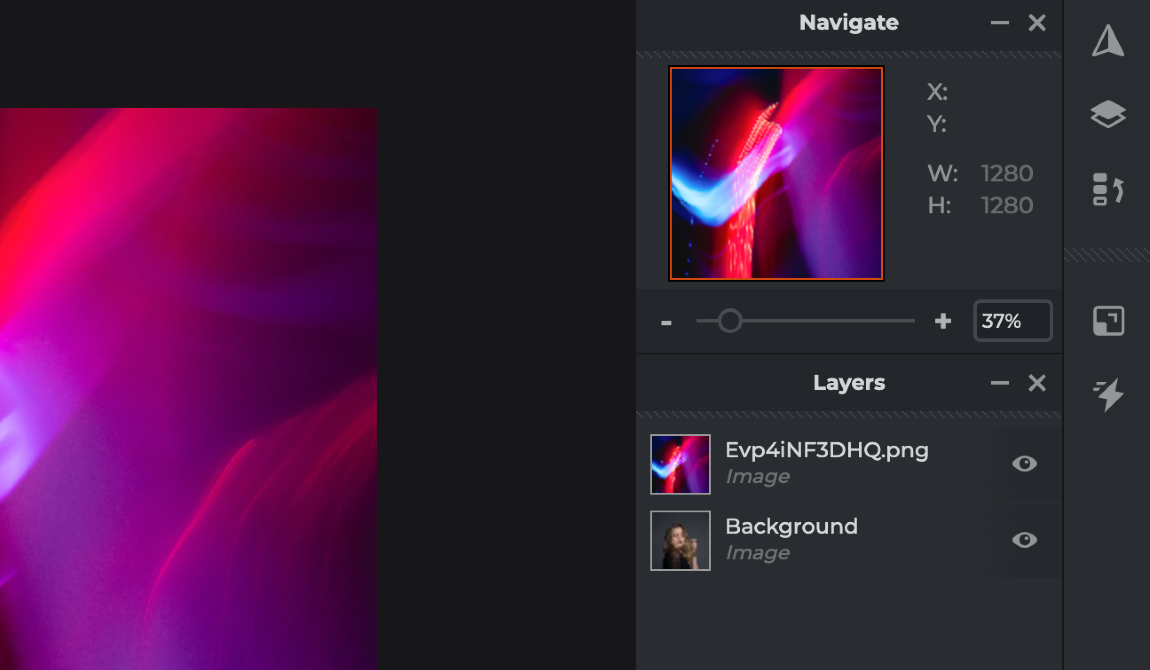
Step 2: Add an Overlay Image
Once you’ve selected and opened your primary image, add your overlay image by clicking on “Layer” and then “Add image.” Select the image you want from your device or cloud storage, and let the magic begin!
Step 3: Resize and Position
Adjust the size and location of the overlay image to suit your design. It’s as easy as clicking and dragging the corners of the image!
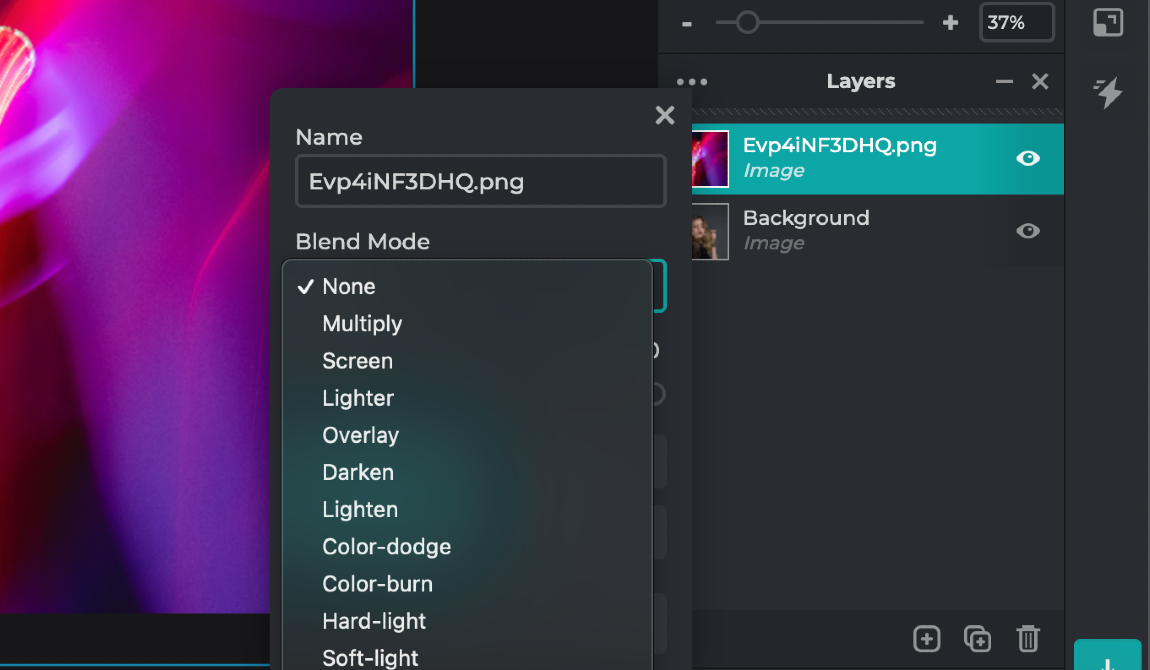
Step 4: Adjust Opacity and Blending Mode
To make your overlay blend seamlessly with your base image, experiment with the opacity and blending modes. By adjusting these settings, you can create a perfect blend that brings your design to life.
Step 5: Save and Export
Now that you’ve created your masterpiece, it’s time to share it with the world! Save and download your work in your preferred format and quality. It’s just a few clicks away.
Amplify Your Design With These Handy Tips
- Fonts: Make sure the fonts you use are legible and complement your overall design. Cursive fonts are beautiful but use them sparingly and strategically. Remember, clarity is key!
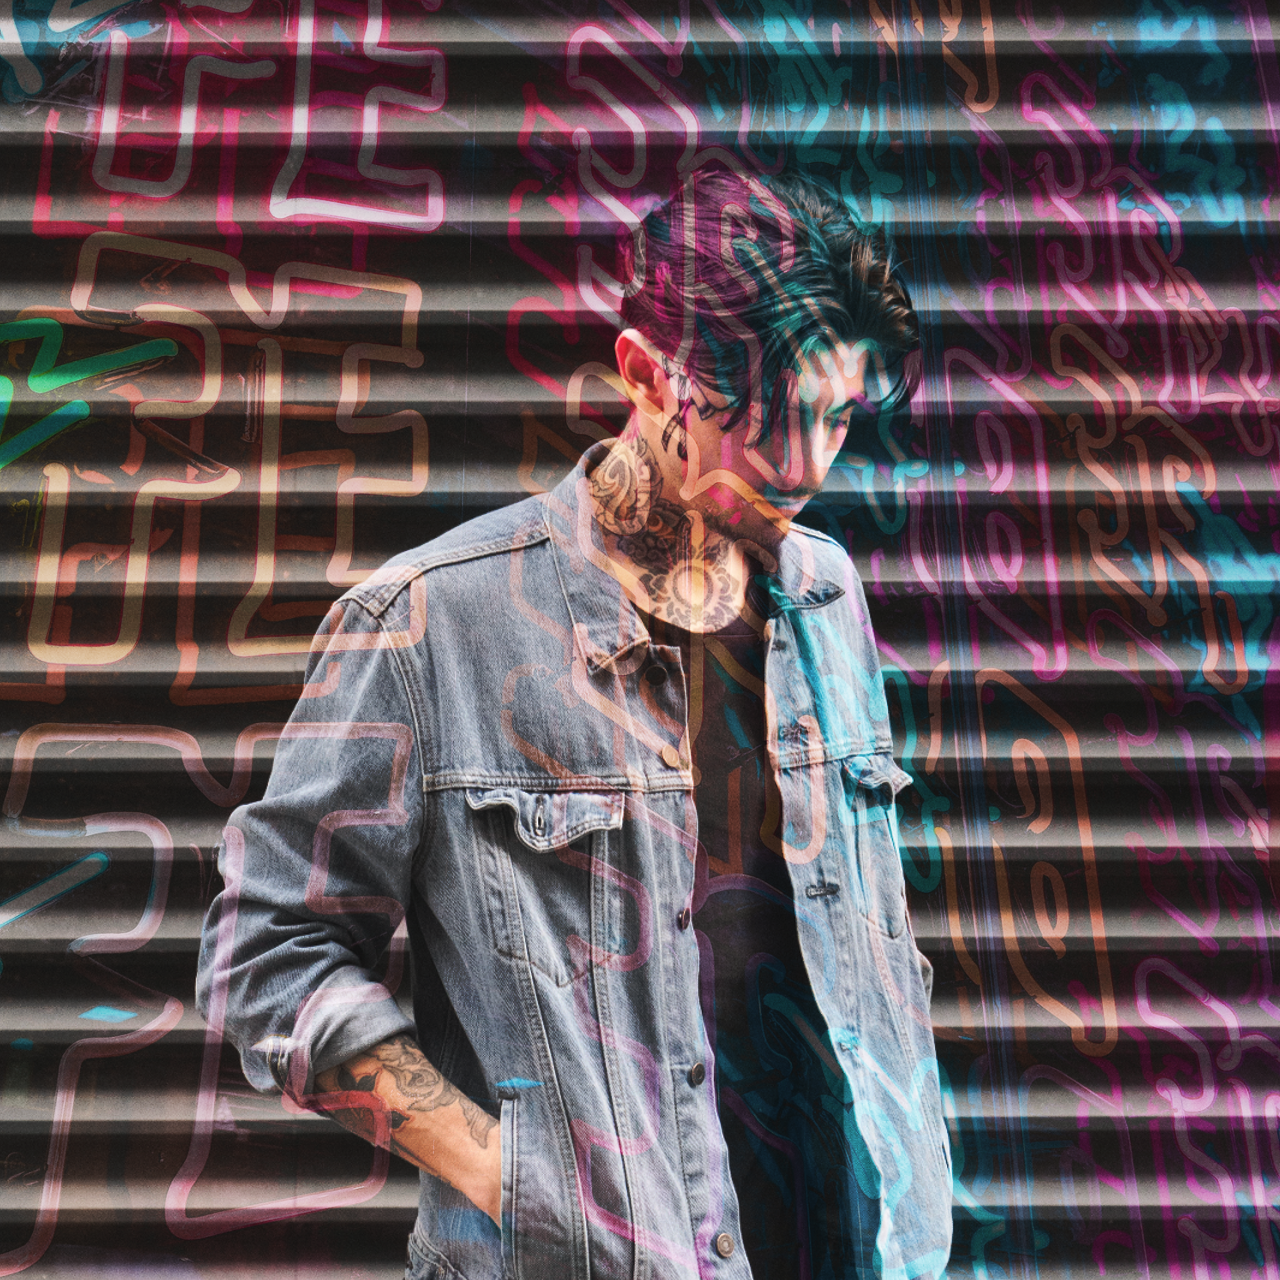
- Theme: When overlaying images, be mindful of the color contrast and the overall harmony of your design. If the images are too different, you can make adjustments using the “Adjust” option in Pixlr’s toolbox.
- Graphical Words: Here’s a fun twist – try overlaying images into your fonts! This can create a captivating visual interest and take your design to the next level. Say goodbye to plain color fills, and say hello to stunning graphical fonts!
Get creative with Pixlr Overlays, today!
Experience the game-changing possibilities of Pixlr’s image overlay feature today and let your creativity shine. Sign up with Pixlr now and take your graphic design projects to new heights. Remember, great design isn’t just about creating; it’s about transforming the ordinary into the extraordinary. With Pixlr, you’re equipped with the right tools to do just that.
