Open Pixlr Express, and upload your photo.
Rekisteröidy Kirjaudu sisään
Kokeile Premiumia

Get 40% off Back To School Deal Now!
null
Spruce up your photos with Pixlr’s free filters and effects. Unleash your creativity with easy, one-click options to make your images look vibrant, dramatic, or timeless.
Open Pixlr Express, and upload your photo.
Select Effects from the left menu, then pick from 100+ effects that suit your vision the most.
Once you select an effect, adjust its intensity using the slider.
For AI filters, select Filters from the same menu. Pick the filter you want to modify your image with, then adjust the settings.
Once done, save your image in PNG, JPG, PDF, or WebP format.
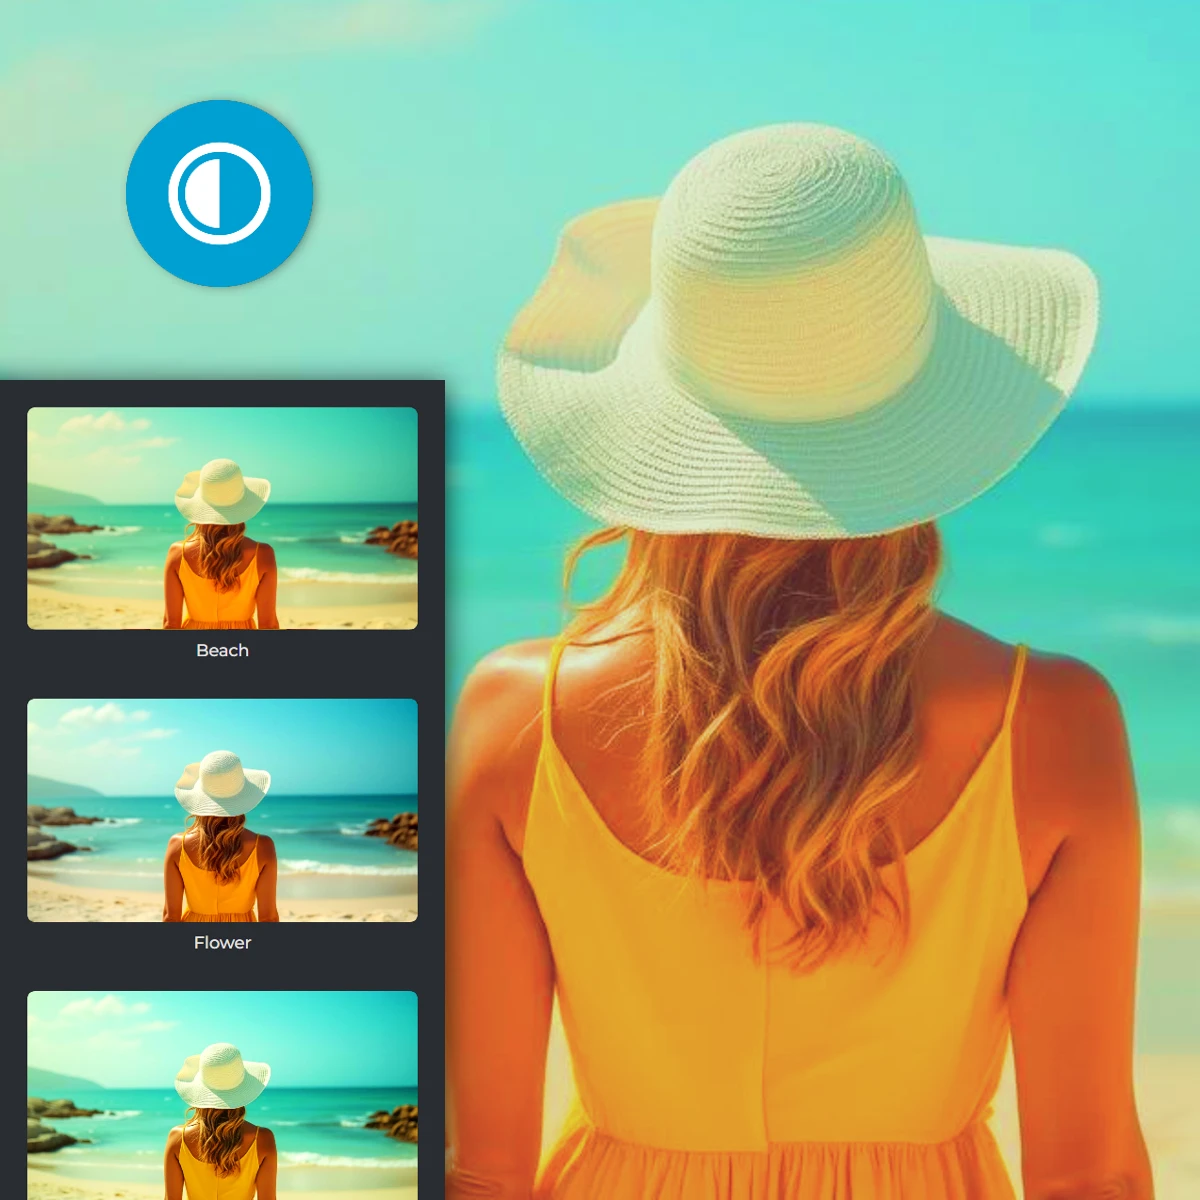
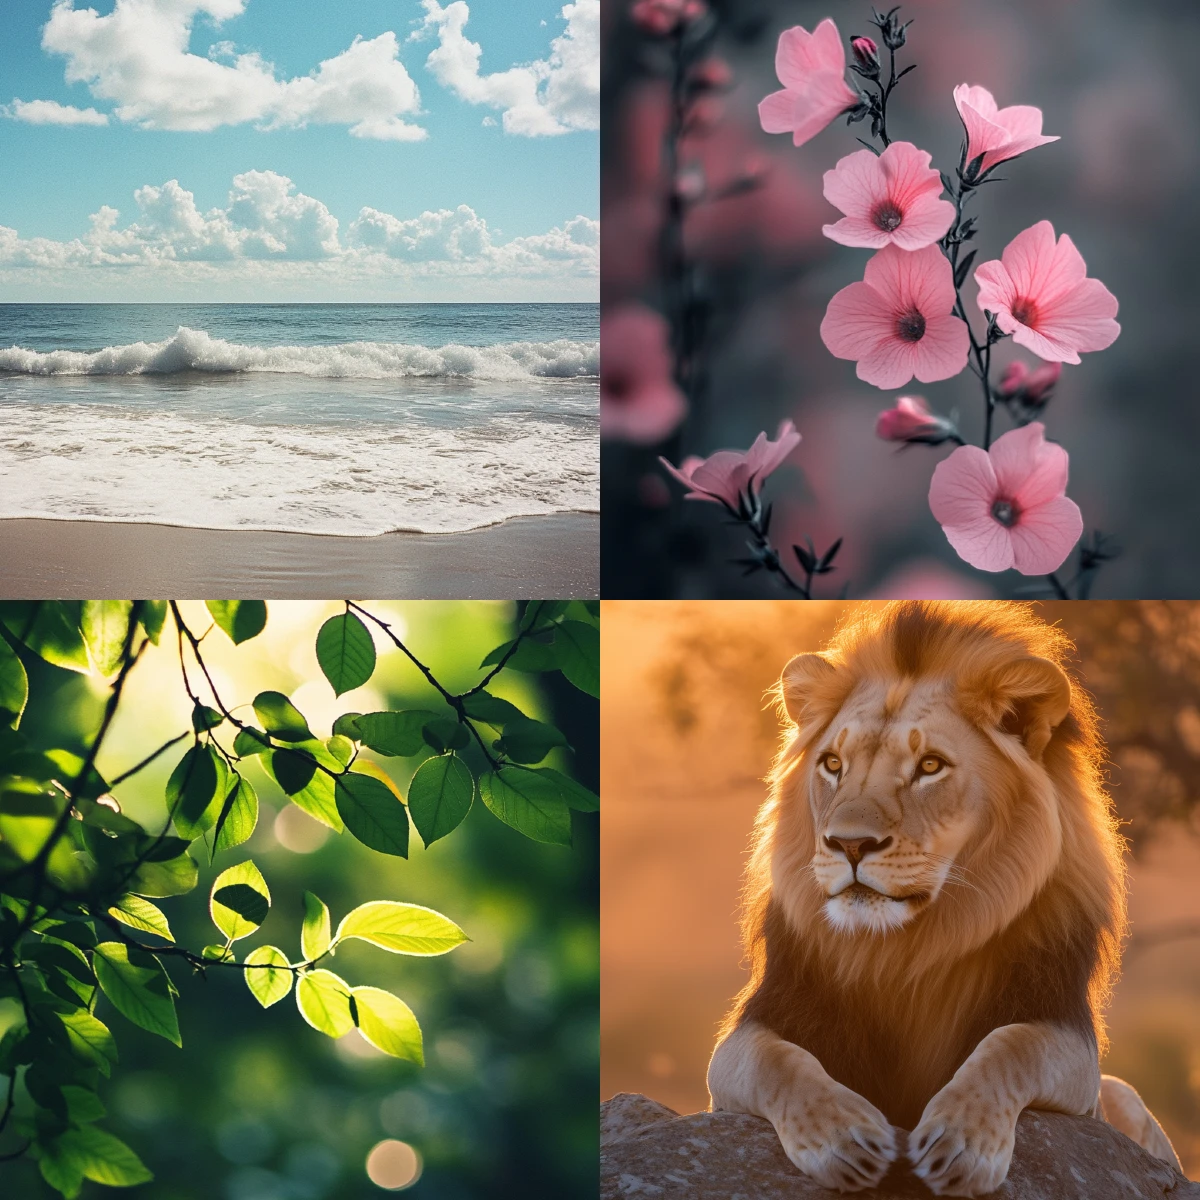
For nature and wildlife enthusiasts, Pixlr’s preset filters emphasize natural beauty and rich details. The Beach filter adds warmth for sunlit scenes, while Flower brings out vibrant pink and purple hues, perfect for floral close-ups. Forest deepens green tones, creating a lush, earthy feel ideal for woodland shots. For wildlife, the Bright filter enhances shadows, Clarify sharpens midtones, and Vivid boosts color intensity. Together, these filters showcase the lively colors and intricate details of the natural world.
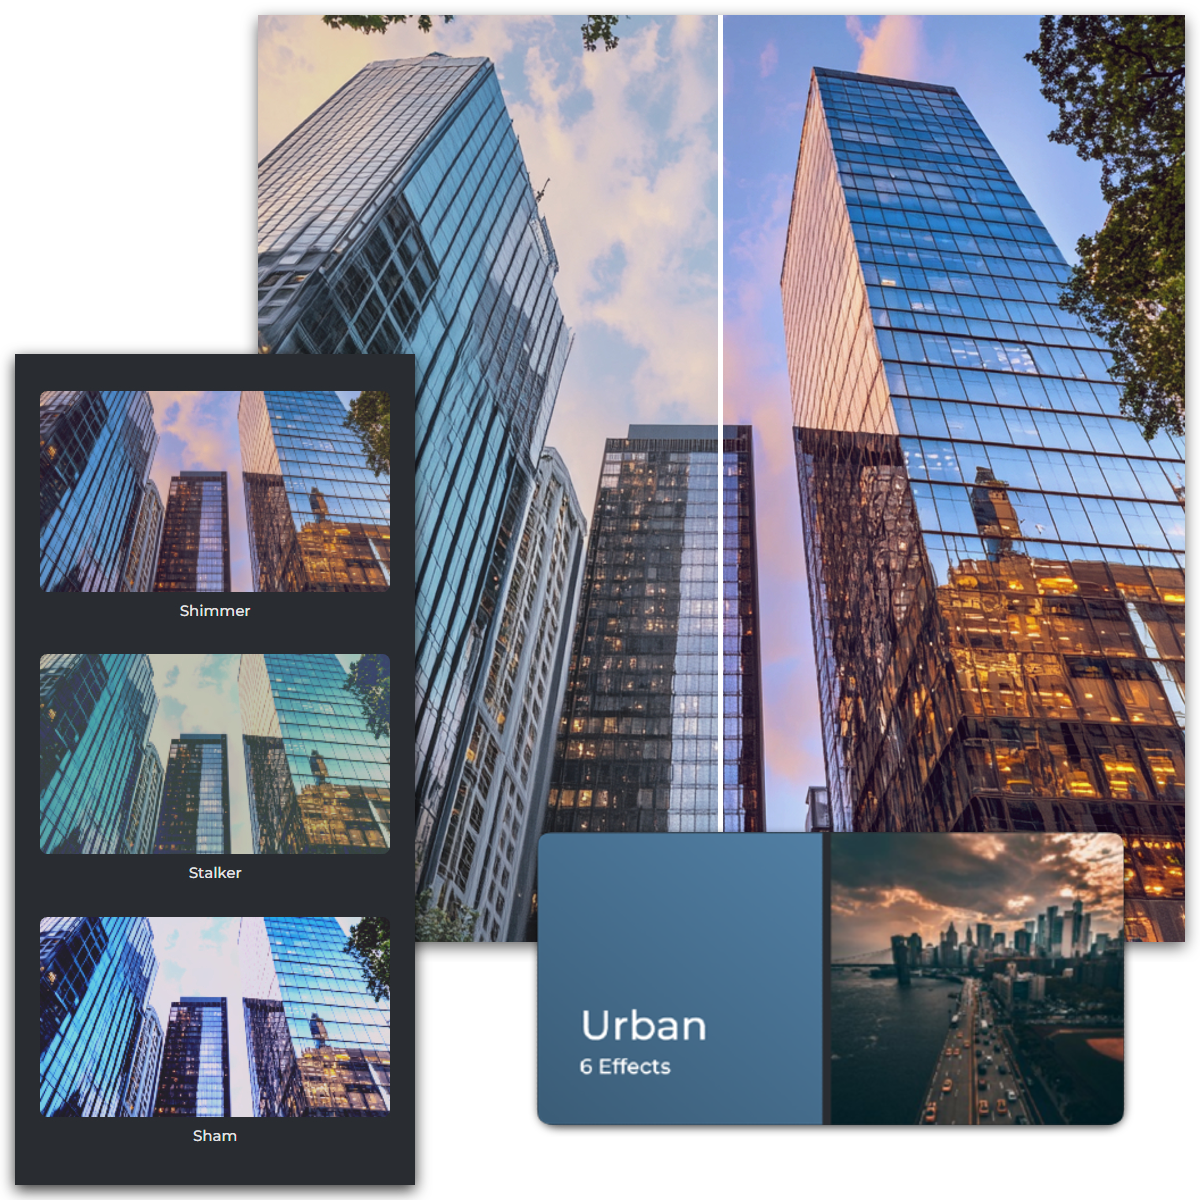
Urban and landscape photography thrives on effects that highlight unique textures and tones. The Cement effect adds a desaturated, gritty feel for industrial vibes, while Style amplifies contrast and saturation, bringing a dynamic edge to street scenes. Mold applies a cool, greenish tint, adding a mysterious ambiance to cityscapes. These effects capture the rugged charm and dramatic atmosphere of urban and natural landscapes alike, making each shot feel bold, textured, and visually captivating.

Pixlr’s filters bring out the best in your food photography, making every dish look mouthwatering. The Berry and Ensalat filters highlight vibrant reds and greens, perfect for capturing the freshness of fruits, salads, and colorful dishes. Use Morning to add a cozy, golden glow to breakfast shots, making pancakes and coffee feel warm and inviting. For crisp details, the Sharp filter enhances textures, making every layer of your culinary creation pop. Whether you're showcasing a gourmet meal or fresh produce, Pixlr’s effects pop your food photos.
Pixlr’s filters enhance your fashion photography by highlighting colors, textures, and styles. The Coco filter adds a warm, sunset-like glow, ideal for outdoor shoots during golden hour. Borg introduces a futuristic, cool tint that pairs perfectly with edgy, modern outfits, while Blues emphasizes blue tones for denim-focused outfits, implying a crisp, chic vibe. For close-up shots of accessories, the Sharp filter ensures intricate details like jewelry or fabric textures. These effects are perfect for creating high-impact fashion lookbooks.

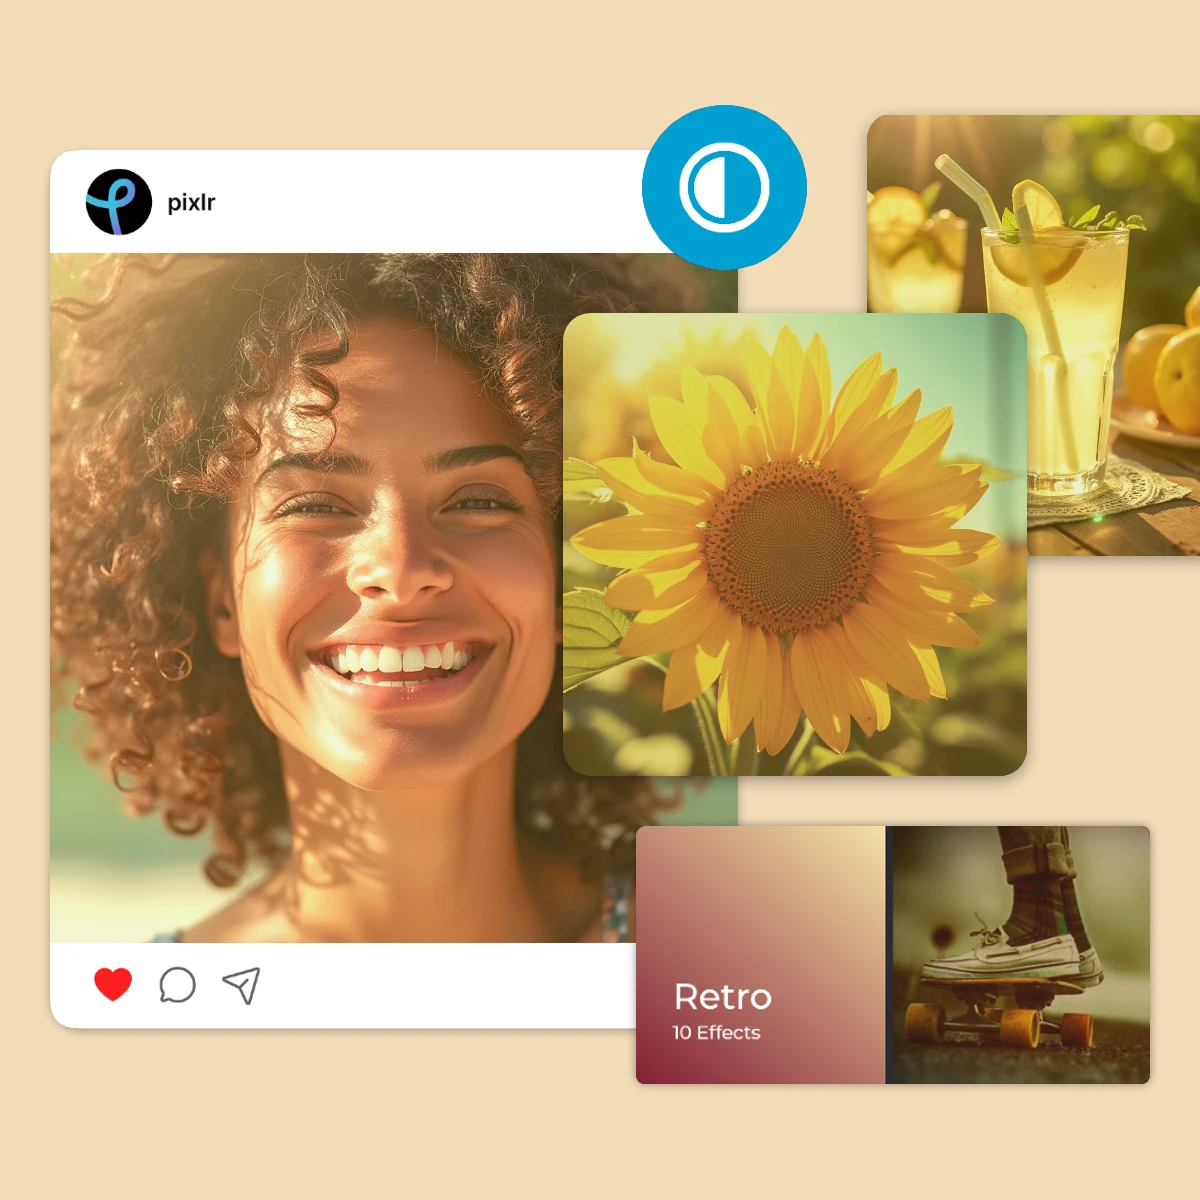
With Pixlr’s social media-focused effects, your posts will shine on any platform. The Bright filter enhances lighting, Contrast sharpens light and shadow, Vivid makes colors pop, and Clarify sharpens details. The Glitch effect brings a trendy, digital twist, and Frank introduces retro color shifts for animated stories. Vib enhances all colors for a lively look, Creamlow adds a soft, dreamy overlay, and Rangeen balances warm and cool tones. These filters ensure your feed and stories look cohesive, vibrant, and visually captivating.
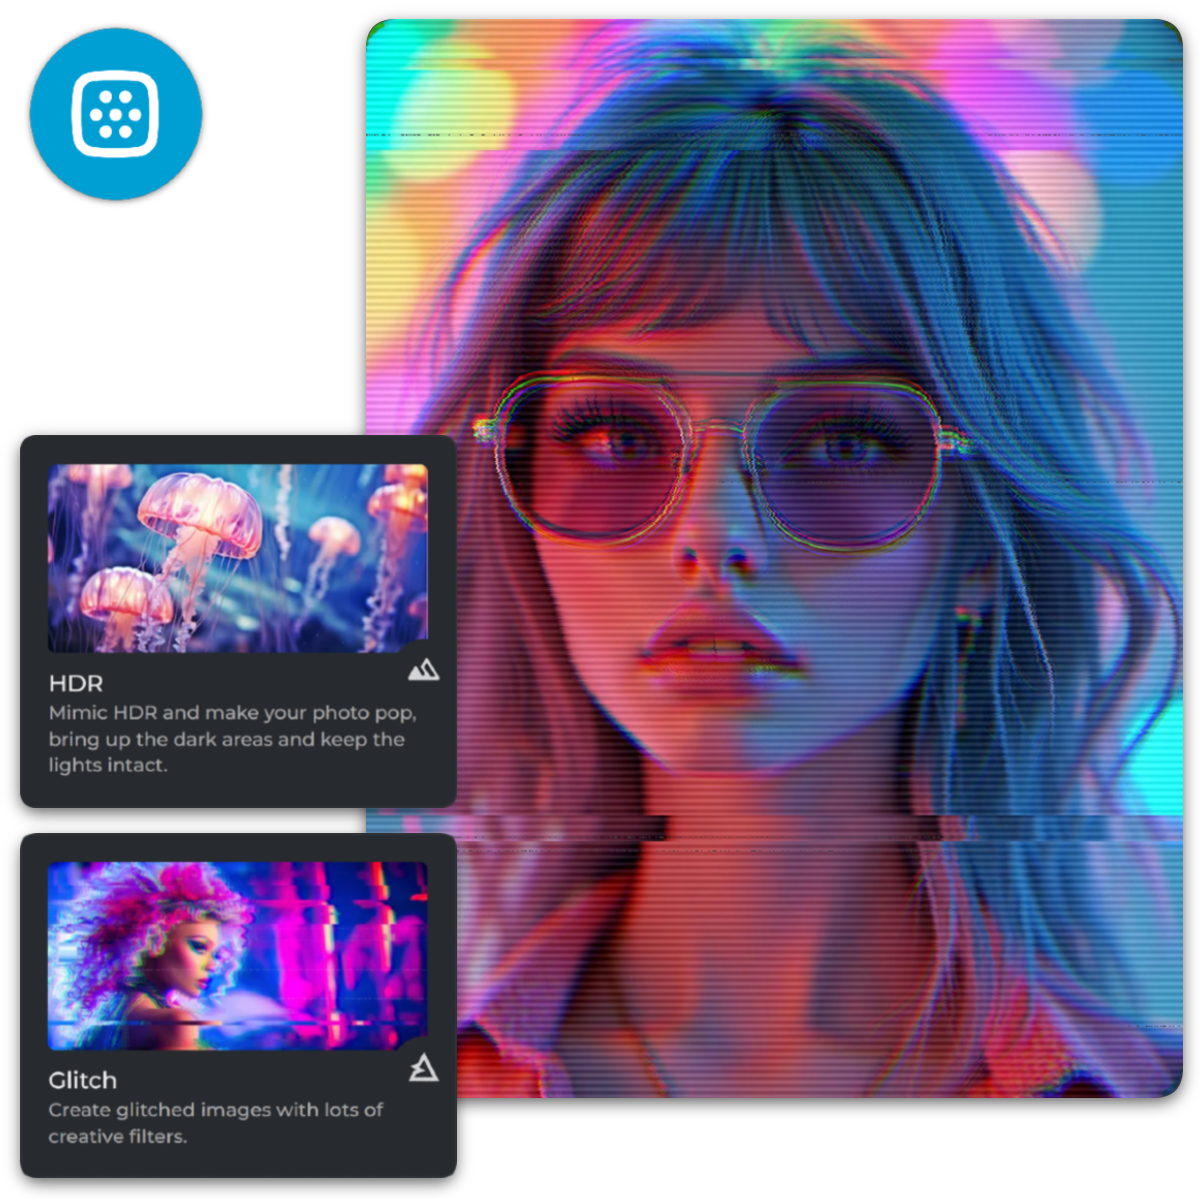
Pixlr’s AI-powered filters offer a quick way to elevate your images with highly customizable effects. The HDR filter enhances details by balancing light and shadow for a polished look. Focus/Bokeh adds a soft blur and bokeh lights, making your subject stand out with cinematic depth. Reflect creates mirror effects, adding symmetry and style, while Dispersion scatters parts of your image into dynamic, tiny pieces. The Glitch filter introduces digital distortions for a trendy, retro vibe. These filters make it easy to add drama to your photos.
Preset filters in Pixlr are pre-designed effects that you can apply to your photos with a single click to achieve various styles and moods.
Open your image in Pixlr, select the "Effects" option from the left menu, browse through the available filters, and click on one to apply it to your photo.
Yes, after applying a filter, use the intensity slider to increase or decrease the effect's strength to your preference.
Yes, Pixlr offers AI-powered filters that intelligently enhance your photos, such as HDR, Focus/Bokeh, Reflect, Dispersion, and Glitch effects.
After opening your image, select the "Filters" option, choose an AI-powered filter, and adjust its settings as needed to achieve the desired effect.
Yes, you can apply multiple filters to a single photo by layering them, allowing for unique and customized effects.
Yes, you can download Pixlr AI Art Editor app in both iOS and Android devices, enabling you to edit photos on the go.