Open Pixlr Express and select the photo you want to edit by uploading it from your device.
Blur Image Online For Free
Whether you’re looking to soften backgrounds, focus on specific subjects, or add a creative touch, Pixlr offers a seamless, no-cost blur tool to achieve stunning results. Just upload, blur, and download - it’s that easy!
What Is A Blur Tool?
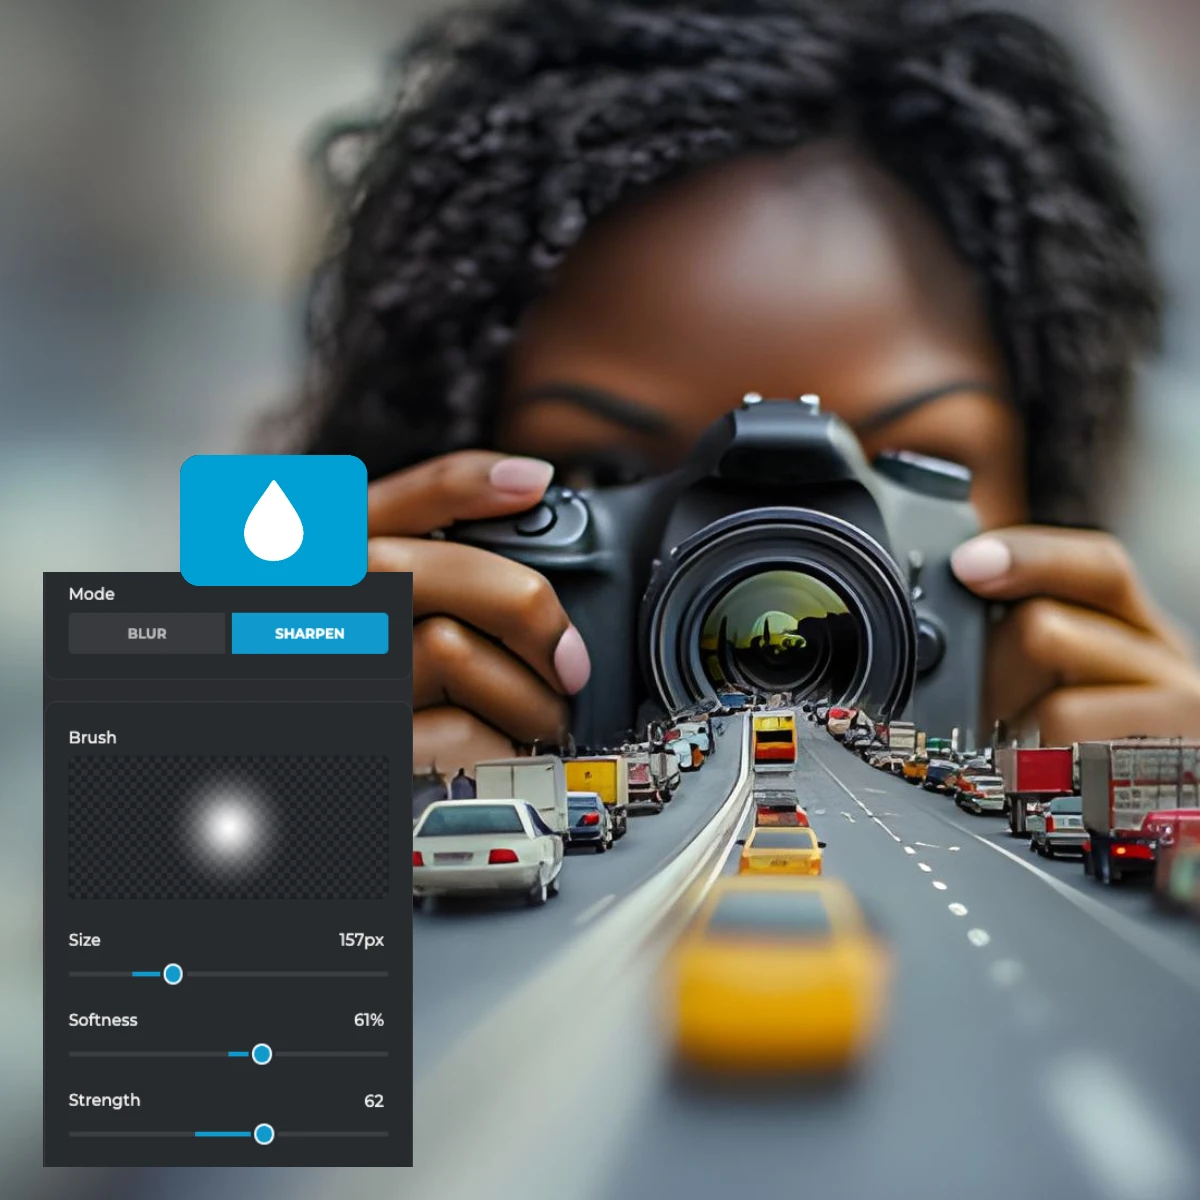
The Blur Tool is a feature in graphic design and photo editing software used to soften or blur parts of an image by blending nearby pixels. With Pixlr's Blur Tool, you can adjust Brush Size to control the area affected, Softness to define the edges of the blur (from sharp to gradual), and Strength to determine the intensity of the blur effect.
How To Blur Photos Using Pixlr
1
2
Go to the Retouching option in the left menu, and pick the Blur Tool to start editing.
3
Adjust the brush size, softness, strength, and use it to apply the blur effect on specific areas of your image.
4
Once satisfied, save your work by downloading the image in PNG, JPG, PDF, or WebP format.

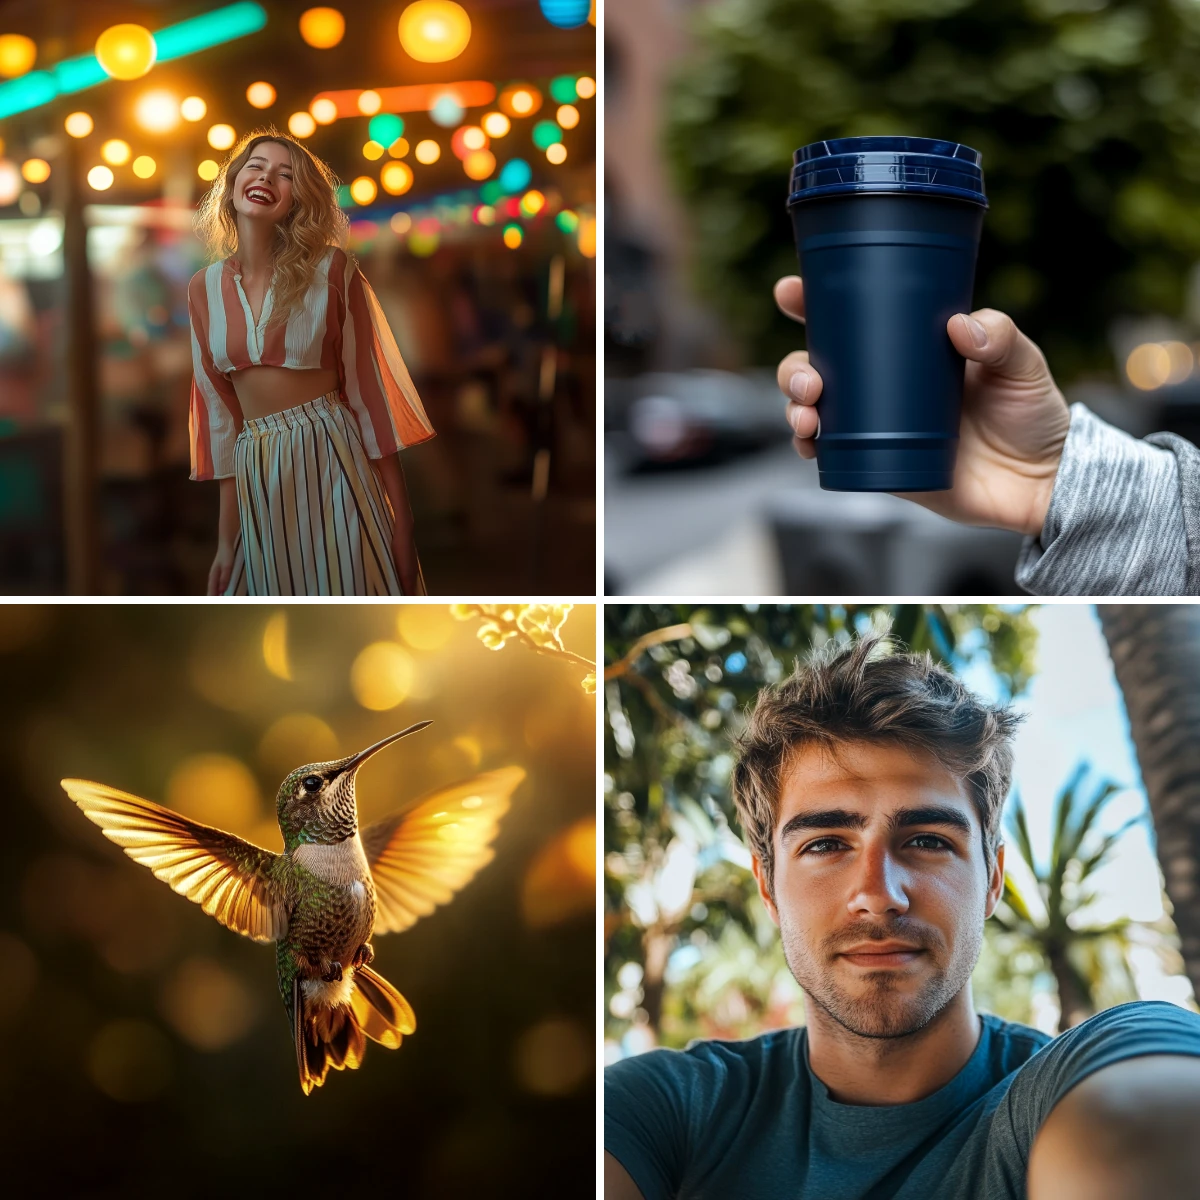
Blur Any Part Of The Image
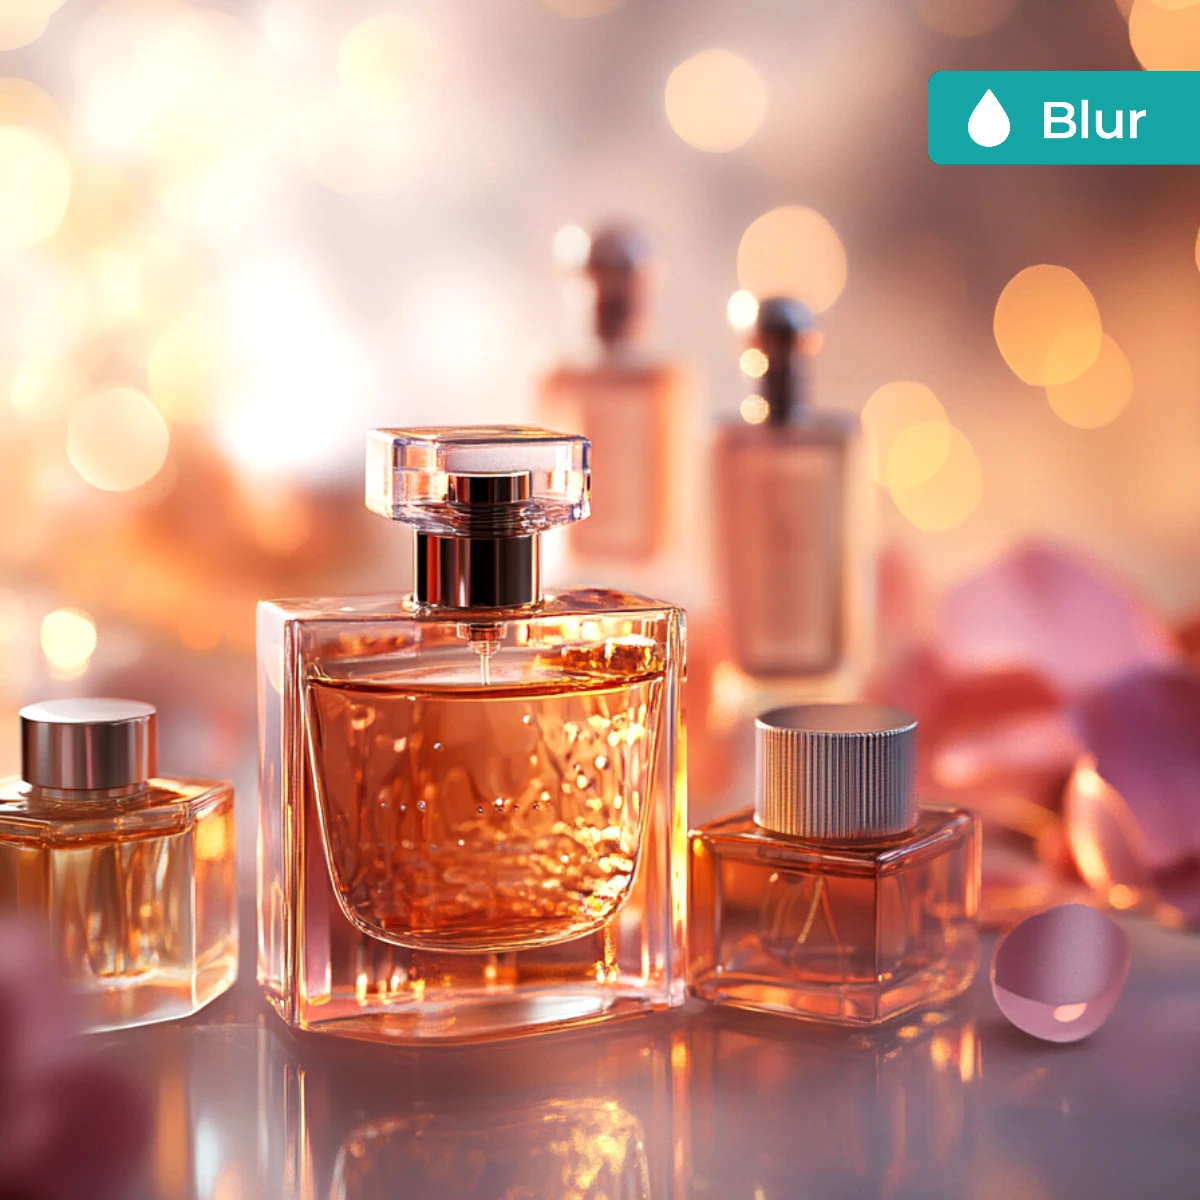
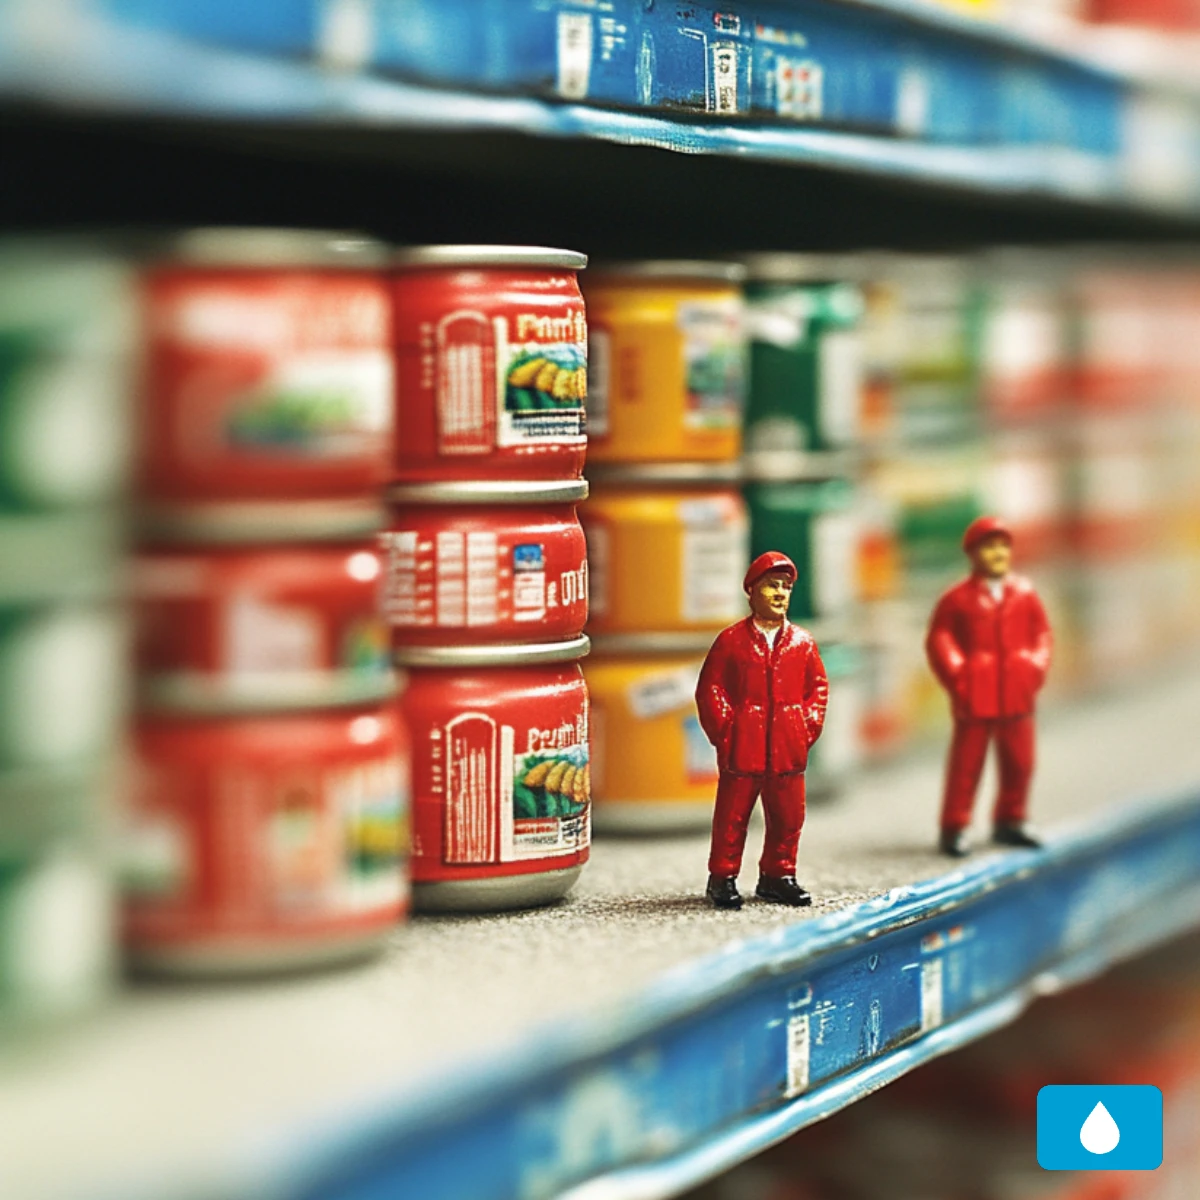
With Pixlr’s Blur tool, you can blur any part of your image by adjusting the brush size using the slider, giving you precise control over the areas you want to soften. Simply select the blur tool, adjust the brush size to fit your needs, and apply the effect where you want it. This feature is perfect for creating a soft background in portraits, highlighting products by blurring the surroundings, or obscuring sensitive information in documents with just a few clicks.
Blur Photos With Full Control
Take your image editing to the next level with full control over the blur effect by adjusting softness and strength sliders. These allow you to fine-tune the blur edges and intensity, making it easy to create smooth transitions or bold effects as needed. This flexibility is ideal for softening event photo backgrounds, focusing attention on key architectural elements, or adding depth to nature photos by blurring the background or foreground selectively.
Blur Images On The Fly
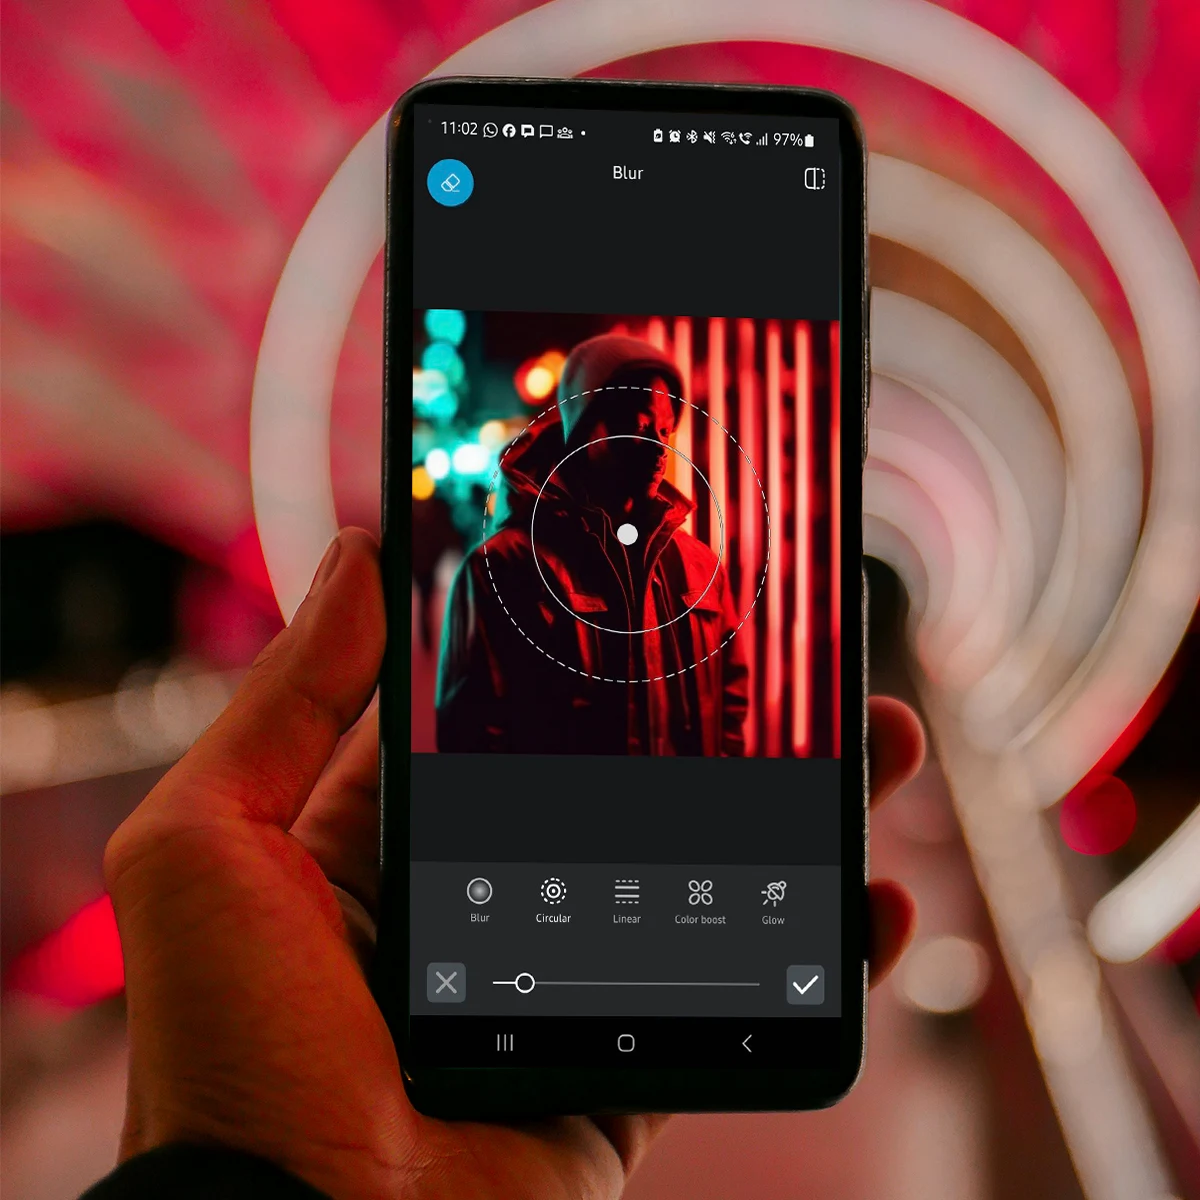
With the Pixlr AI Art Photo Editor mobile app, blurring images is quick and convenient. The app contains options like whole image, circular, and linear blur modes, plus enhancement tools like Color Boost and Glow sliders. Simply open your image, go to tools, select the blur tool, and choose the blur style and intensity that fits your needs. This feature is perfect for travel photos, social media images, or product shots, helping you create professional-looking edits on the go.
Add Filters & Effects For Endless Possibilities
After applying your blur, elevate your images with AI filters and effects from the same left menu, such as HDR for a dramatic effect, Bokeh for a dreamy feel, or Retro and Urban for artistic flair. These filters and effects combine beautifully with blur, letting you design stunning visuals for any occasion. Whether you're editing fashion photography for a magazine look, creating social media posts, or giving family photos a nostalgic touch, the options are endless.
Do More With Your Blurred Images
Once your blur effect is in place, add impact with text and elements using the left menu options, where you can choose from various text styles and add icons or your own media to customize the image. This added flexibility allows you to design everything from event invitations and social media graphics to marketing materials, all with a professional touch that enhances the overall look of your blurred background.
Do More with Pixlr AI Tools
Frequently Asked Questions
Does Pixlr offer different types of blur effects?
Pixlr AI Art Photo Editor mobile app offers different blur options, including whole image, circular, and linear blur modes.
Can I adjust the intensity of the blur effect?
Yes, you can adjust the intensity of the blur effect by modifying the "Strength" setting in the "Blur" tool options.
Is Pixlr free to use for blurring images?
Yes, Pixlr offers free tools for blurring images, although some advanced features may require a subscription.
How do I save my edited image after blurring?
To save your edited image, click "Save." Then, choose your desired format, such as JPG or PNG, and click "Save as" to download the image to your device.
Can I undo a blur effect if I make a mistake?
Yes, you can easily undo a blur effect by clicking the “Undo” button at the bottom of the editor.
Does Pixlr support batch processing for blurring multiple images?
Yes, Pixlr Batch Editor allows you to apply the whole image blur effect to multiple images at once.
Can I blend the blur effect with other edits?
Yes, Pixlr lets you apply multiple edits. After blurring, you can go to the “Adjust” feature from the left menu bar to tweak brightness, contrast, or saturation.
Can I apply blur to text elements in Pixlr?
Yes. After typing and positioning your text, flatten it, then use the blur tool to soften its edges or give it a faded effect.